I think I enjoy the cooking more than eating, there is nothing better than to watch the smile grow after someone’s first bite. Note from Steve: I am a flow of thought writer and apologize up front if I lose you. My family is used to it.
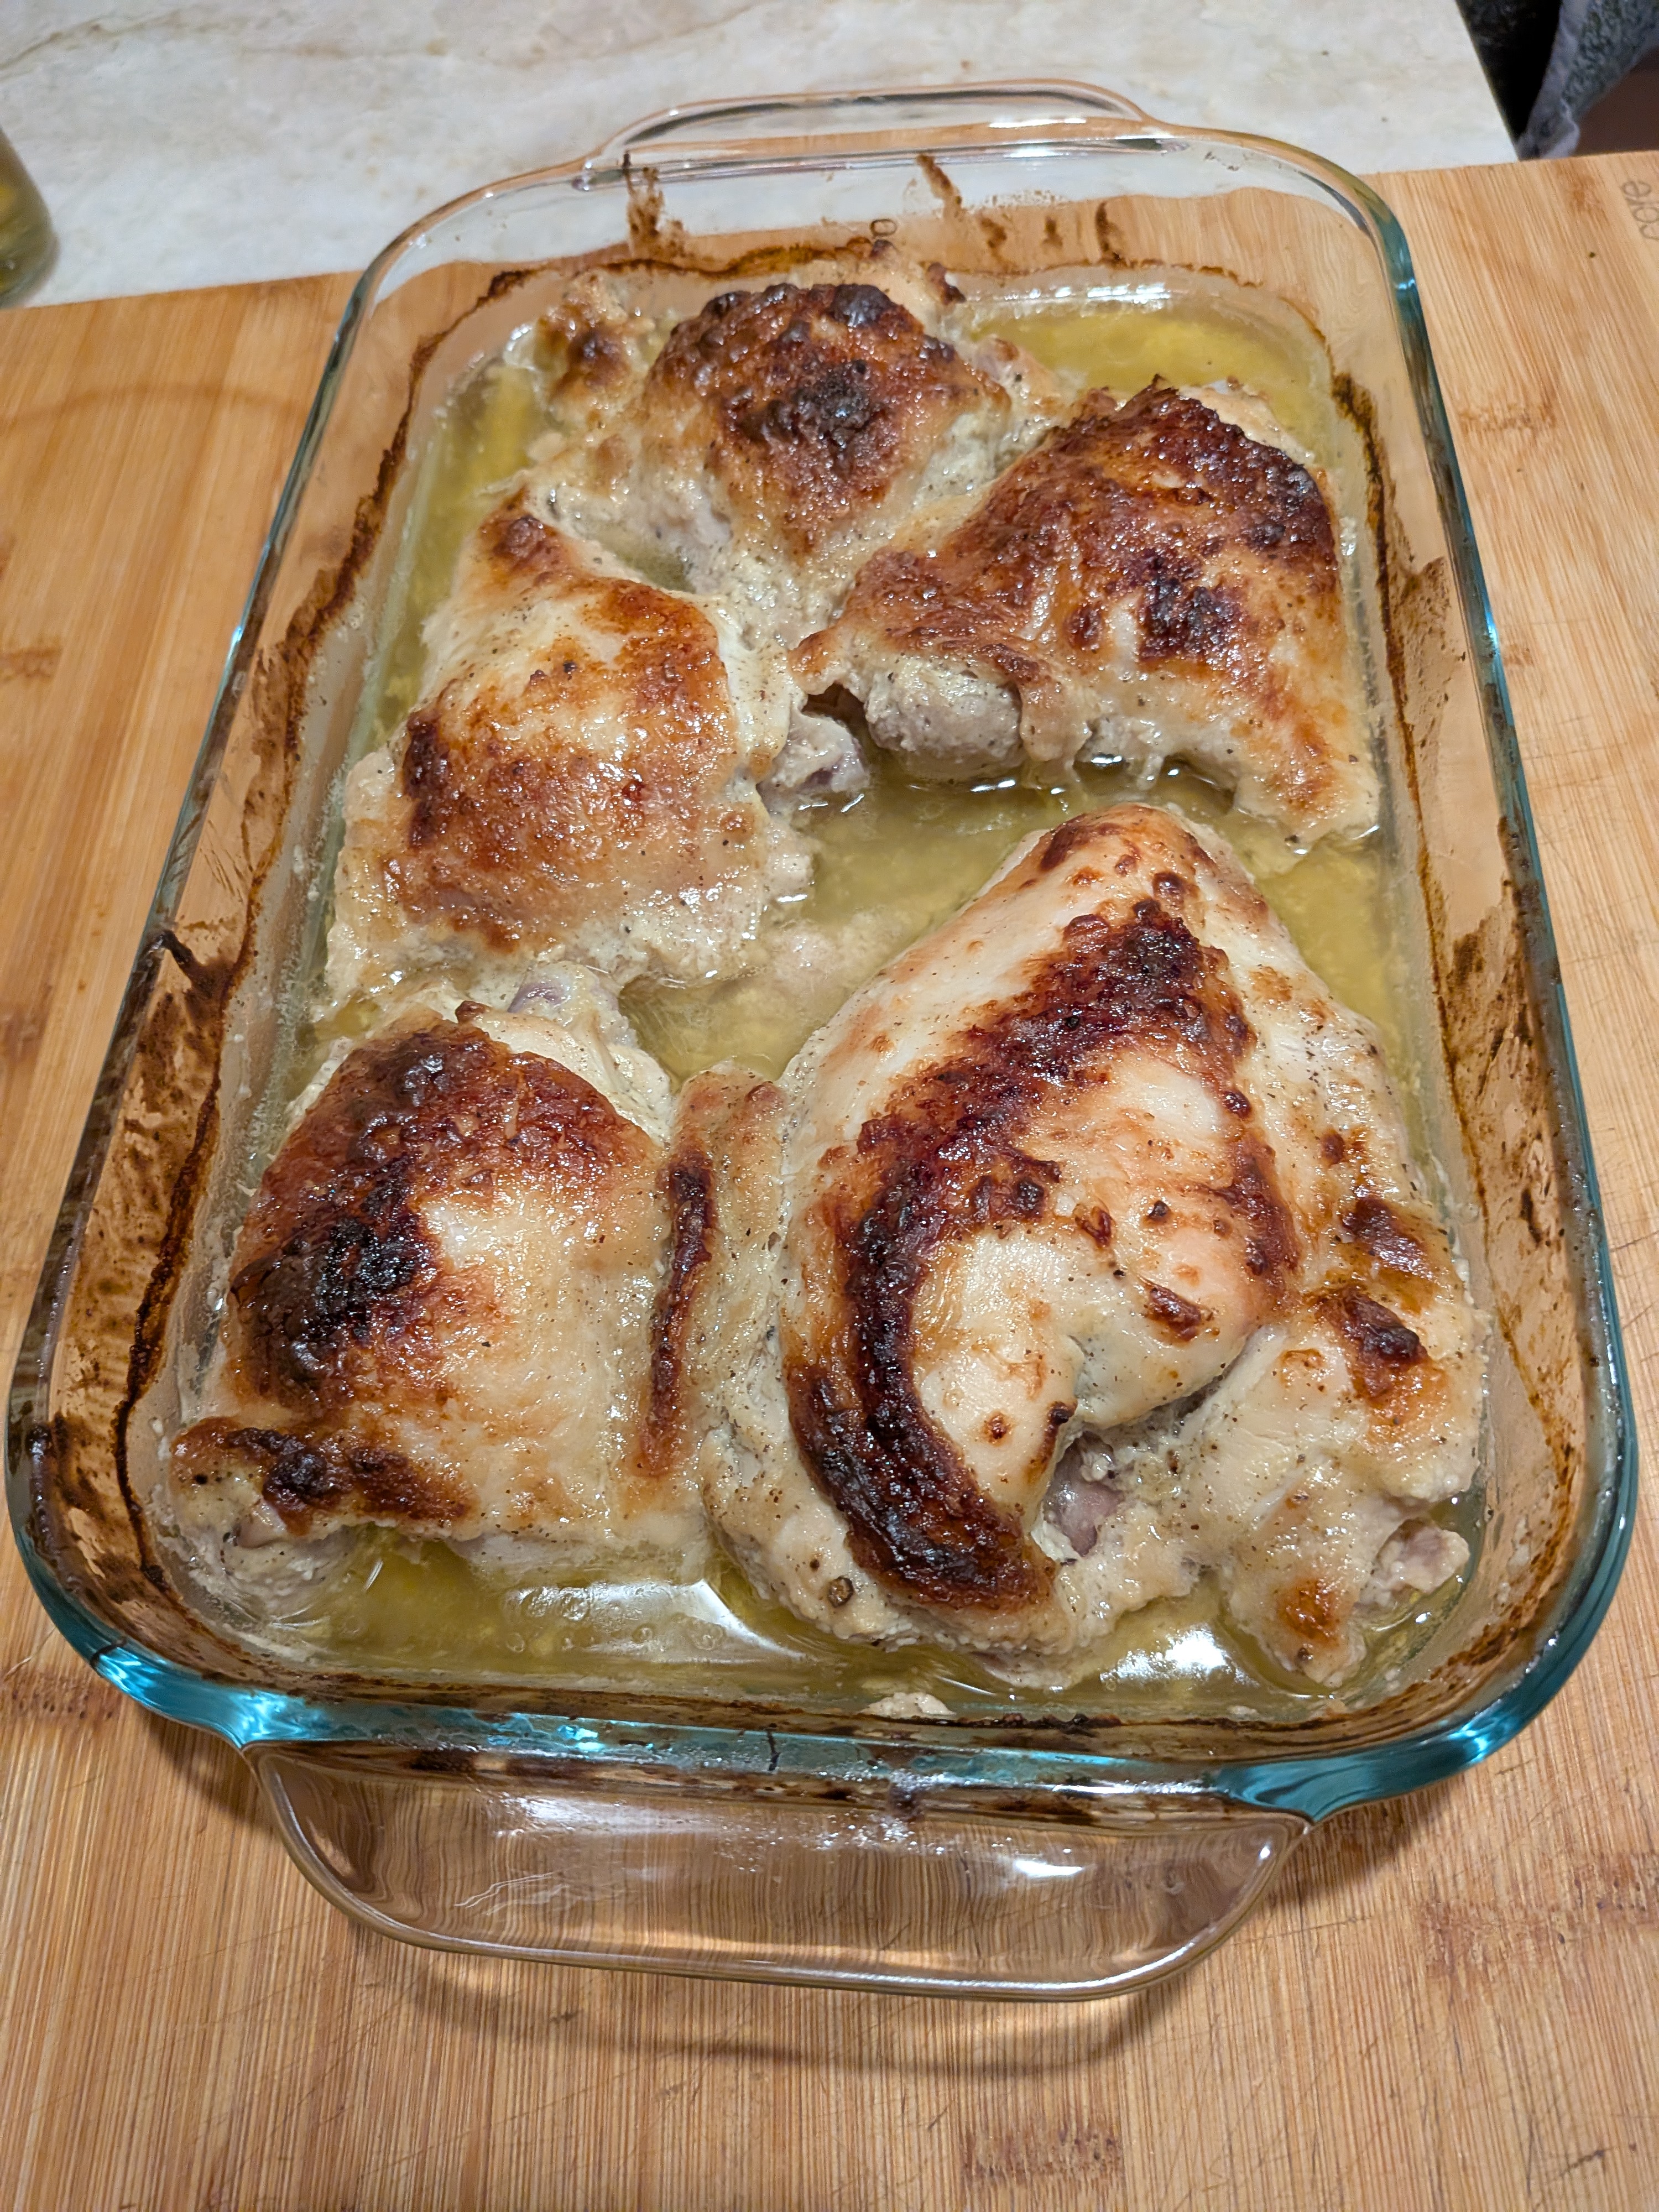
Lyn Found this recipe and it was well worth it falling of the bone both the thighs and the breast. While the kiwi 🥝 takes care of the tenderizing, the sour cream adds an extra layer of depth and keeps the chicken juicy throughout the cooking process. The result is a perfect blend of sweet, tangy and savory flavors and the most tender, melt-in-your-mouth meat.
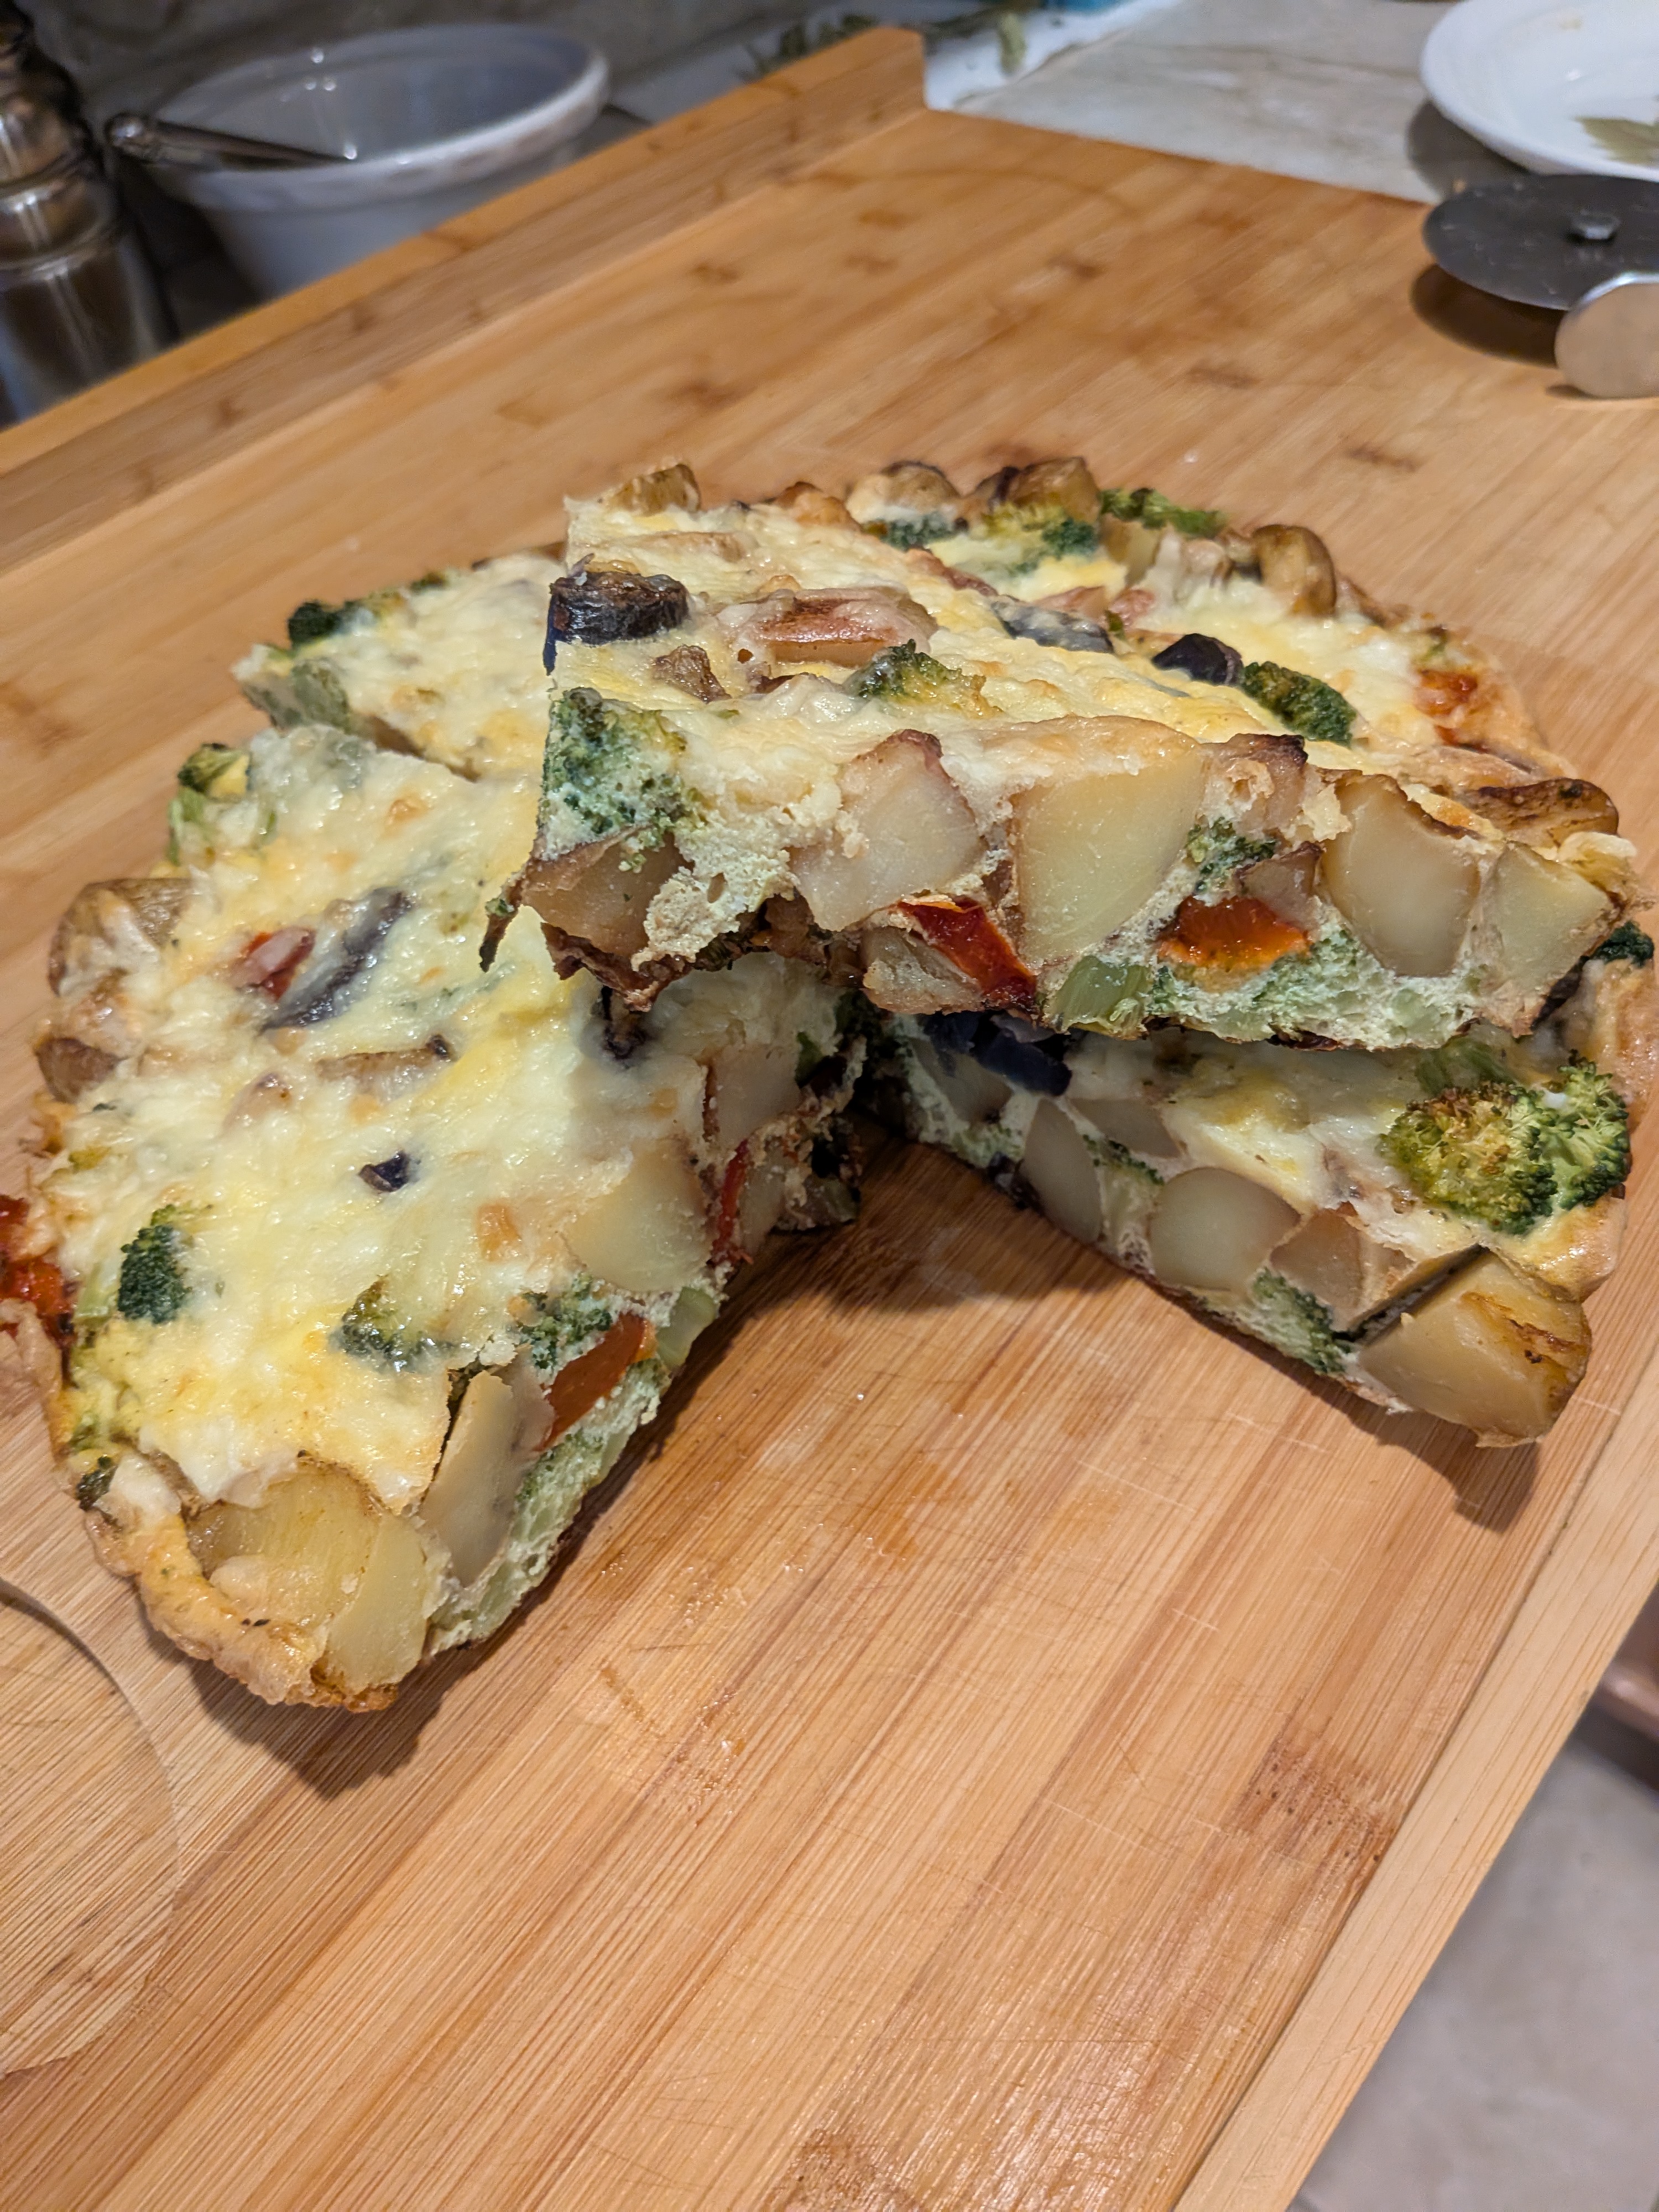
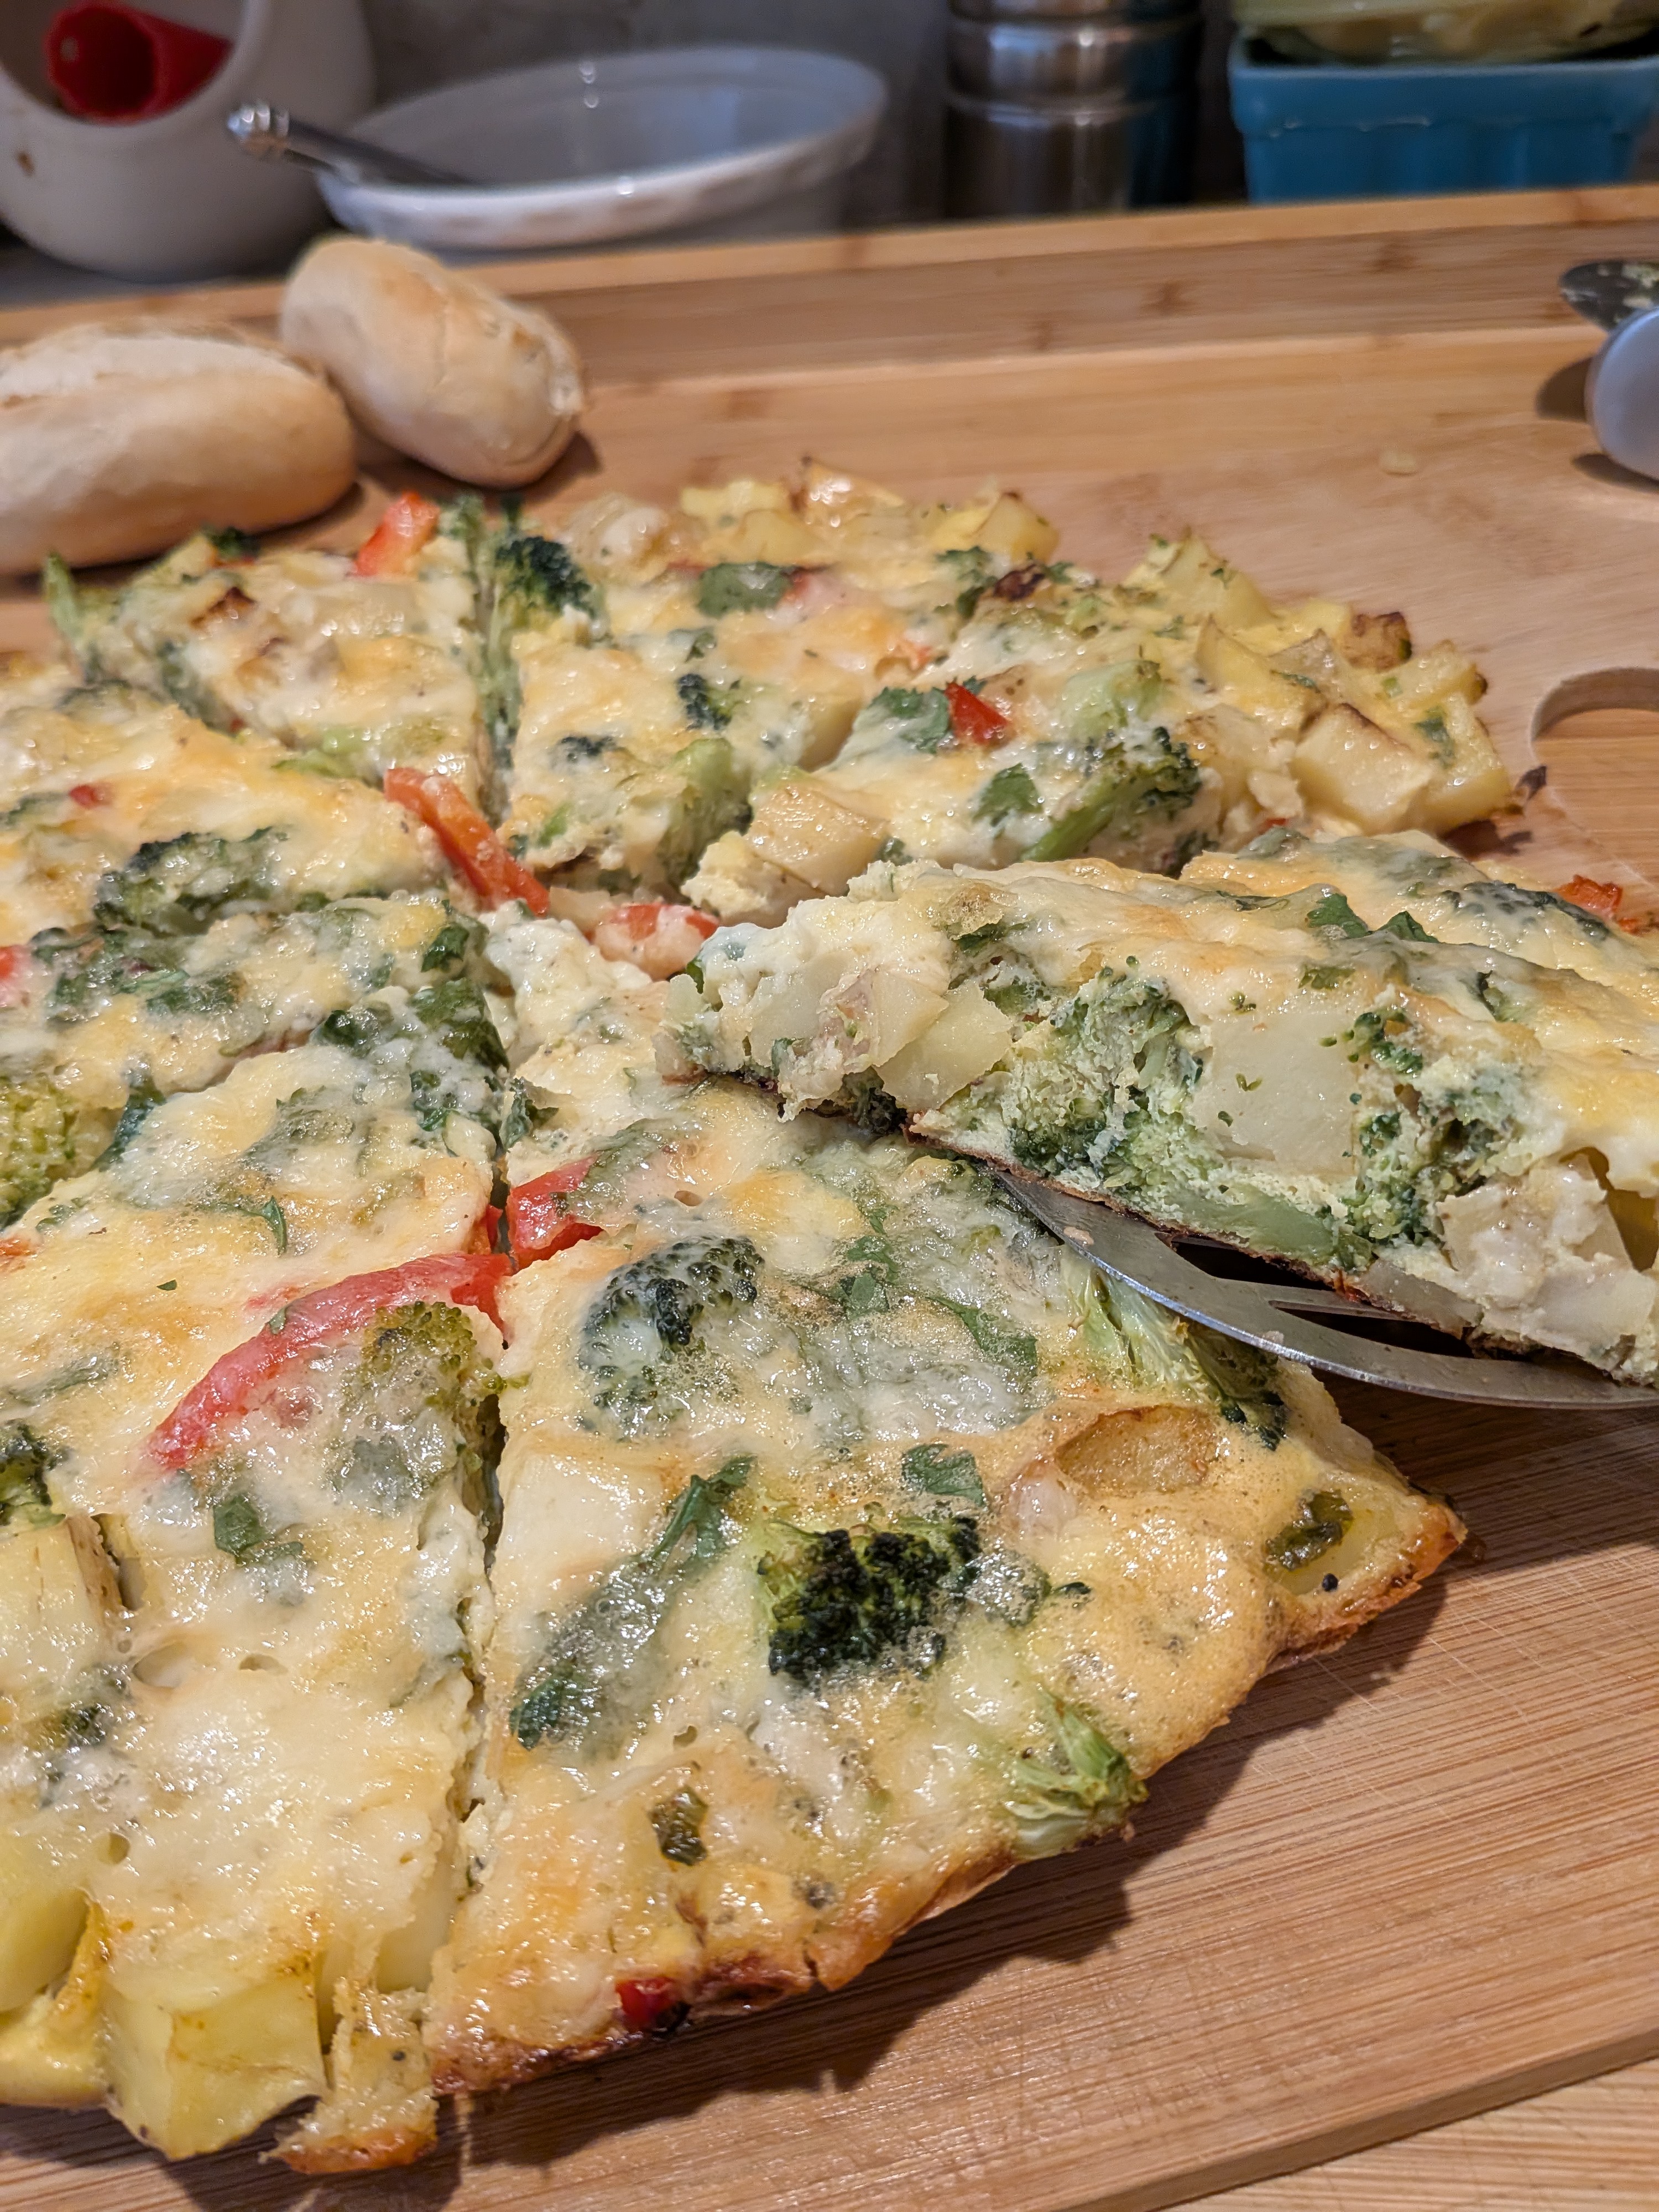
This is a quick and easy meal especially when you’re looking for breakfast for dinner. In fact this dish has become a bi-weekly staple. Love it because it cleans out the frig, makes many meals (breakfast, lunch and dinner) anyway the other day we were at Stop and Shop and they had those mini potatoes buy one get one free deals. I grabbed a bag of small Yellow potatoes and one of the mixed colors. made the cubing easier they were already small.
Ingredients
About 1.3 lbs. 2 bags of mini potatoes
1 Vidalia onion chopped
1 head of broccoli (375g)
1 red pepper
1 teaspoon smoked paprika
8 large farm fresh eggs
1/3 Cheddar cheese and 2/3 cup Cheddar Cheese
How
Preheat the oven to 400ºF
Drizzle 1 tablespoon of olive oil into an ovenproof non-stick frying pan on a medium-high heat.
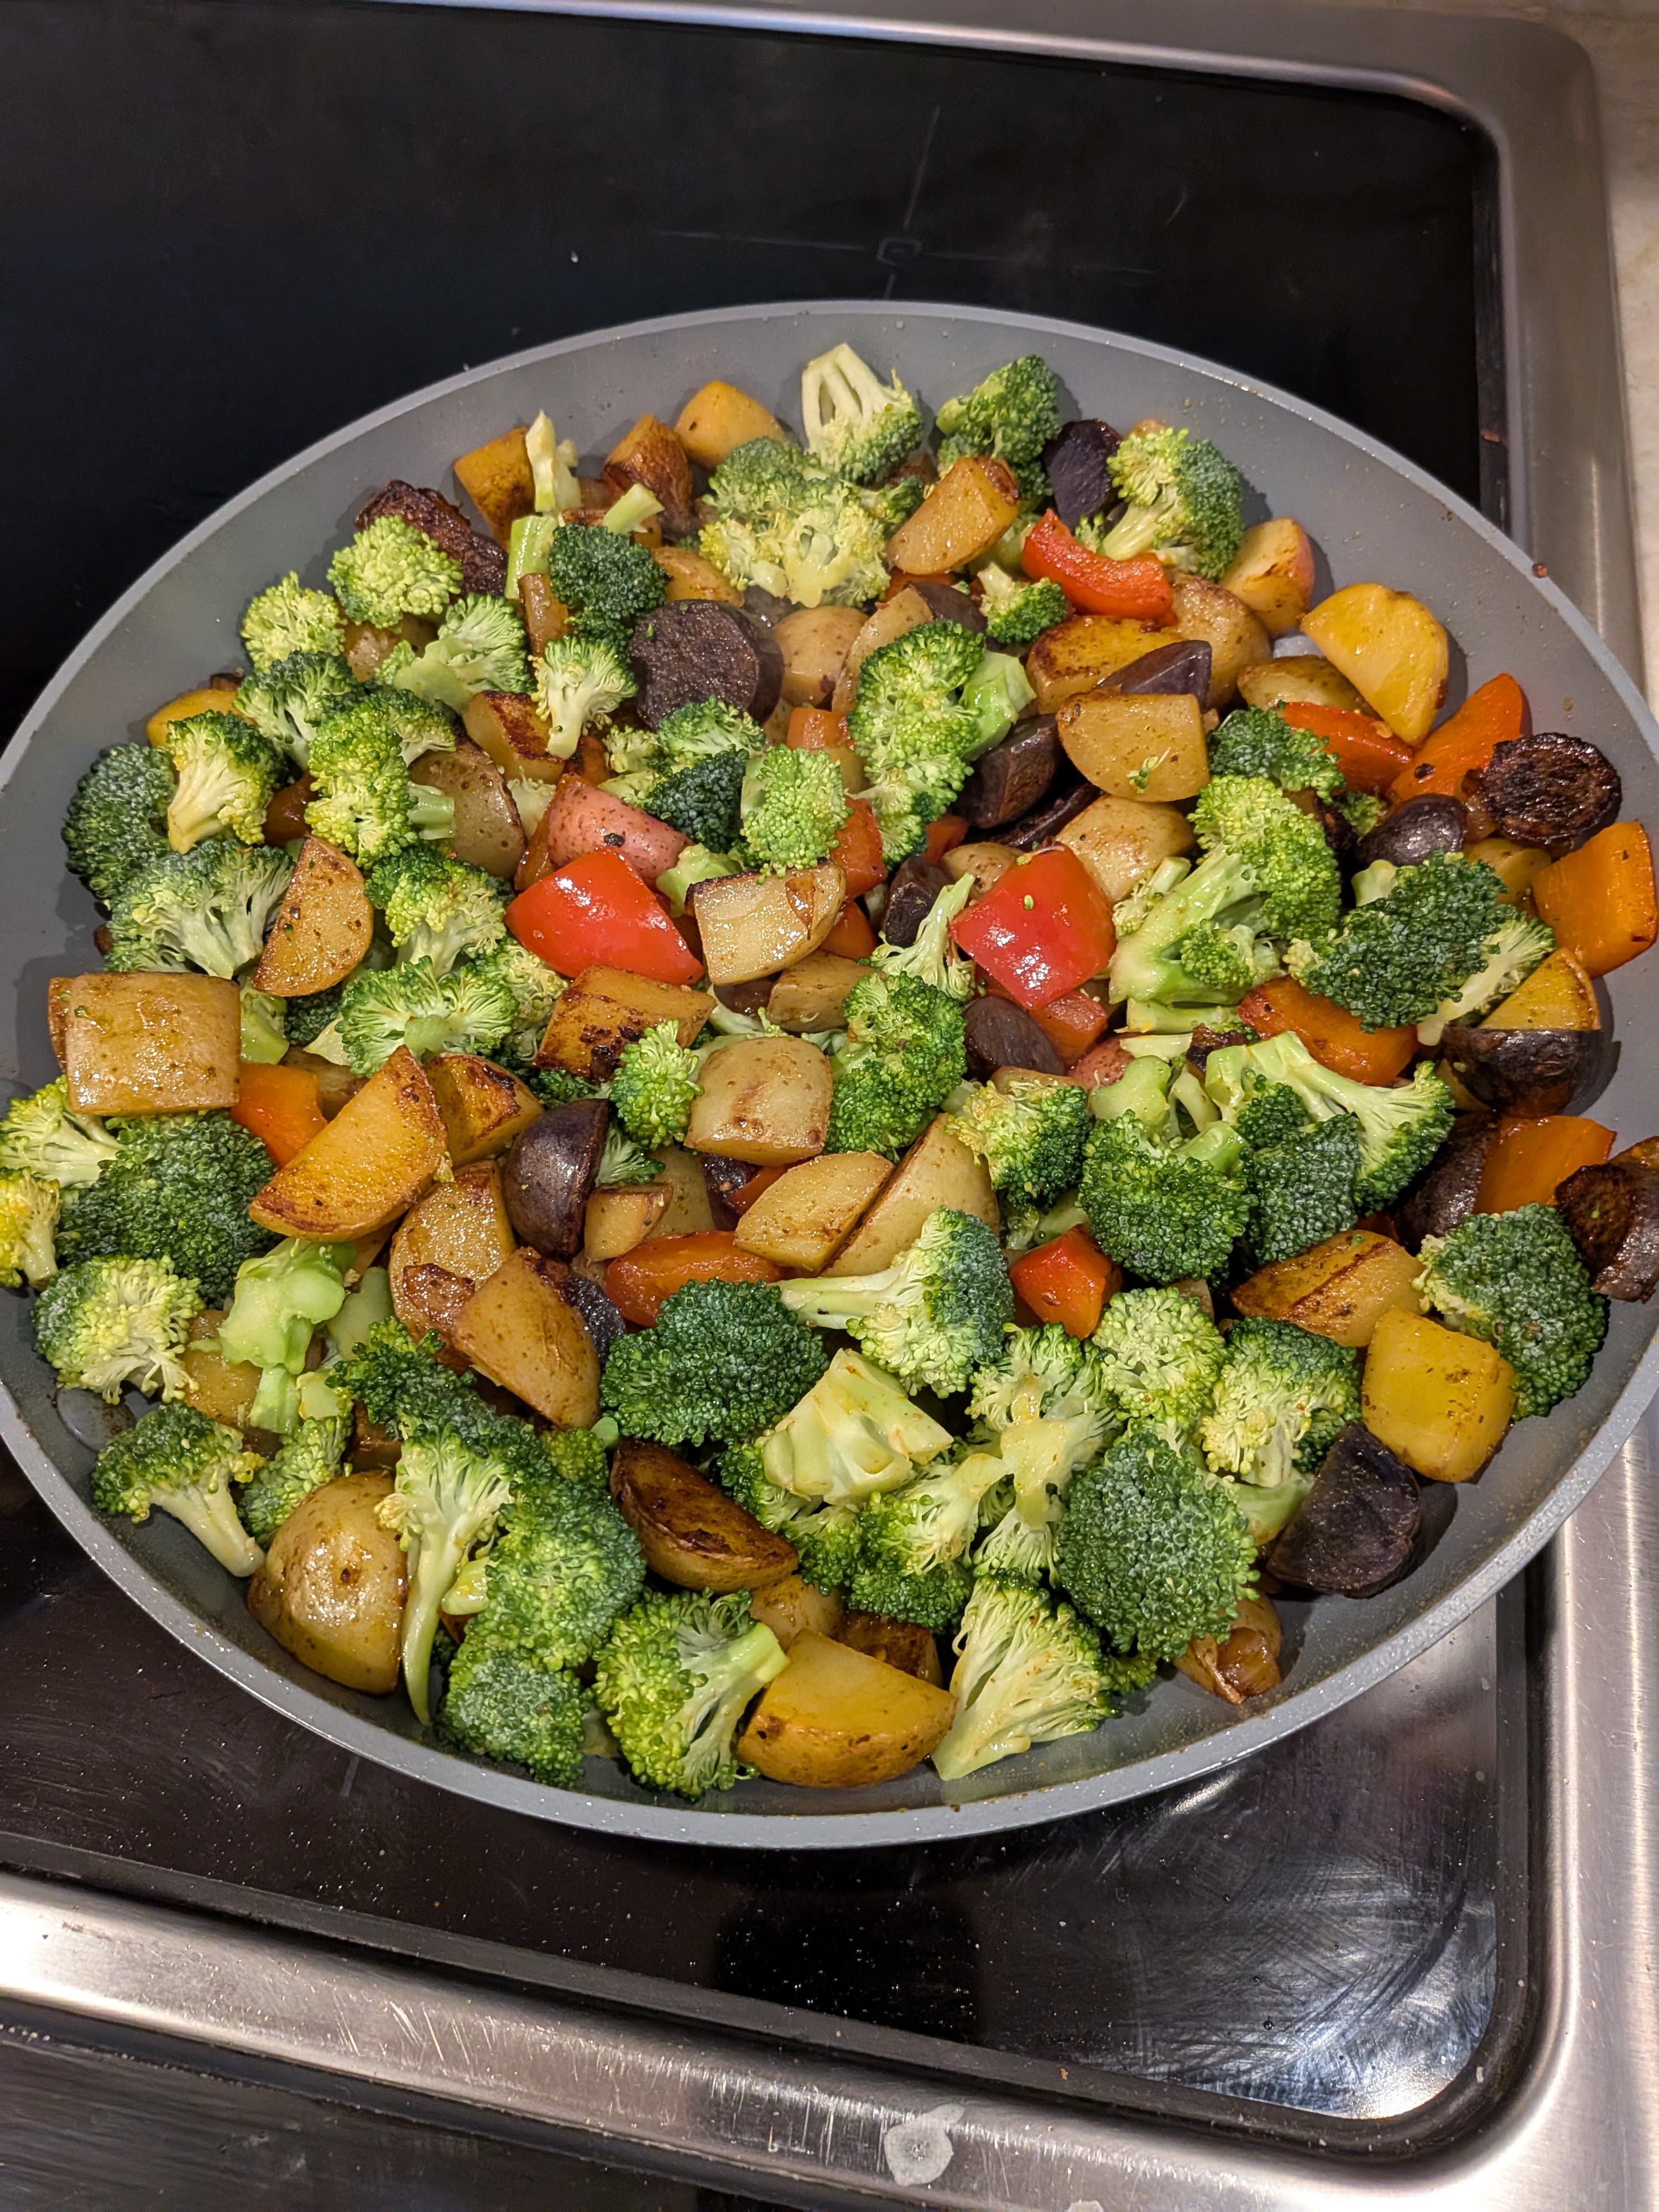
Scrub potatoes and chop into ½” dice, adding to the pan as you go.
Trim, finely slice and add 1 bunch of scallions. Deseed, finely slice and add 1 red pepper. Add to the pan
Season with a pinch of sea salt and black pepper, add 1 teaspoon of smoked paprika, then cook for 15 minutes, or until golden, stirring occasionally. Slice the head of broccoli apart into bite-sized florets, adding to the pan for the last 5 minutes.
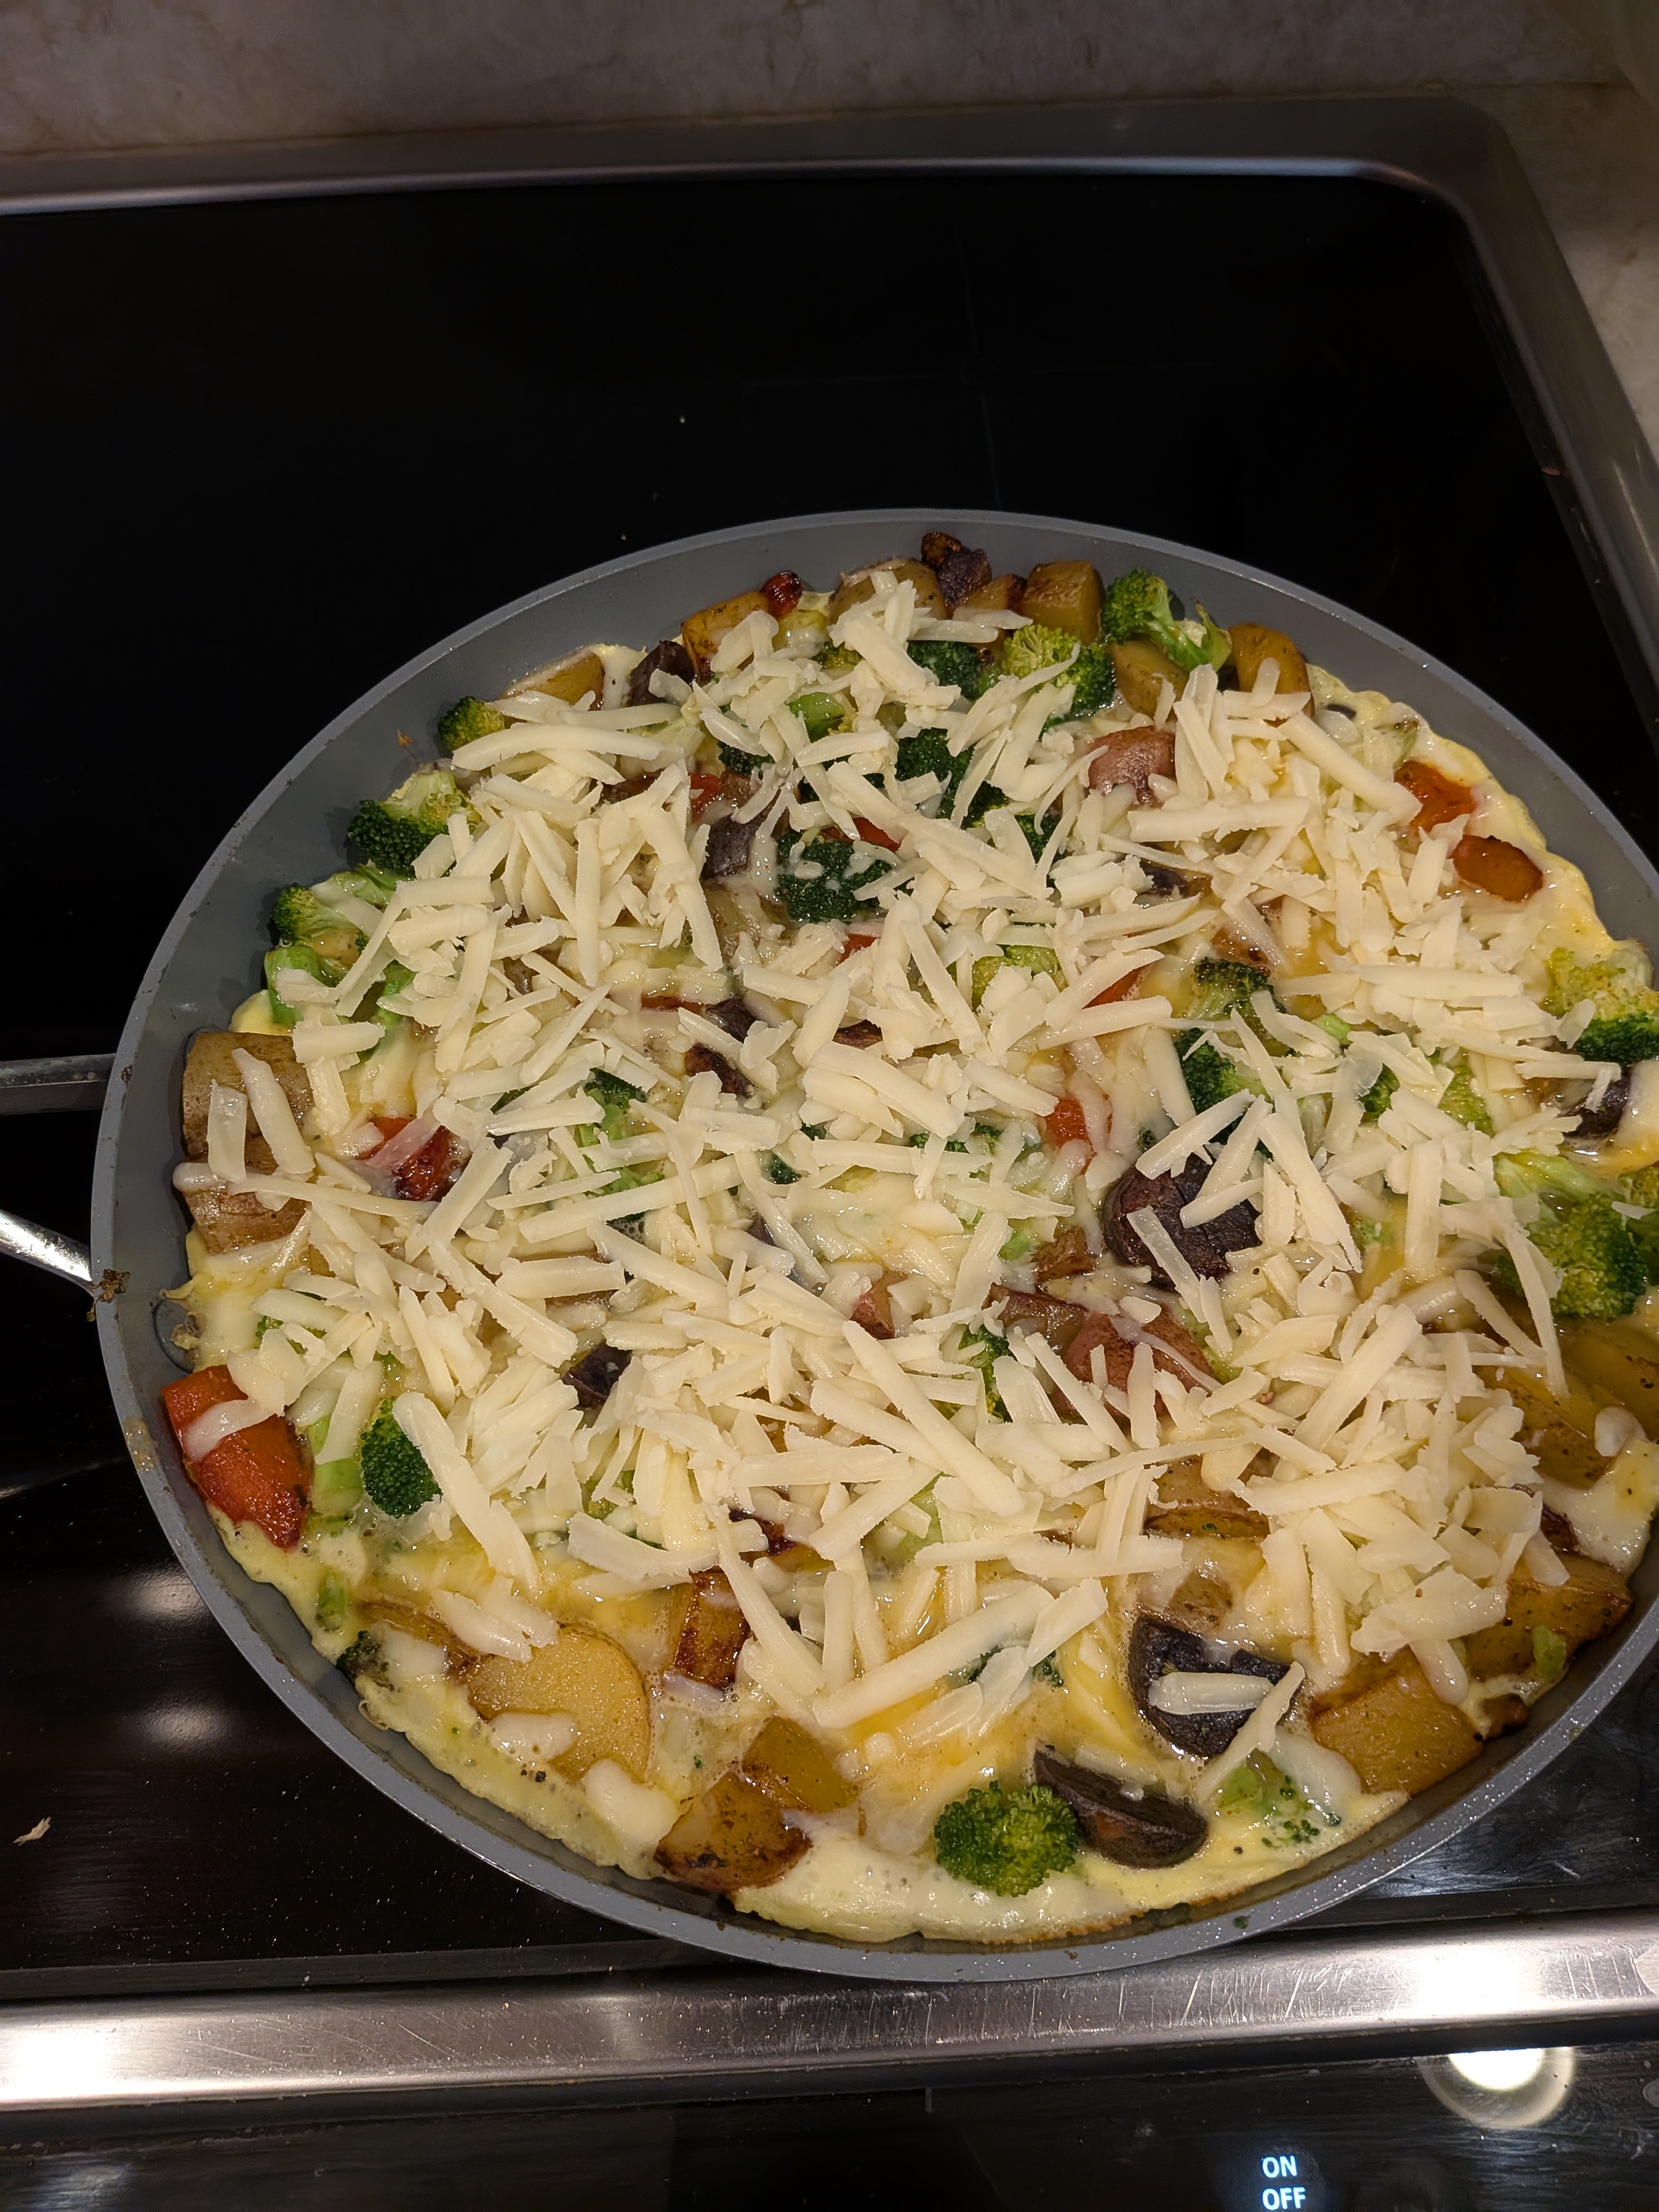
Crack 8 large eggs into a bowl and beat together, grate in 1/3 cup of Cheddar cheese and season with salt and pepper. Mix together well.
Pour the egg mixture, swirling to coat the base of the pan.
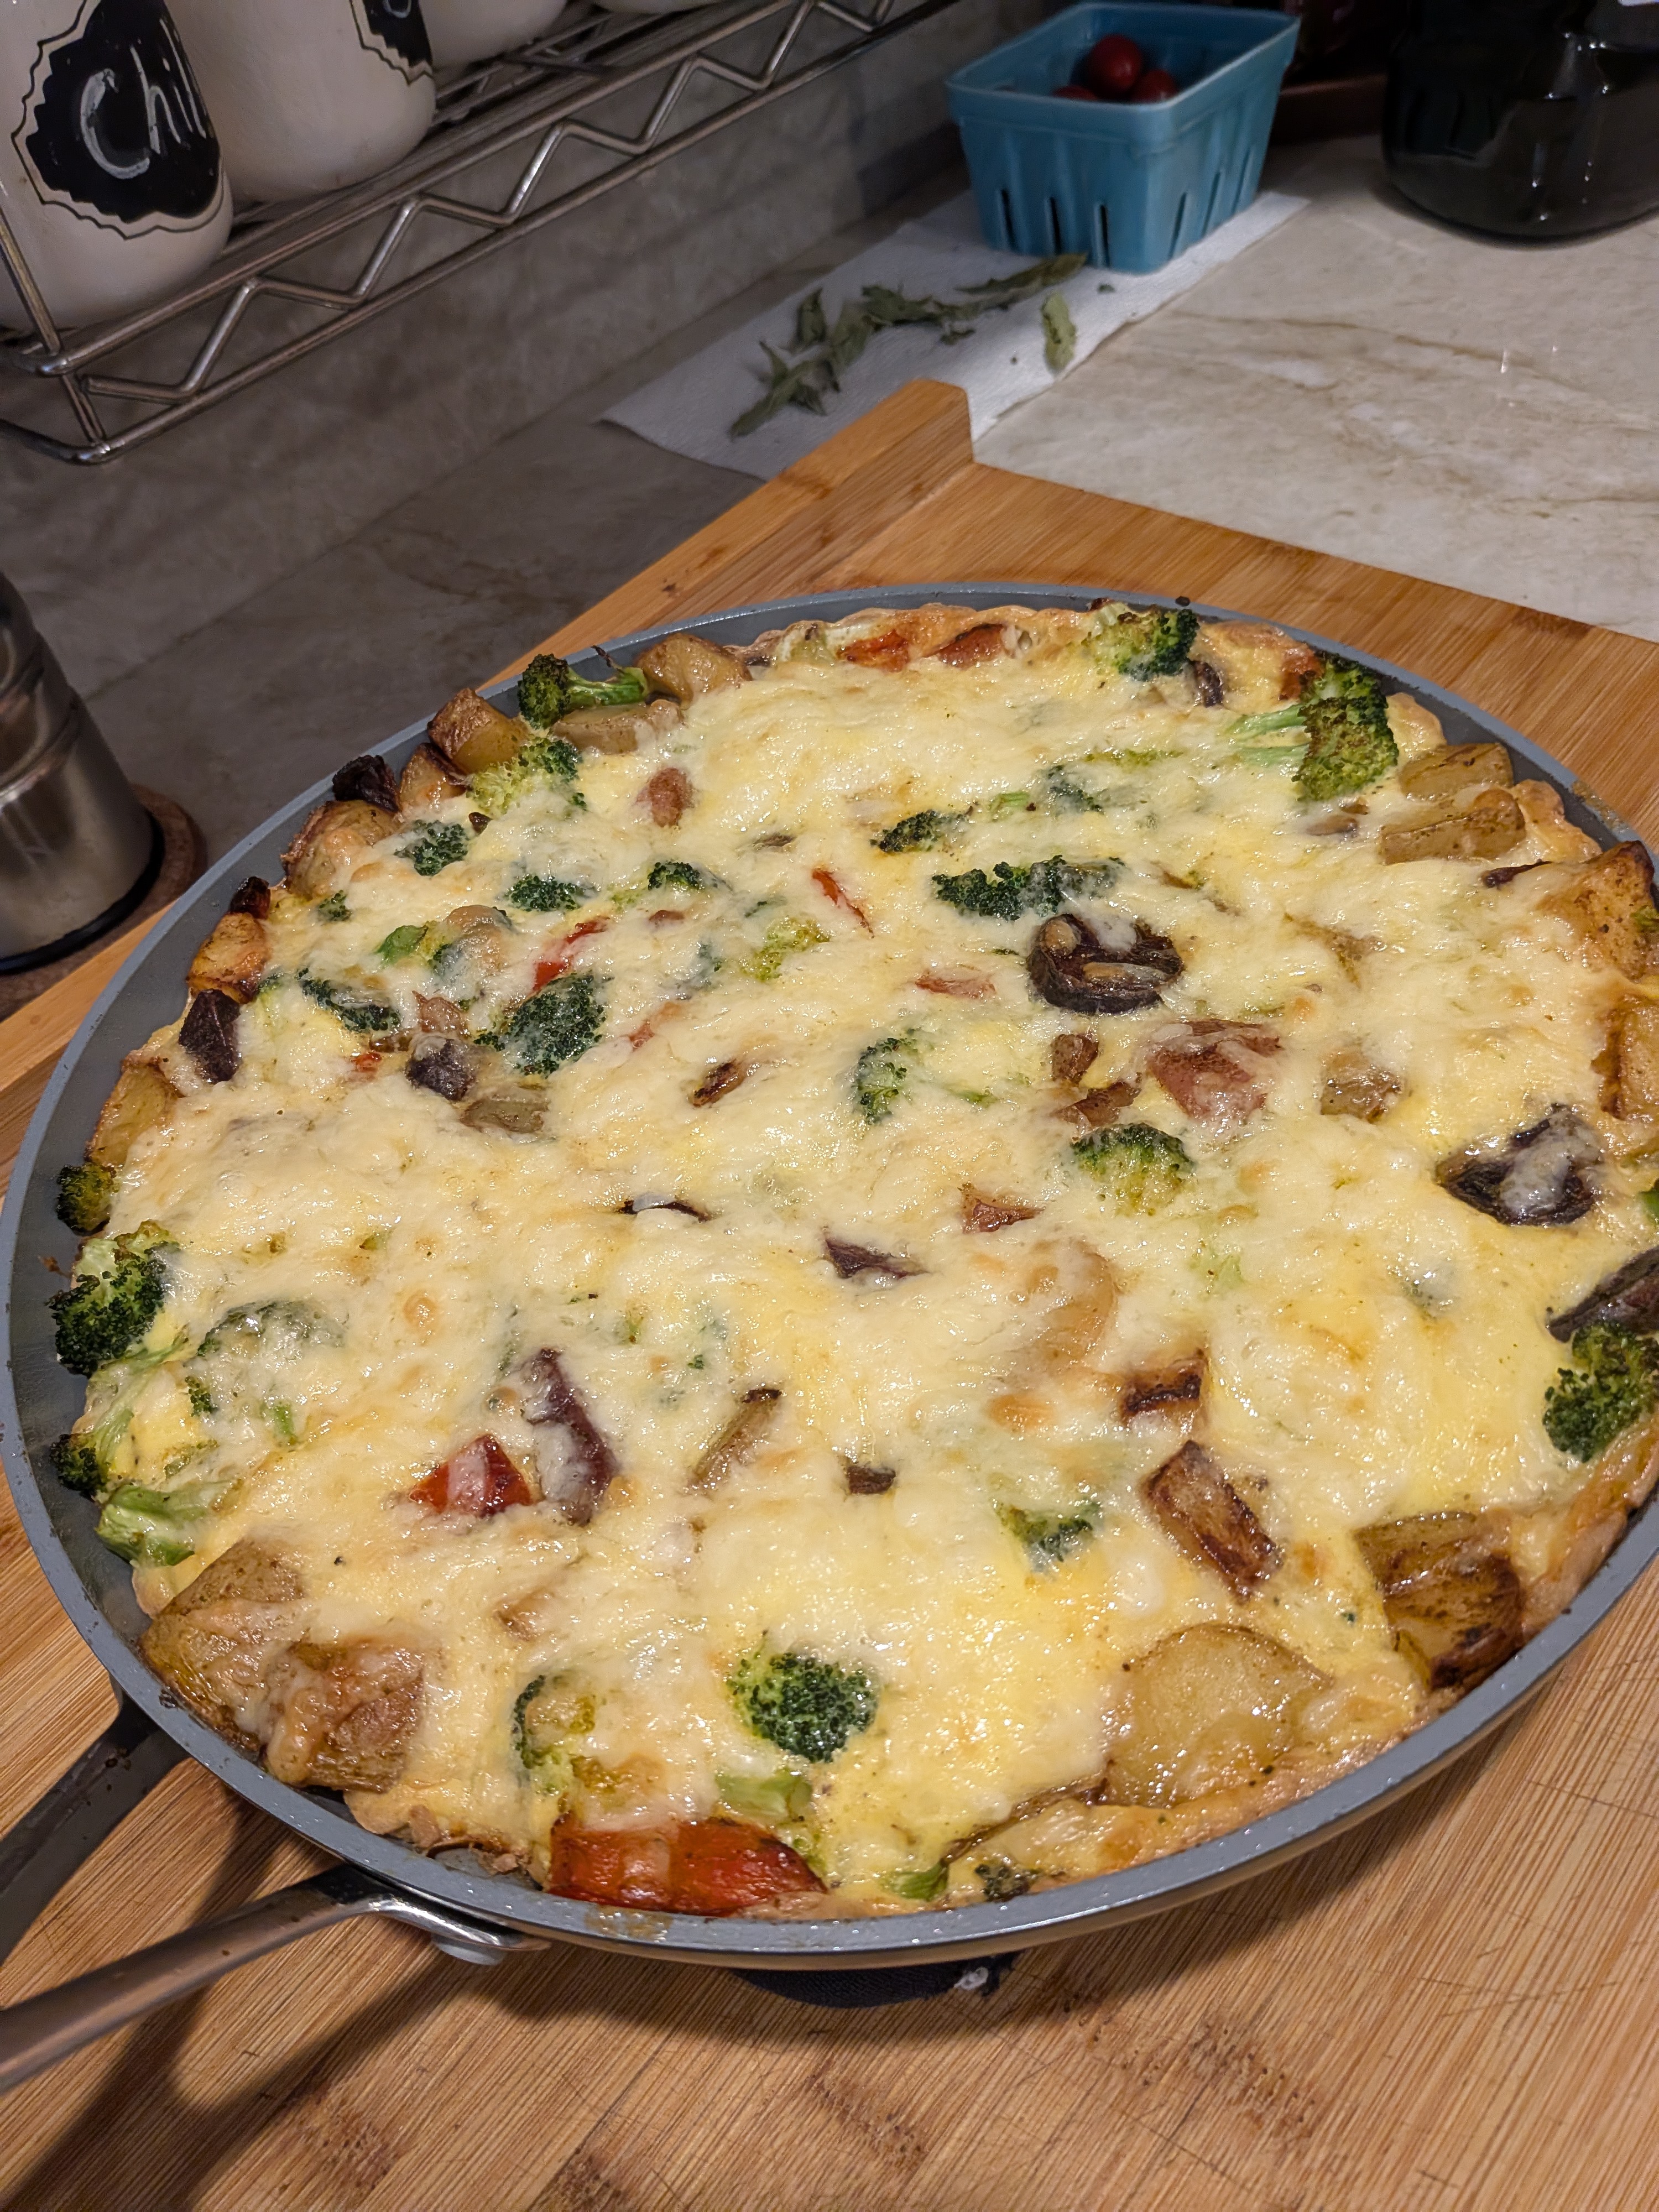
Grate over the remaining 2/3 cup of Cheddar and cook for 2 minutes, then bake for 10 minutes, or until golden and set.
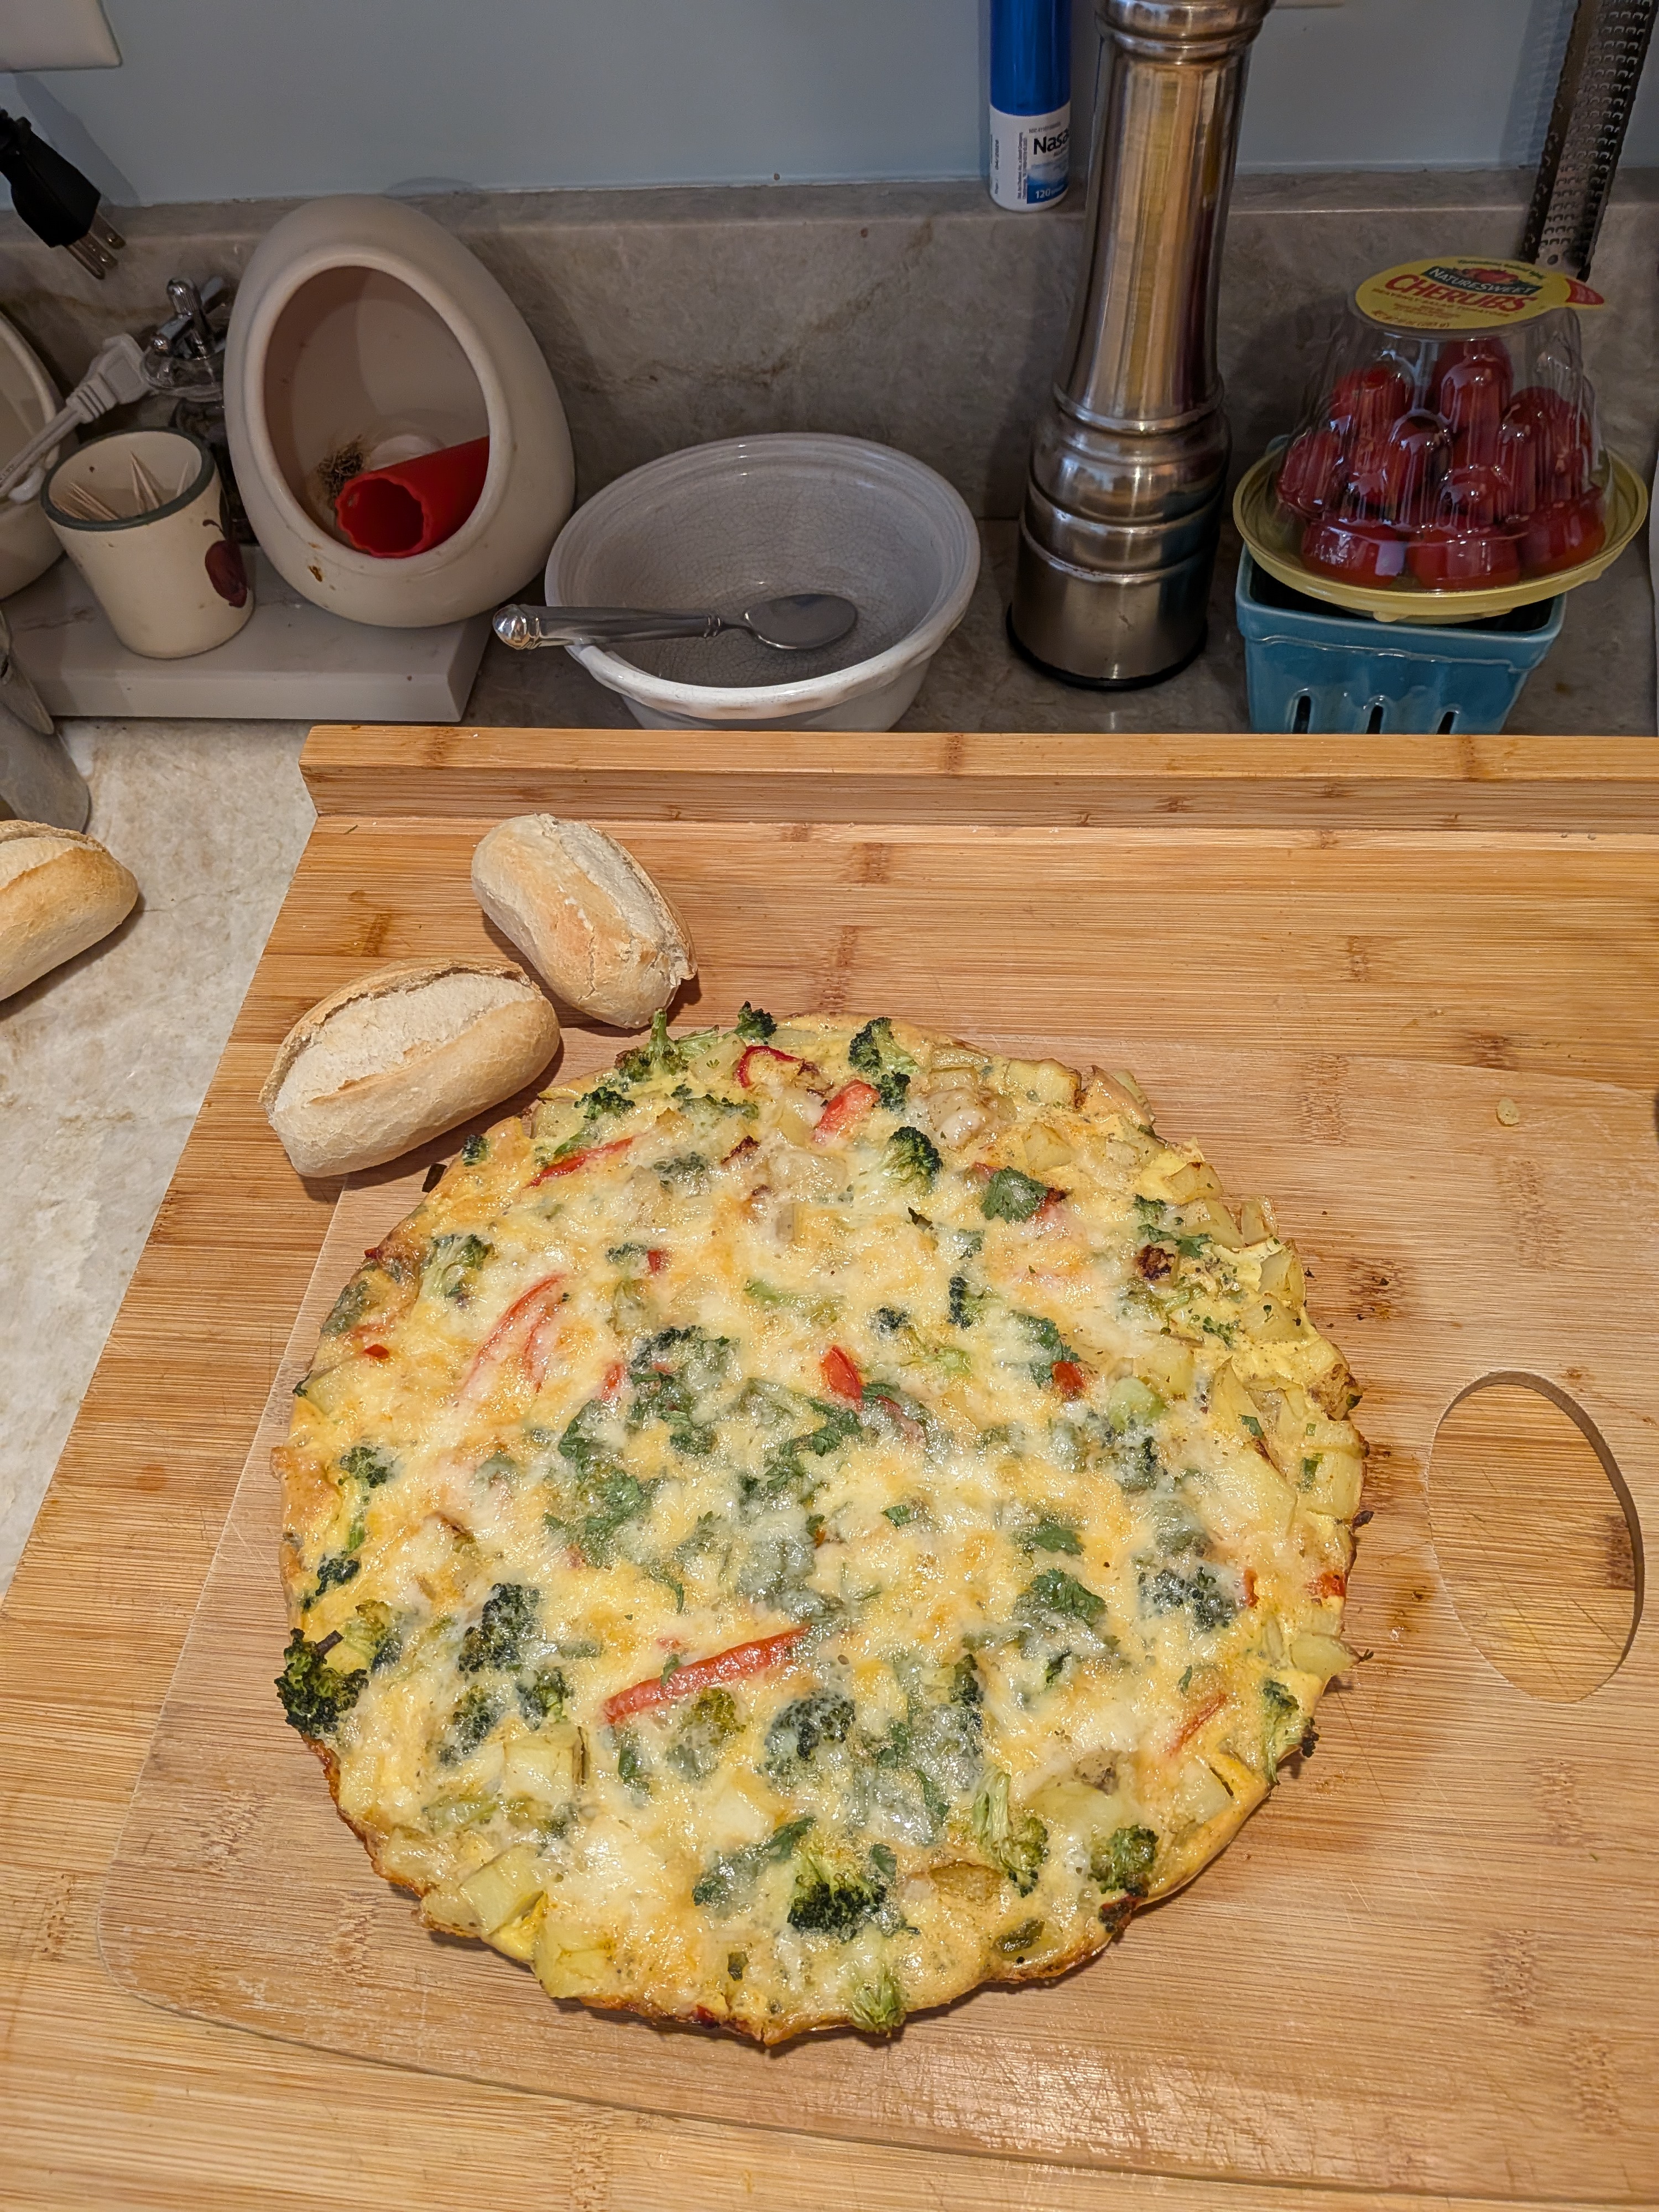
Slide the frittata out onto a serving board and cut into wedges.
This is a quick and easy meal especially when you’re looking for breakfast for dinner.
Ingredients
About 1.3 lbs. Maybe 2 good size Yukon gold potatoes
1 bunch of scallions
1 head of broccoli (375g)
1 red pepper
1 teaspoon smoked paprika
8 large free-range eggs
1/3 Cheddar cheese and 2/3 cup Cheddar Cheese
How
Preheat the oven to 400ºF
Drizzle 1 tablespoon of olive oil into an ovenproof non-stick frying pan on a medium-high heat.
Scrub potatoes and chop into ½” dice, adding to the pan as you go.
Trim, finely slice and add 1 bunch of scallions. Deseed, finely slice and add 1 red pepper. Add to the pan
Season with a pinch of sea salt and black pepper, add 1 teaspoon of smoked paprika, then cook for 15 minutes, or until golden, stirring occasionally. Slice the head of broccoli apart into bite-sized florets, adding to the pan for the last 5 minutes.
Crack 8 large eggs into a bowl and beat together, grate in 1/3 cup of Cheddar cheese and season with salt and pepper. Mix together well.
Pour the egg mixture, swirling to coat the base of the pan.
Grate over the remaining 2/3 cup of Cheddar and cook for 2 minutes, then bake for 10 minutes, or until golden and set.
Slide the frittata out onto a serving board and cut into wedges.
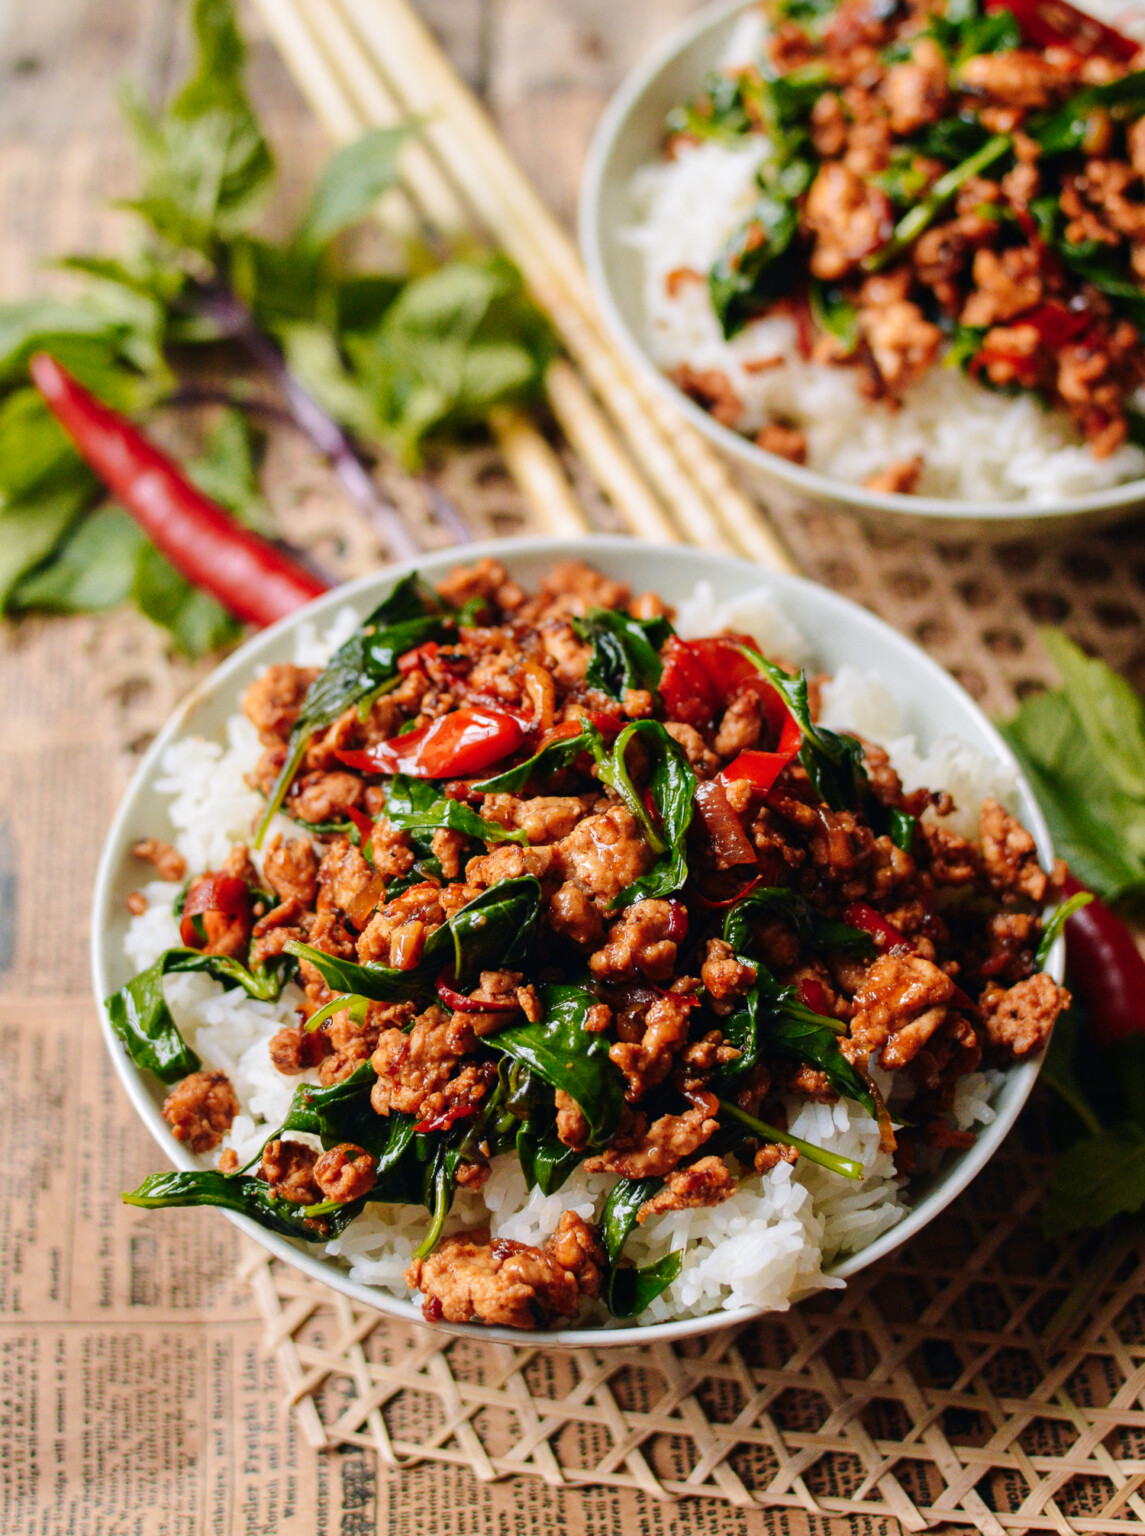
We happened to be at Market Basket when, sitting all by itself on top of the raspberries, was a single package of Thai basil. At our MB, it’s never in stock—this was the only one in the entire produce section. It felt like the Universe was sending us a sign.
I had made this recipe once before and really enjoyed it, plus it’s one of Lyn’s favorite dishes.
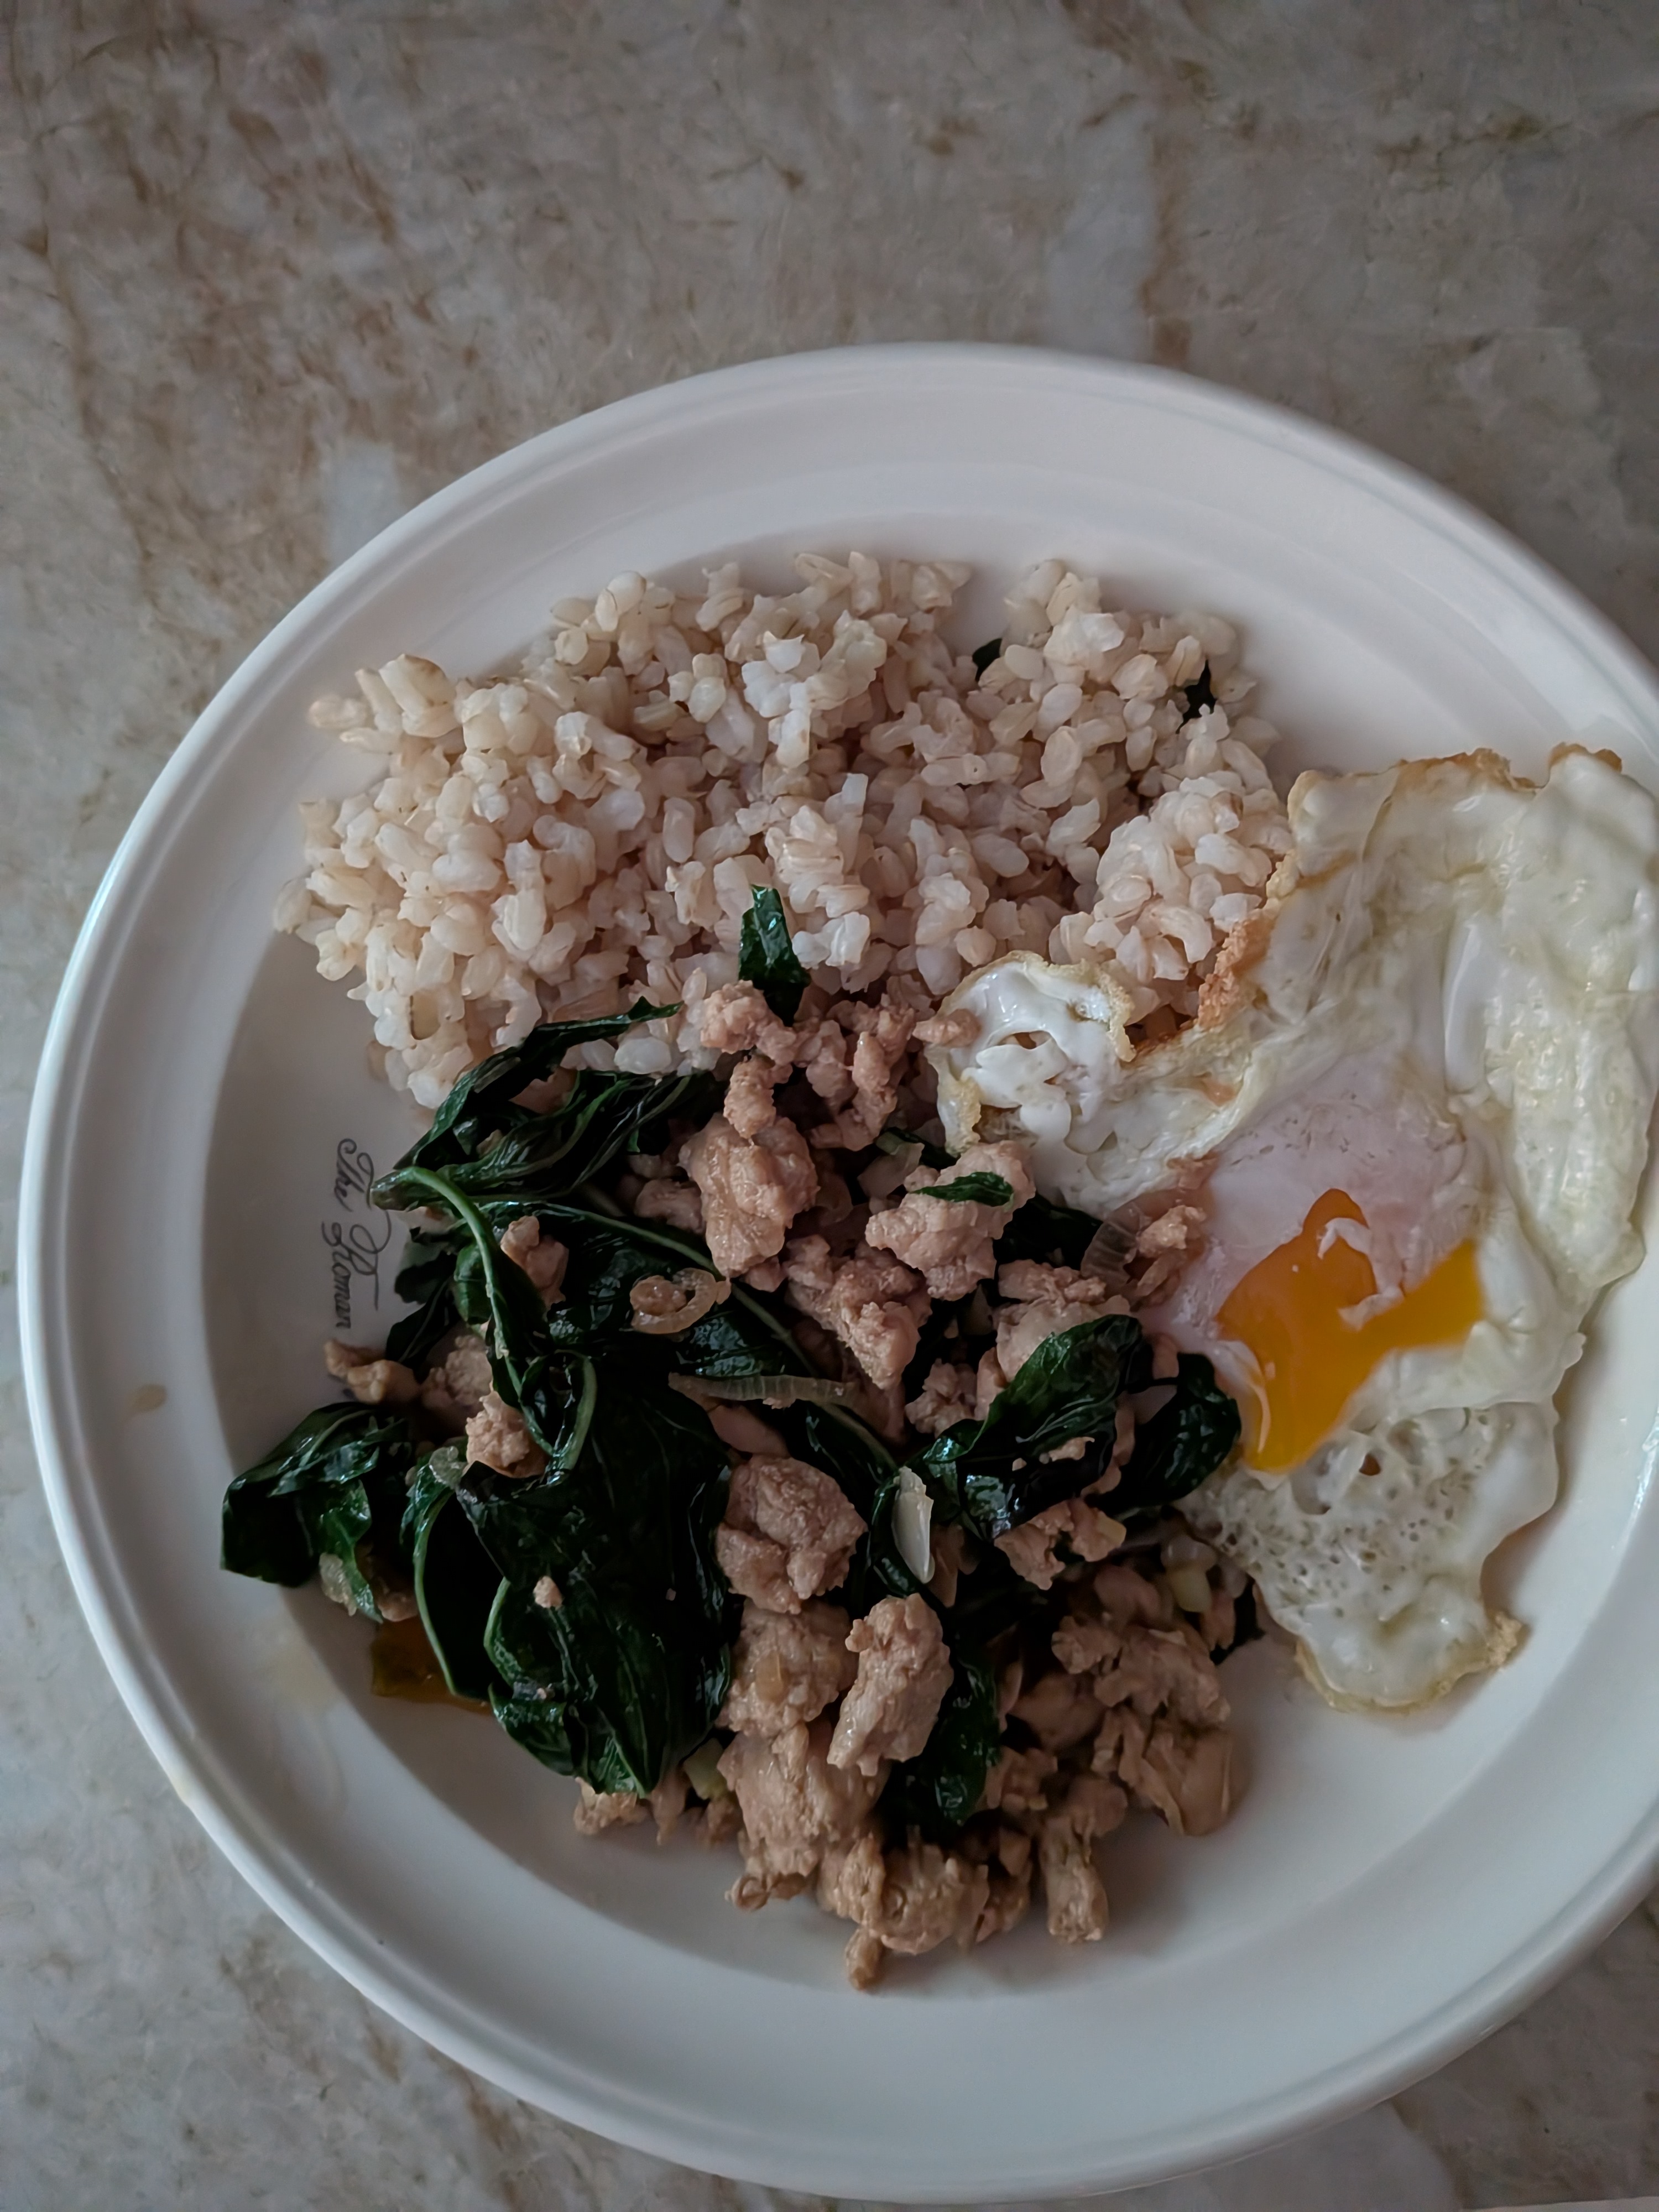
This Thai basil chicken recipe takes just 3 minutes to prepare and 7 minutes to cook. Served along with steamed rice, it’s restaurant food, fast. This was a good find for me it’s from https://thewoksoflife.com
Prep Time 3minutes mins
Cook Time 7minutes mins
Total Time 10minutes mins
Course: Chicken and Poultry
Servings: 4 servings
Author: Sarah
Ingredients
3 to 4 tablespoons oil
3 Thai bird chilies or holland chilies (de-seeded if desired and thinly sliced)
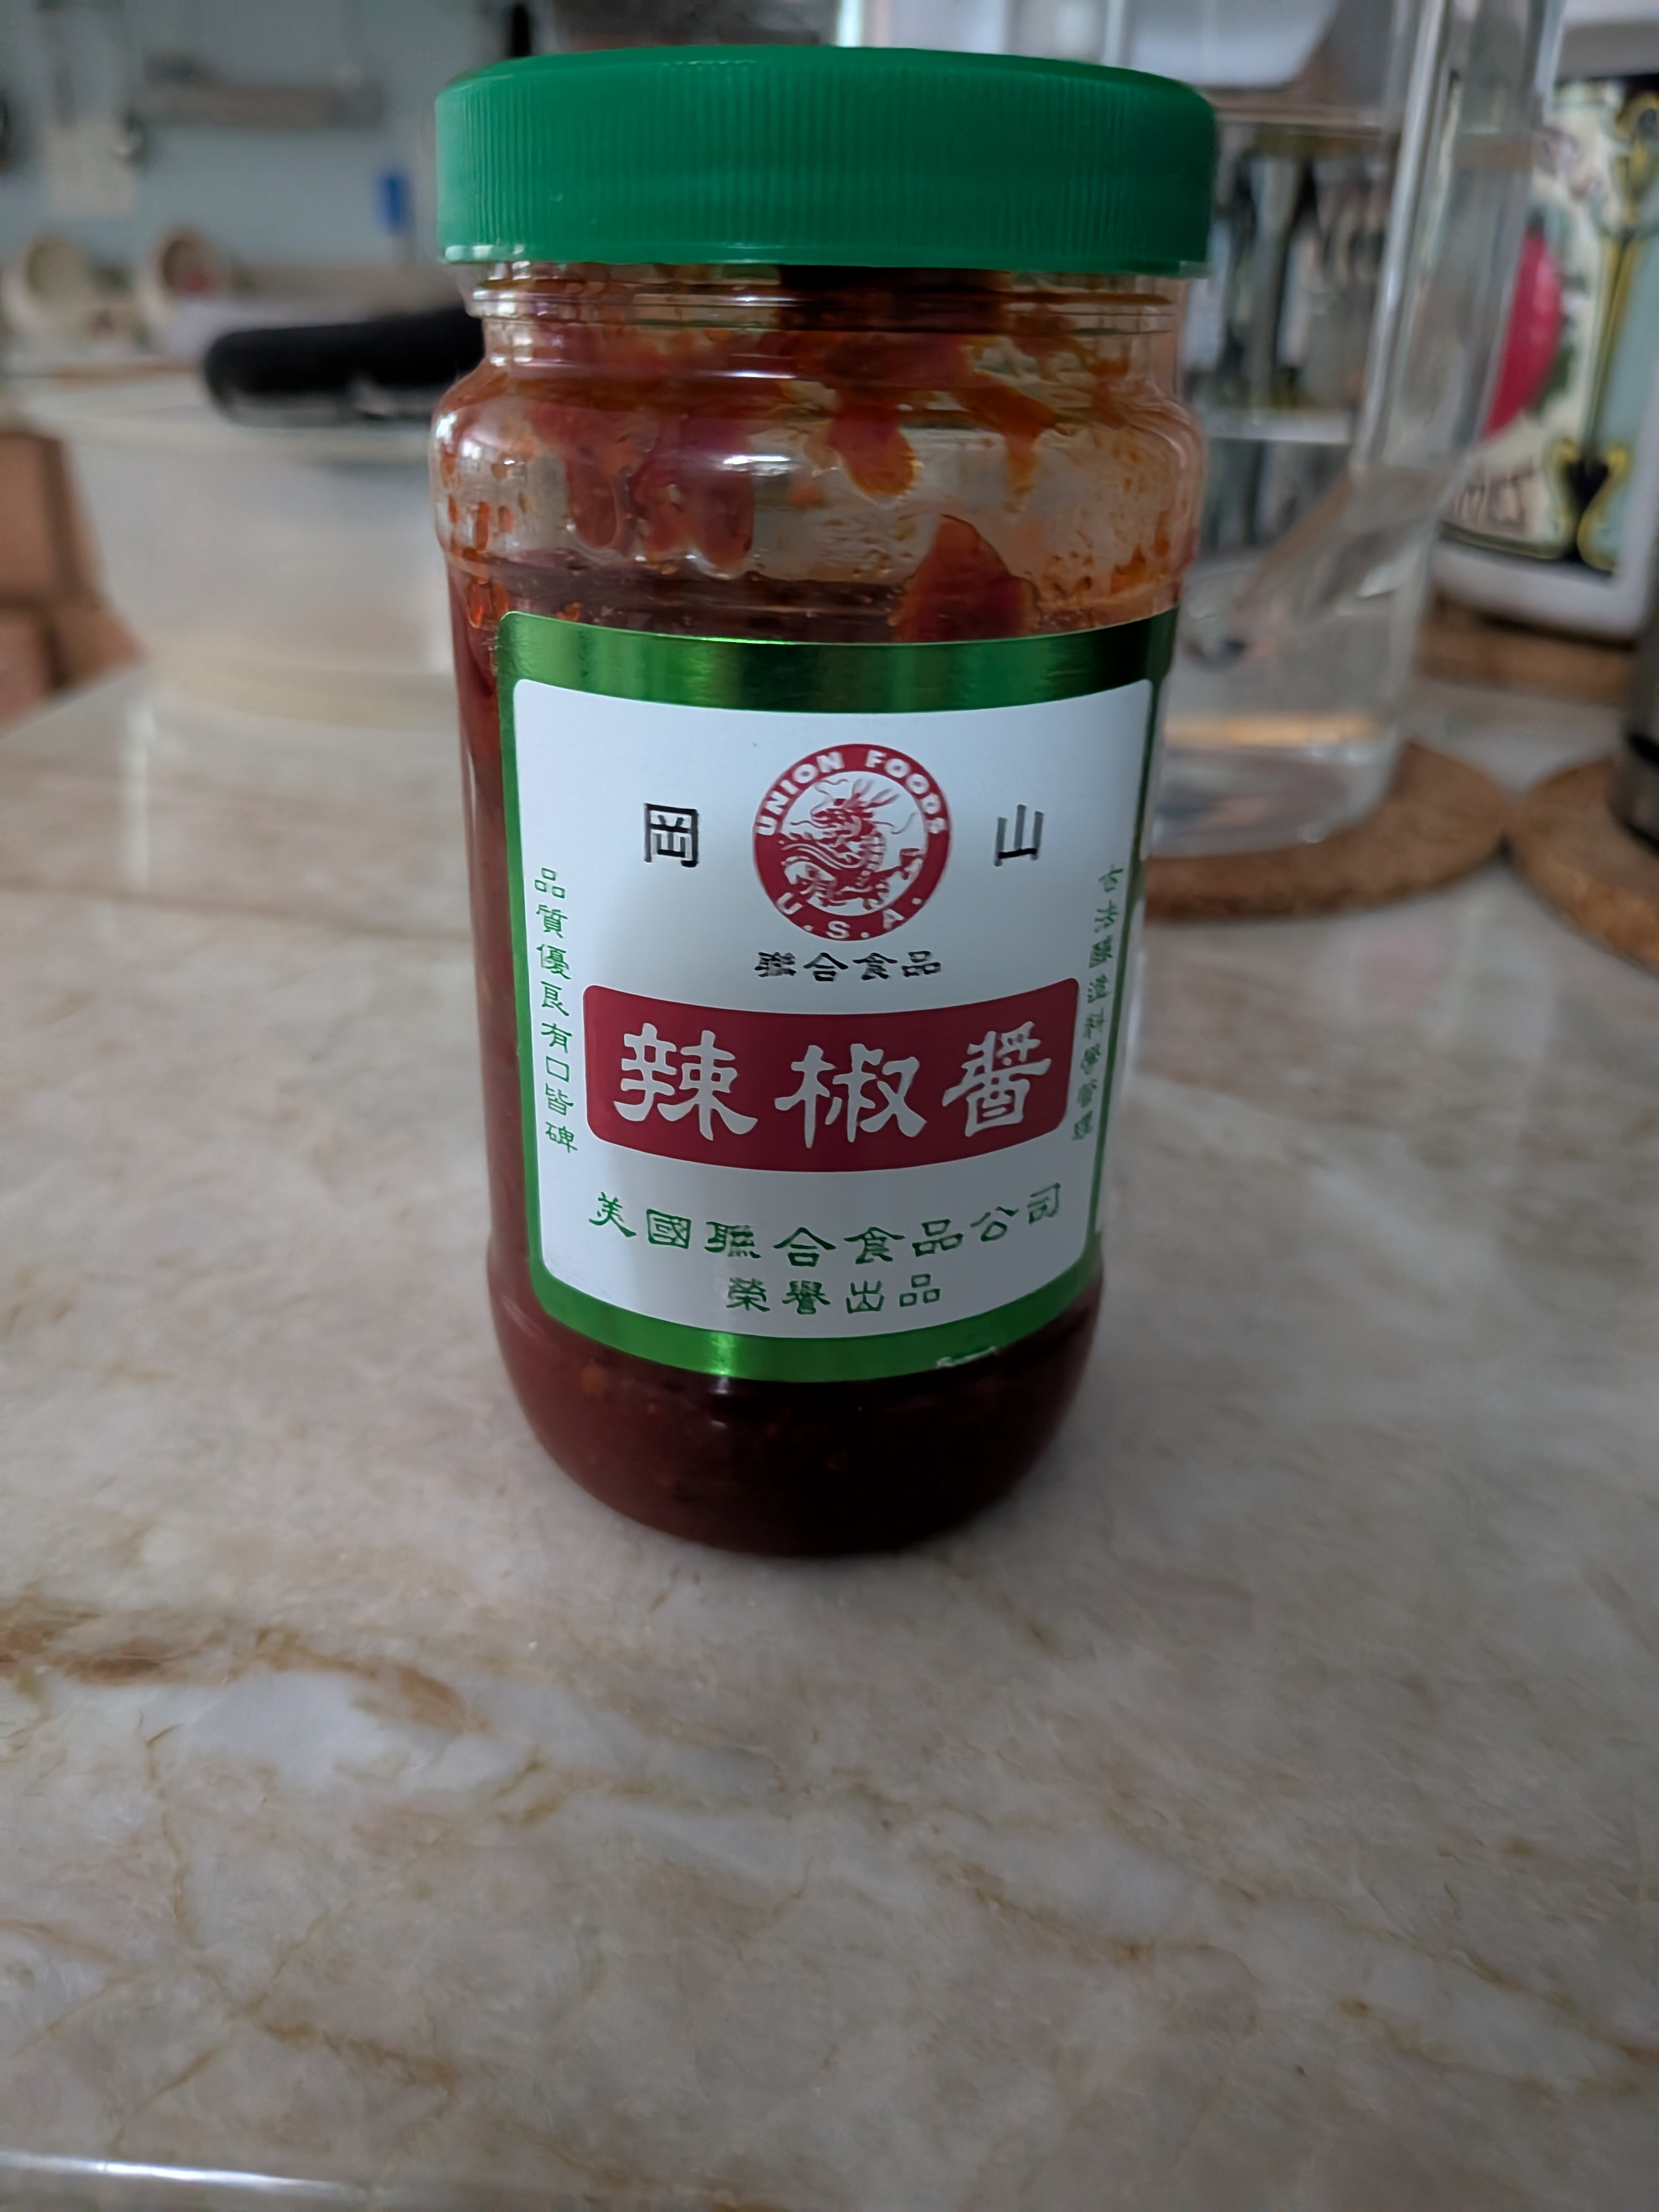
Steve Note: Could substitute some chili paste 1-2 TBS
3 shallots (thinly sliced)
5 cloves garlic (sliced)
1 pound ground chicken
2 teaspoons sugar (or honey)
2 tablespoons soy sauce
1 tablespoon fish sauce
1/3 cup low sodium chicken broth (or water)
1 bunch holy or Thai basil leaves
Instructions
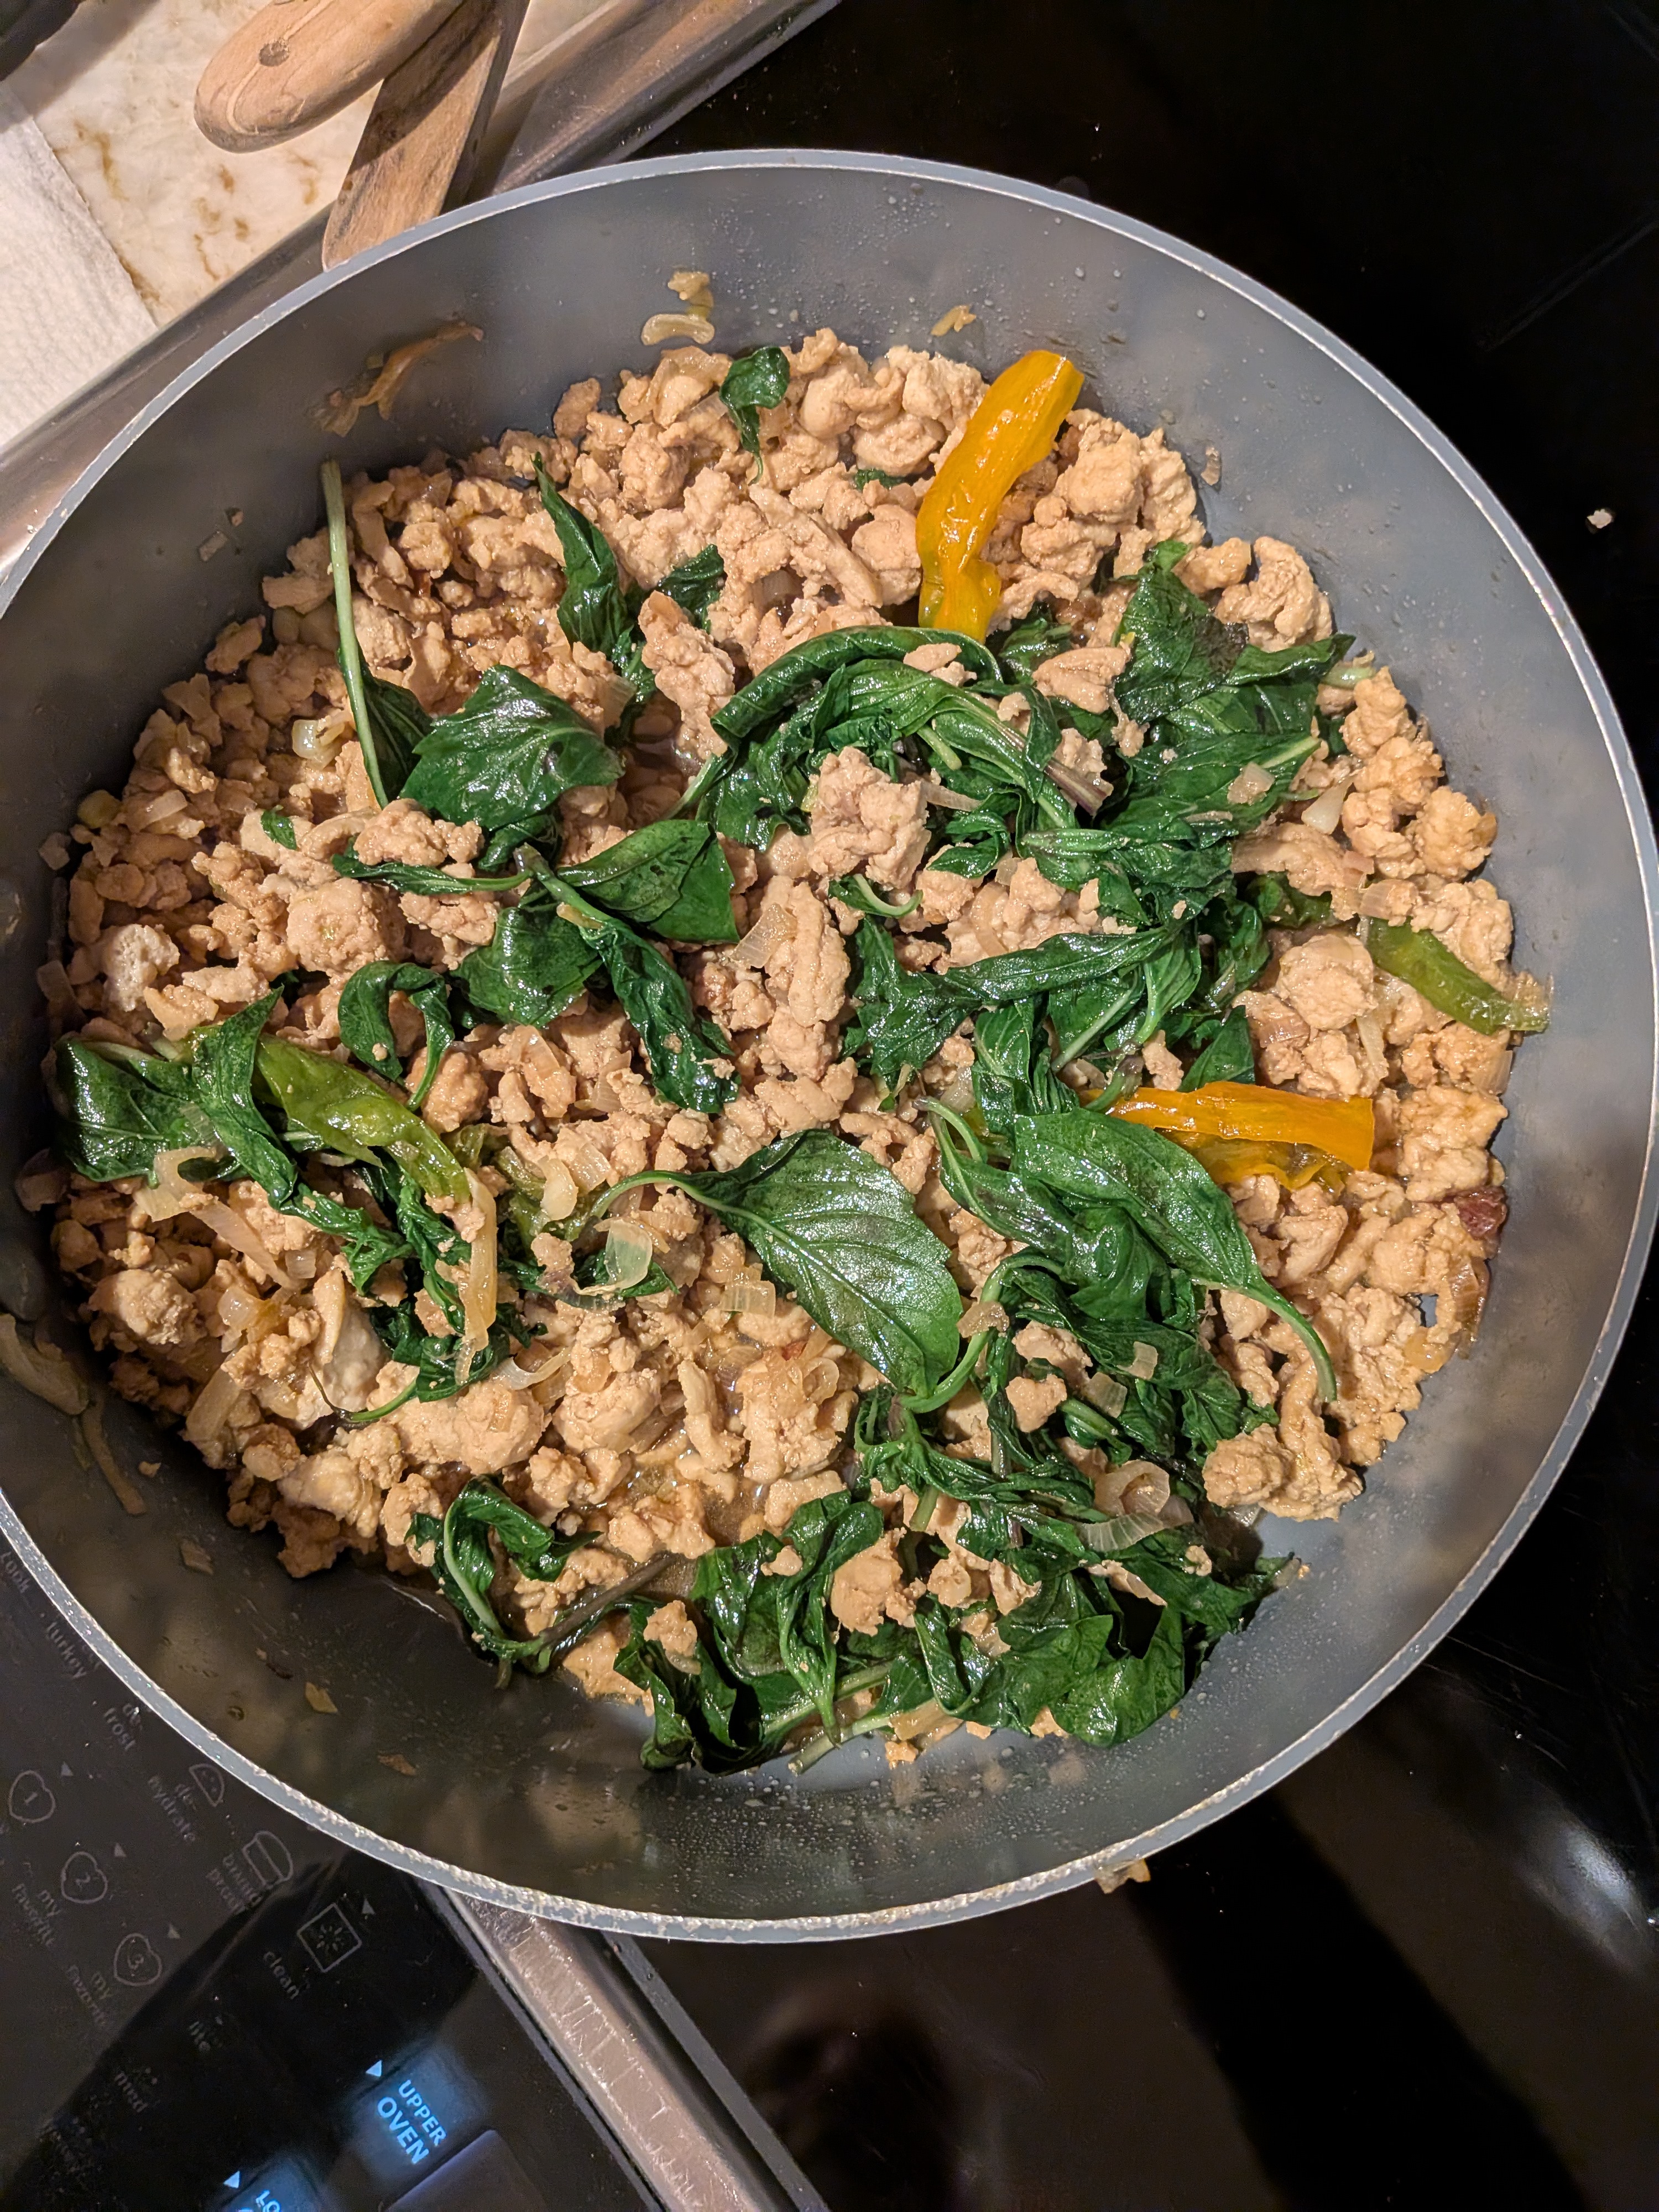
In a wok over high heat, add the oil, chilies, shallots and garlic, and fry for 1-2 minutes. Add the ground chicken and stir-fry for 2 minutes, breaking up the chicken into small bits.
Add the sugar, soy sauce, and fish sauce. Stir-fry for another minute and deglaze the pan with the broth. Because your pan is over high heat, the liquid should cook off very quickly.
Add the basil, and stir-fry until wilted. Serve over rice.
Lyn texted me that this look good, so I took a look and said to myself how could I not.
Thanks to The modern Nonna for the inspiration. Chicken Gyros and I actually go way back. Although I am Bulgarian 🇧🇬, my family and I lived on the Island of Crete for many years following my Dad’s Olympic career in water polo. While living there, I experienced true Greek 🇬🇷 home cooking. My mom learned how to make authentic Greek dishes from the women in Greece, which inspired most of the Greek dishes I cook and share on my page.
Me again: Many years ago while I lived in Chicago there was a restaurant down the street that introduced me to Gyros in fact one Thanksgiving he treated me to one since I was stuck alone in town.
The word “gyro” (as in the Greek dish) is typically pronounced “YEE-roh” or “YEE-rohs” (with the “s” indicating plural), while the word “gyro” (as in a gyroscope) is pronounced “JAHY-roh (This is the way most sub shops pronounce it here, so I quickly change to this when I get the puzzled look.)
What is a Gyro?
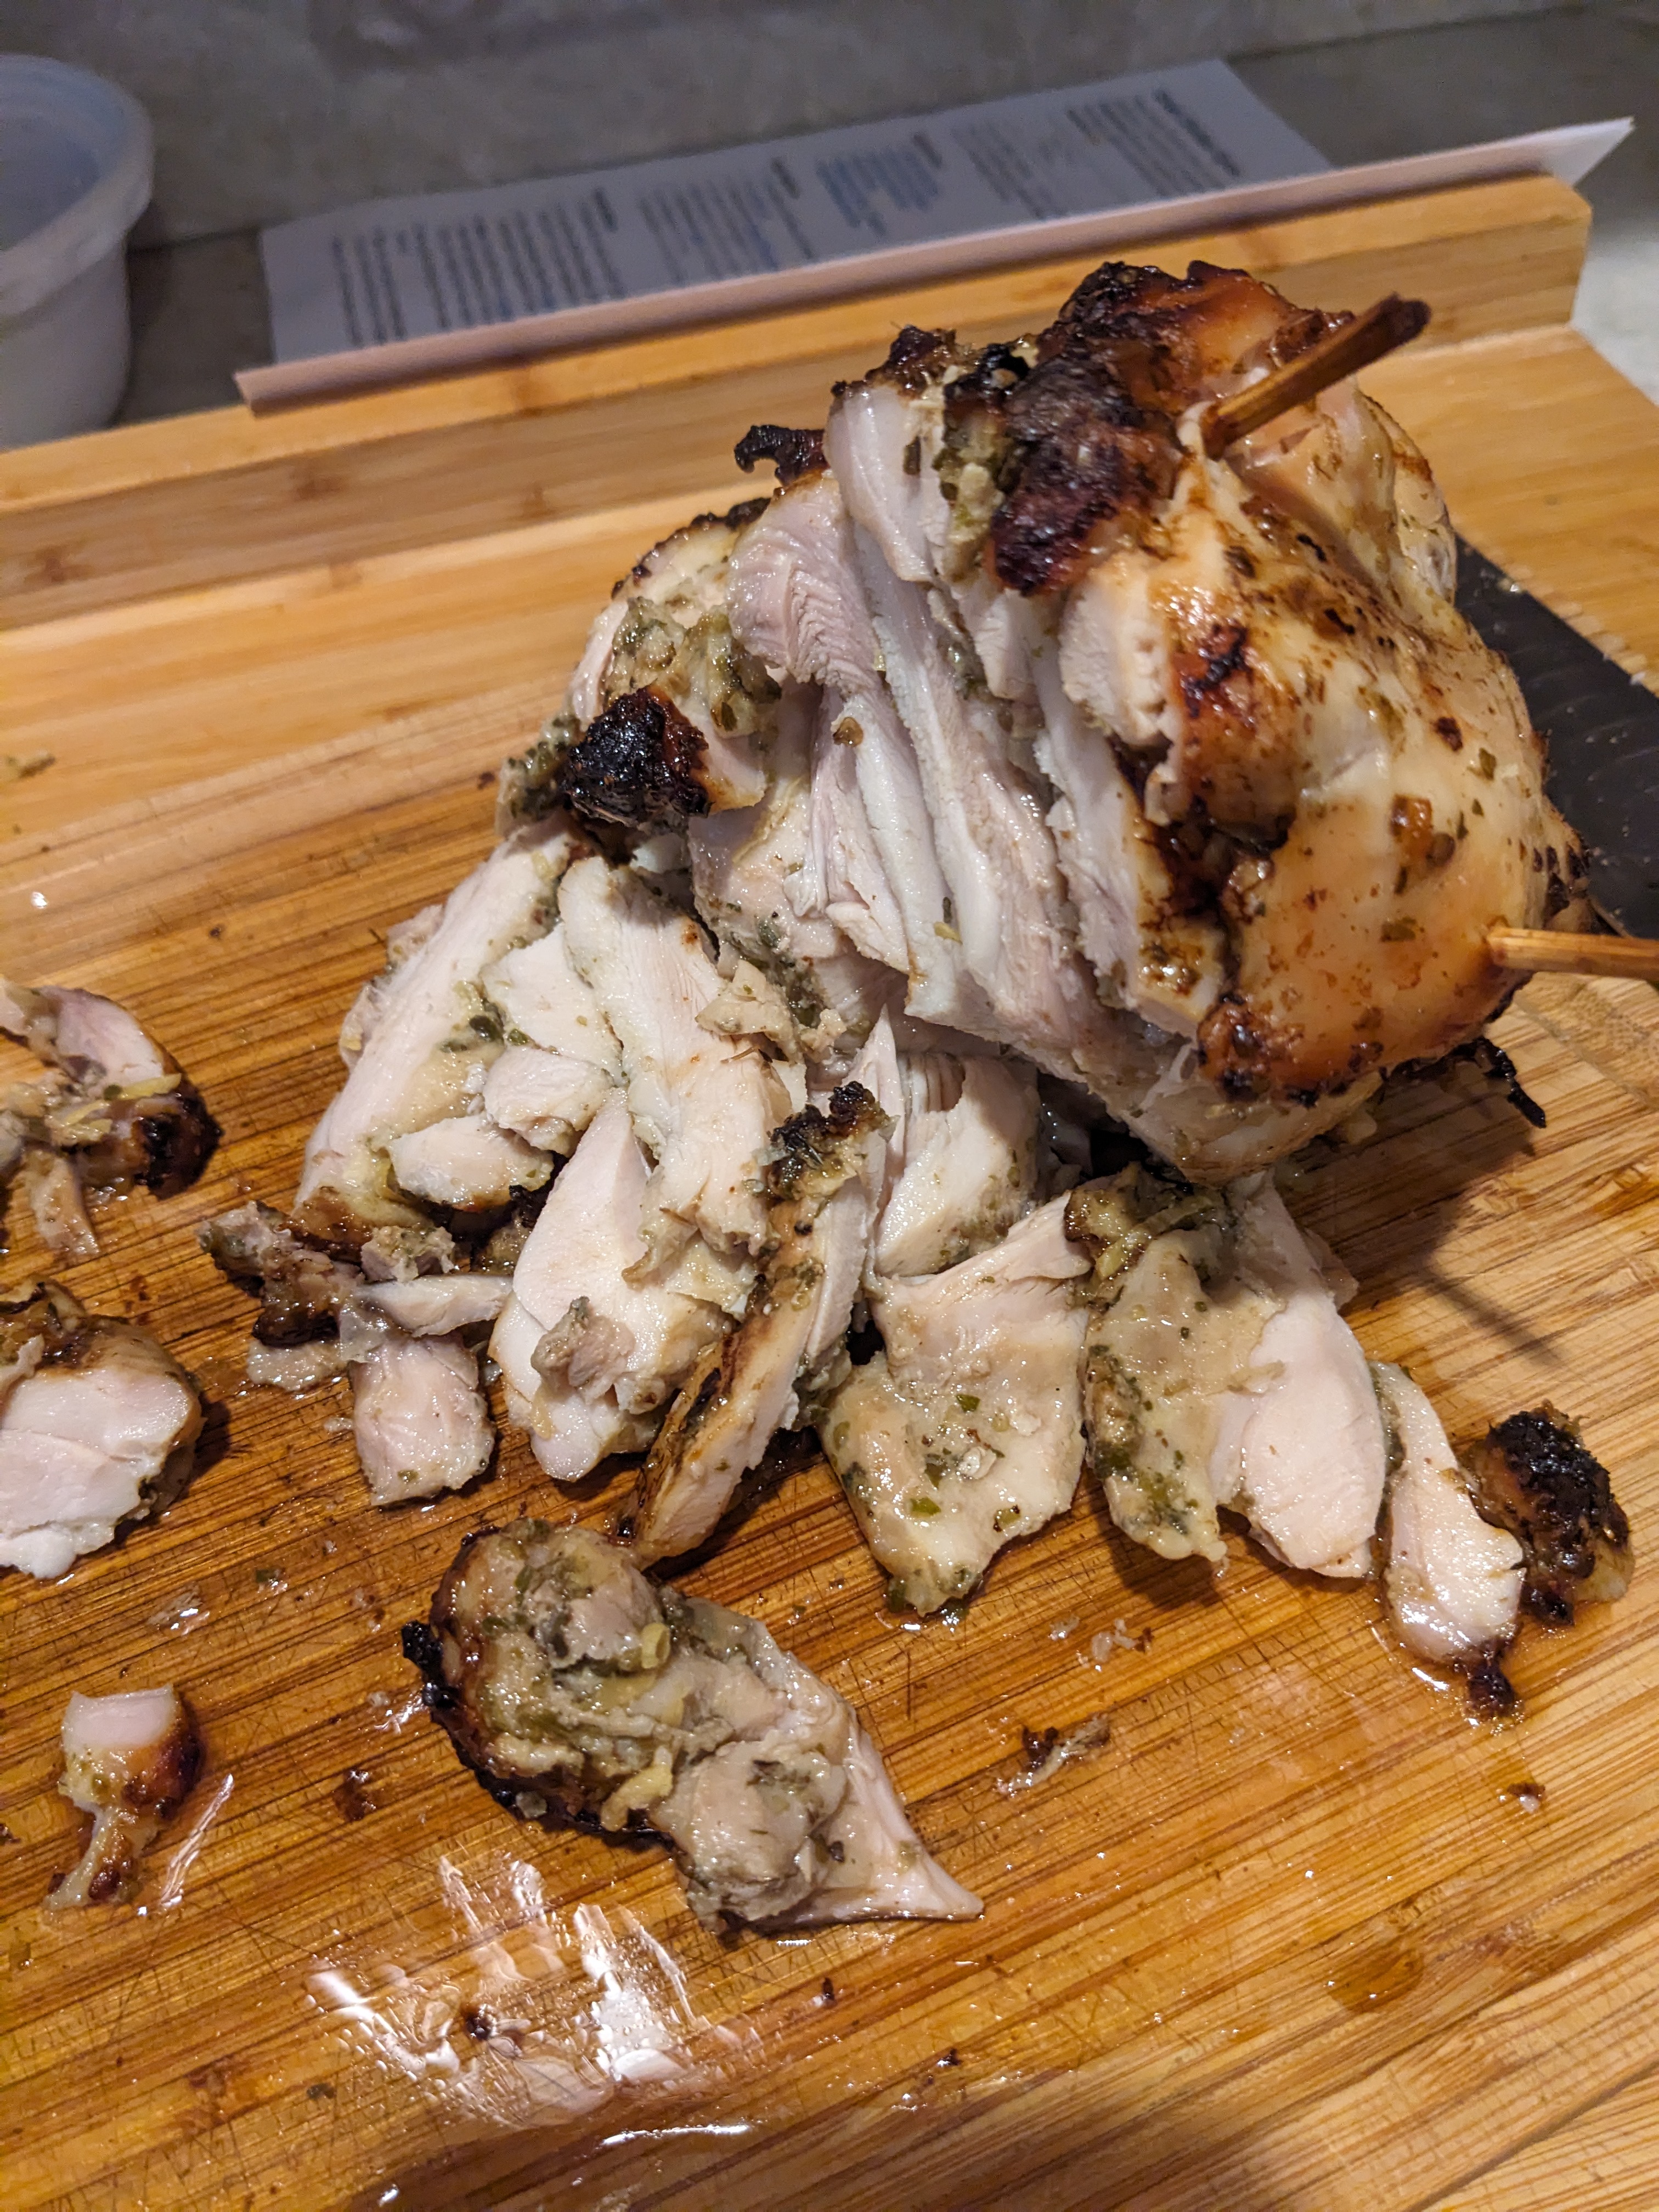
A Greek Gyro, or simply “Gyro,” is a popular Greek 🇬🇷 dish made of seasoned meat (often beef, lamb, pork, or chicken) cooked on a vertical rotisserie. The meat is then thinly sliced and served wrapped in warm pita bread, with toppings such as tomato 🍅, onion, and tzatziki sauce – a creamy yogurt and cucumber sauce. Sometimes, Gyros also include lettuce, French fries 🍟, or other veggies.
I did not have a Gyro pan so I used the onion trick- it fell over towards the end but I got it to stand up again.
Why You’ll Love Greek Chicken Gyros
Nonna: When I say this is the juiciest 💦 chicken that will ever grace your mouth, I mean it! Juicer than girl’s night gossip, these Greek Chicken Gyros are meticulously seasoned and roasted to perfection. The chicken is marinated in a combination of savory, tangy and herbaceous flavors, stacked on a spit and slow-roasted until the exterior develops a slight caramelized char while the inside remains tender and succulent 🤤. Serve this Greek Chicken Gyro on a warm pita with creamy tzatziki or on top of a salad or bowl – I promise you, you’ll never want to make chicken thighs any other way!
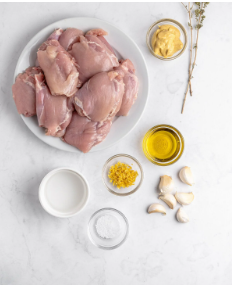
Ingredients 1 serving (I did 1/2 of this but a little more than 1/2 of sauce)
½ tablespoon salt, you may need less if using regular table salt
dry oregano, to taste
1 cup water, or stock (for the bottom of the pan)
Instructions
Preheat the oven to 425F (220C).
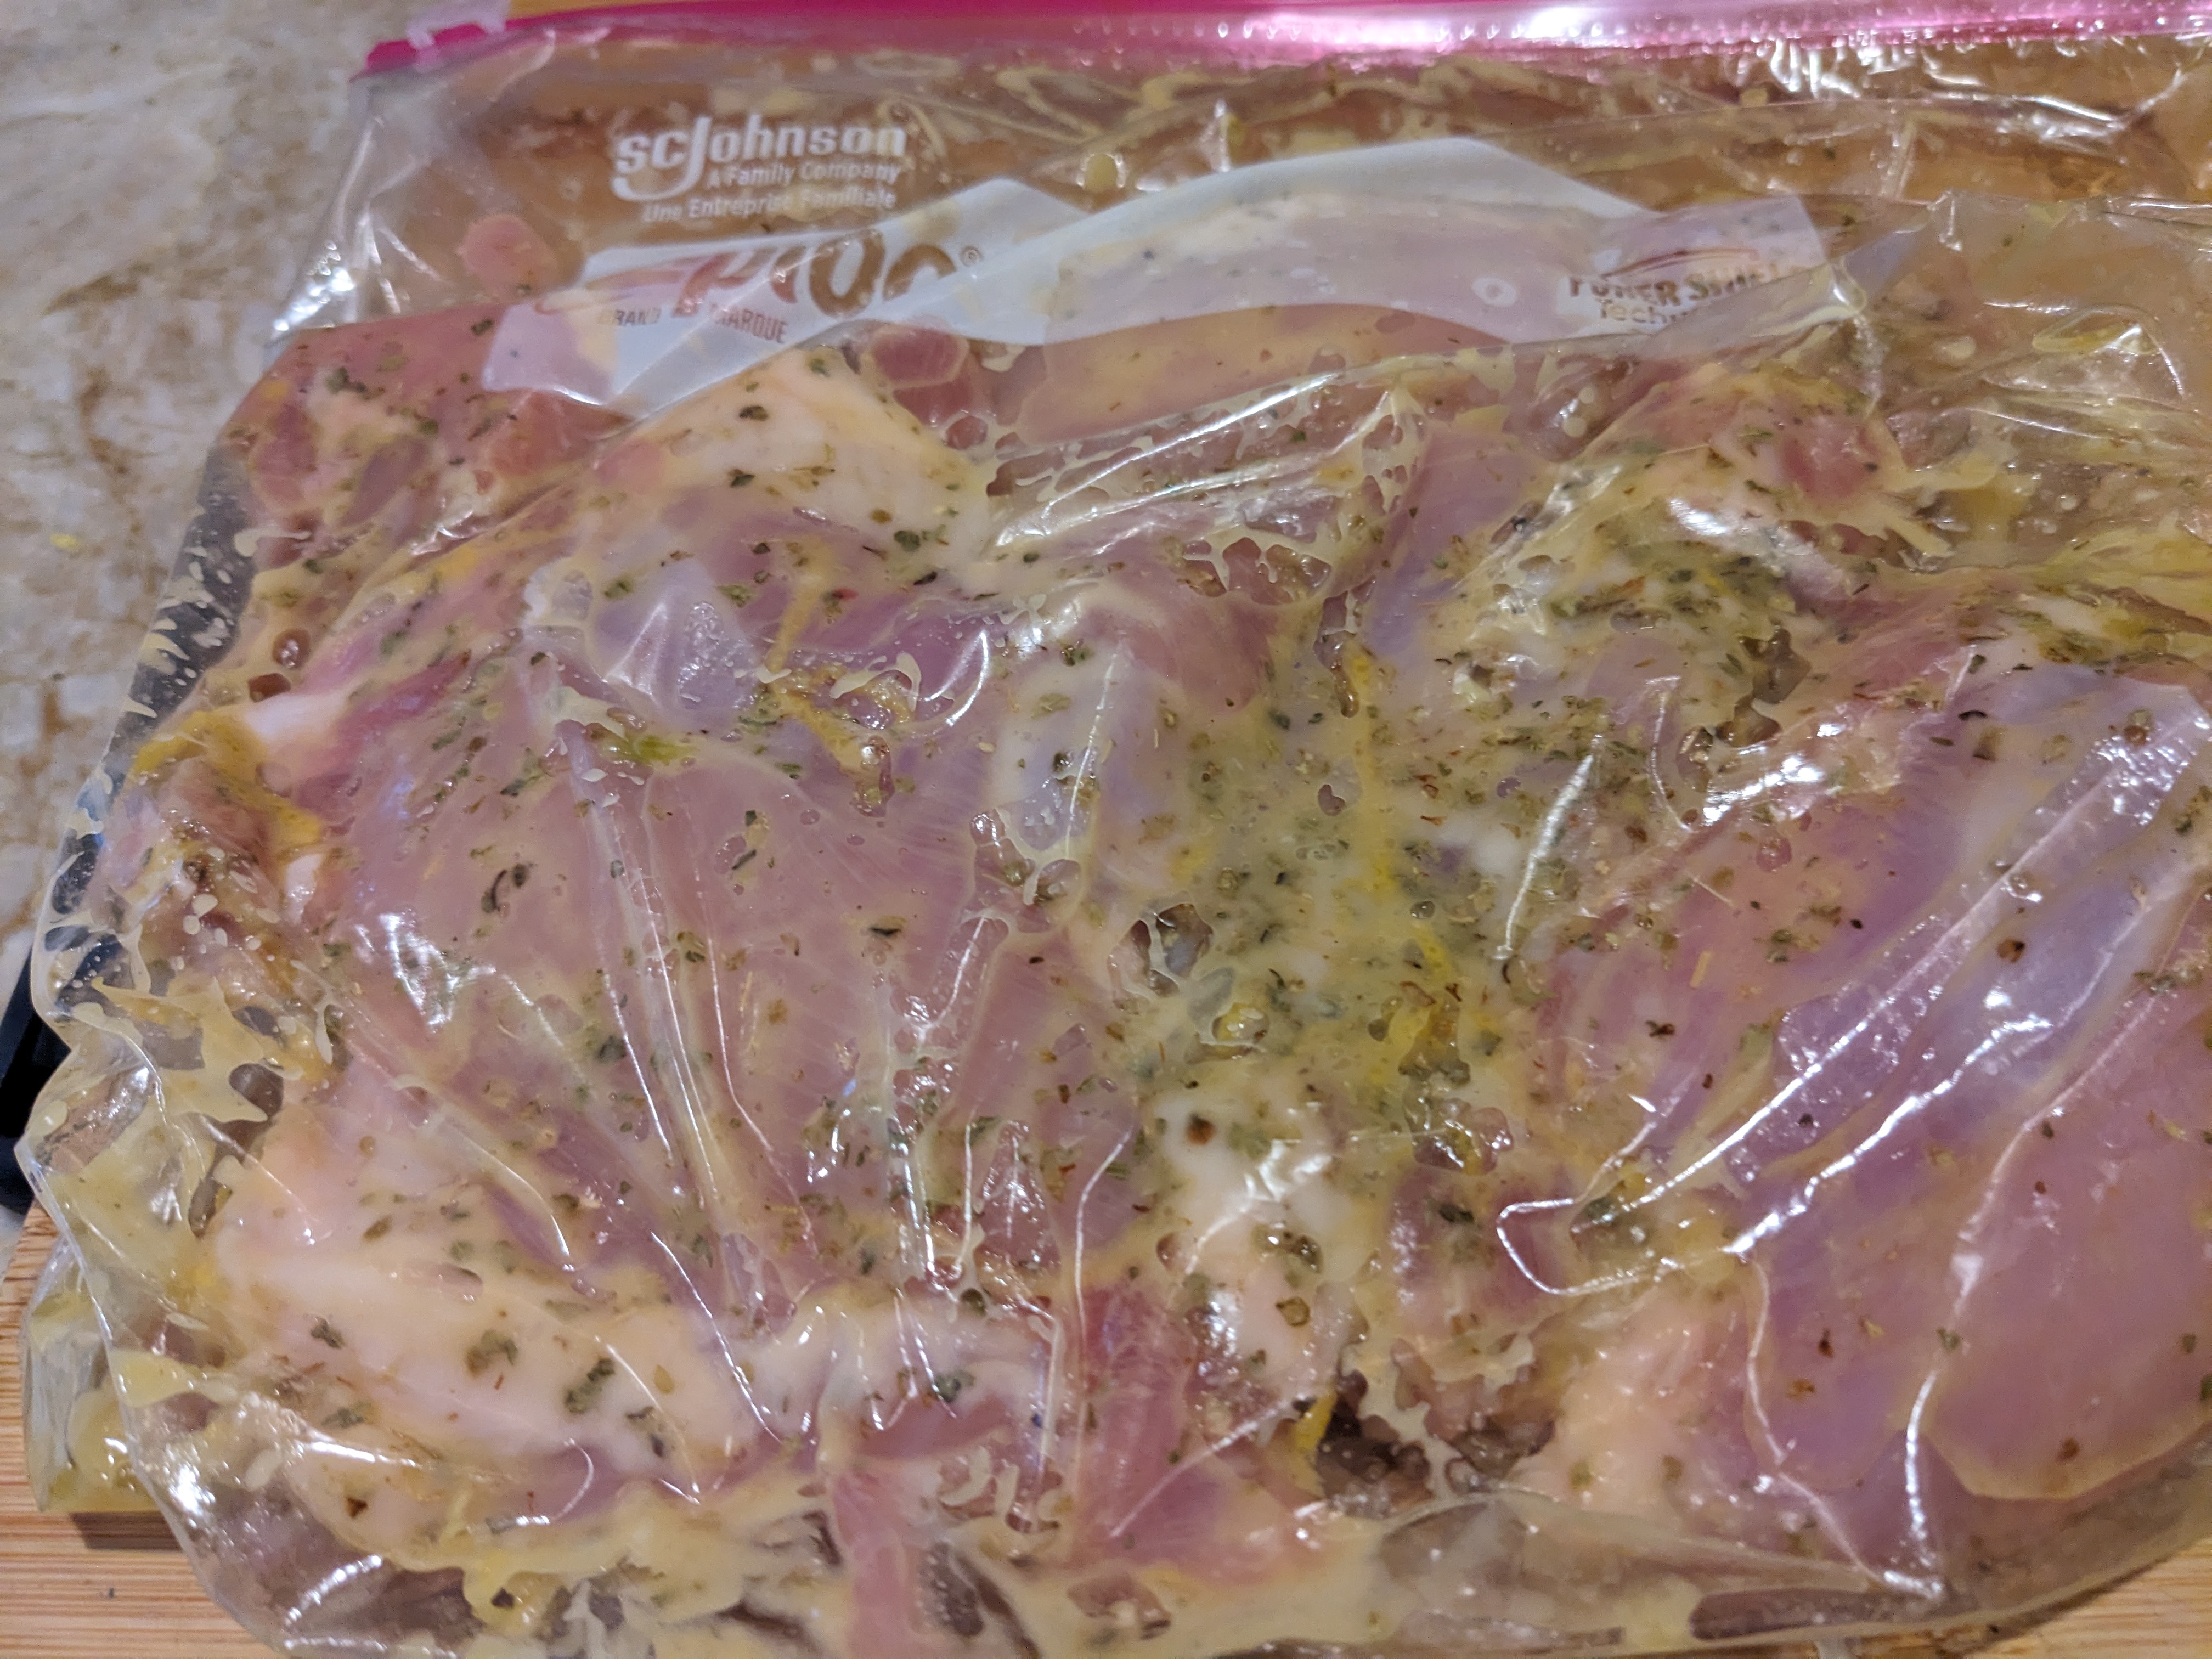
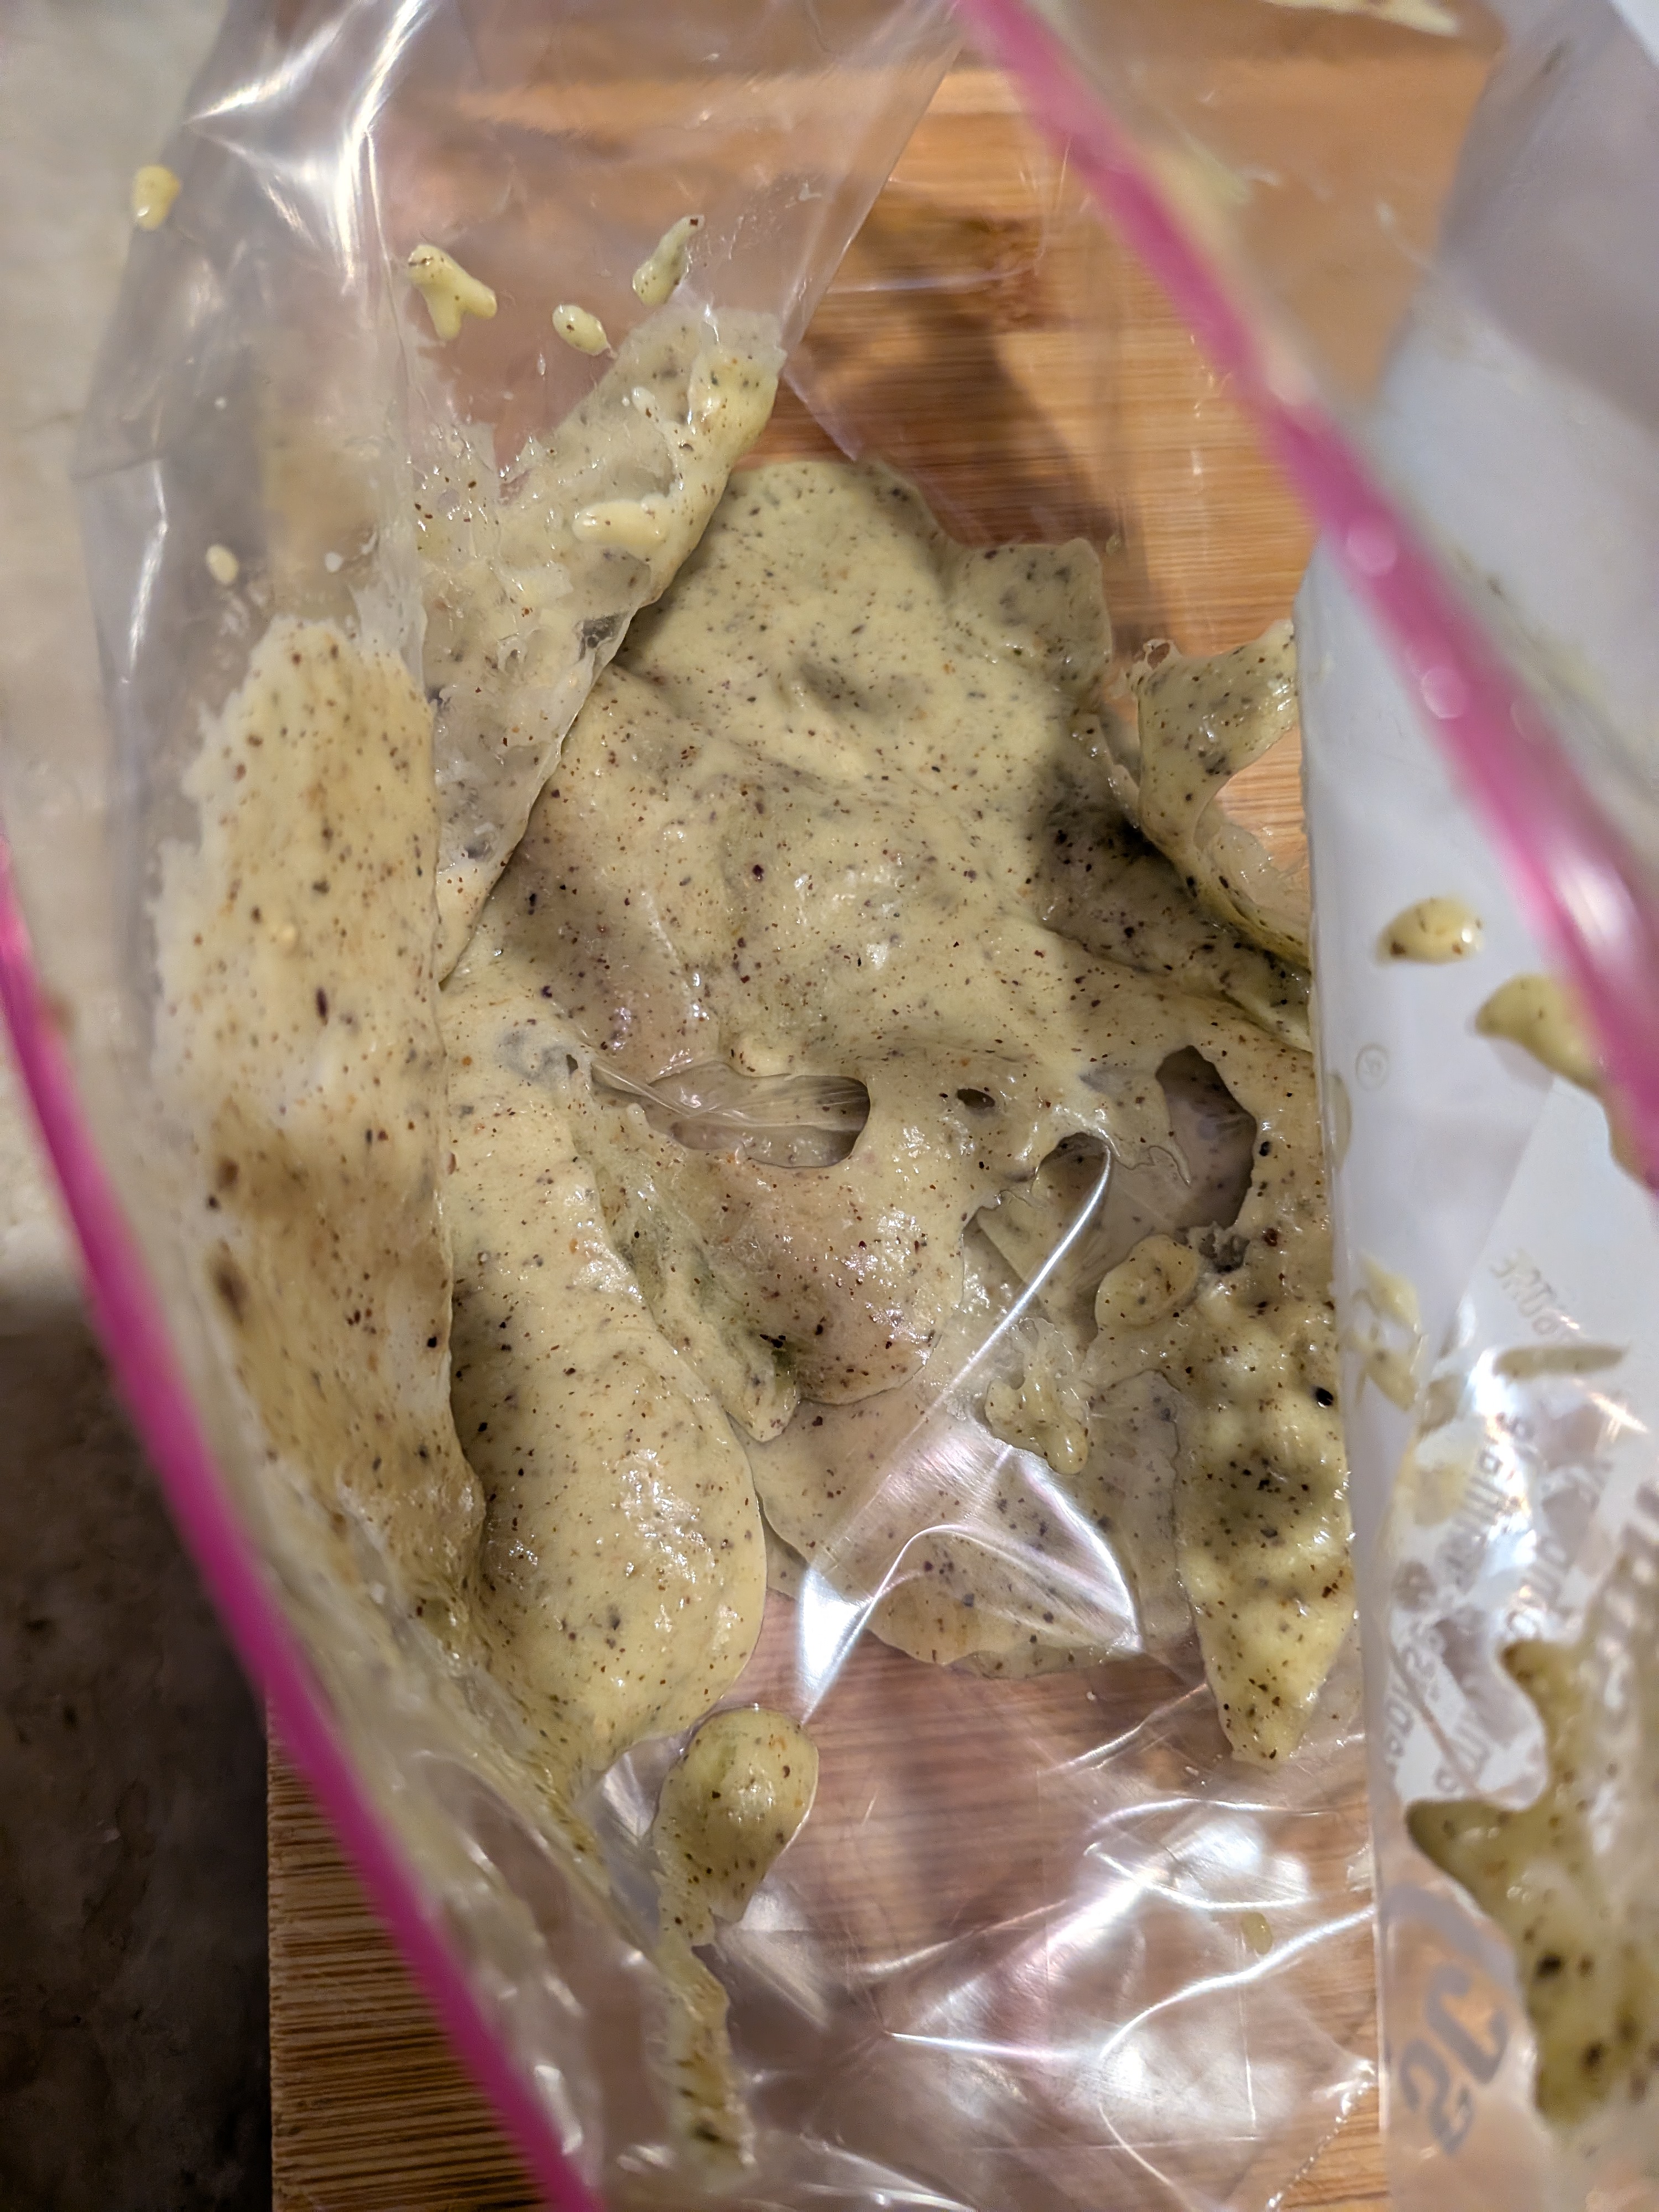
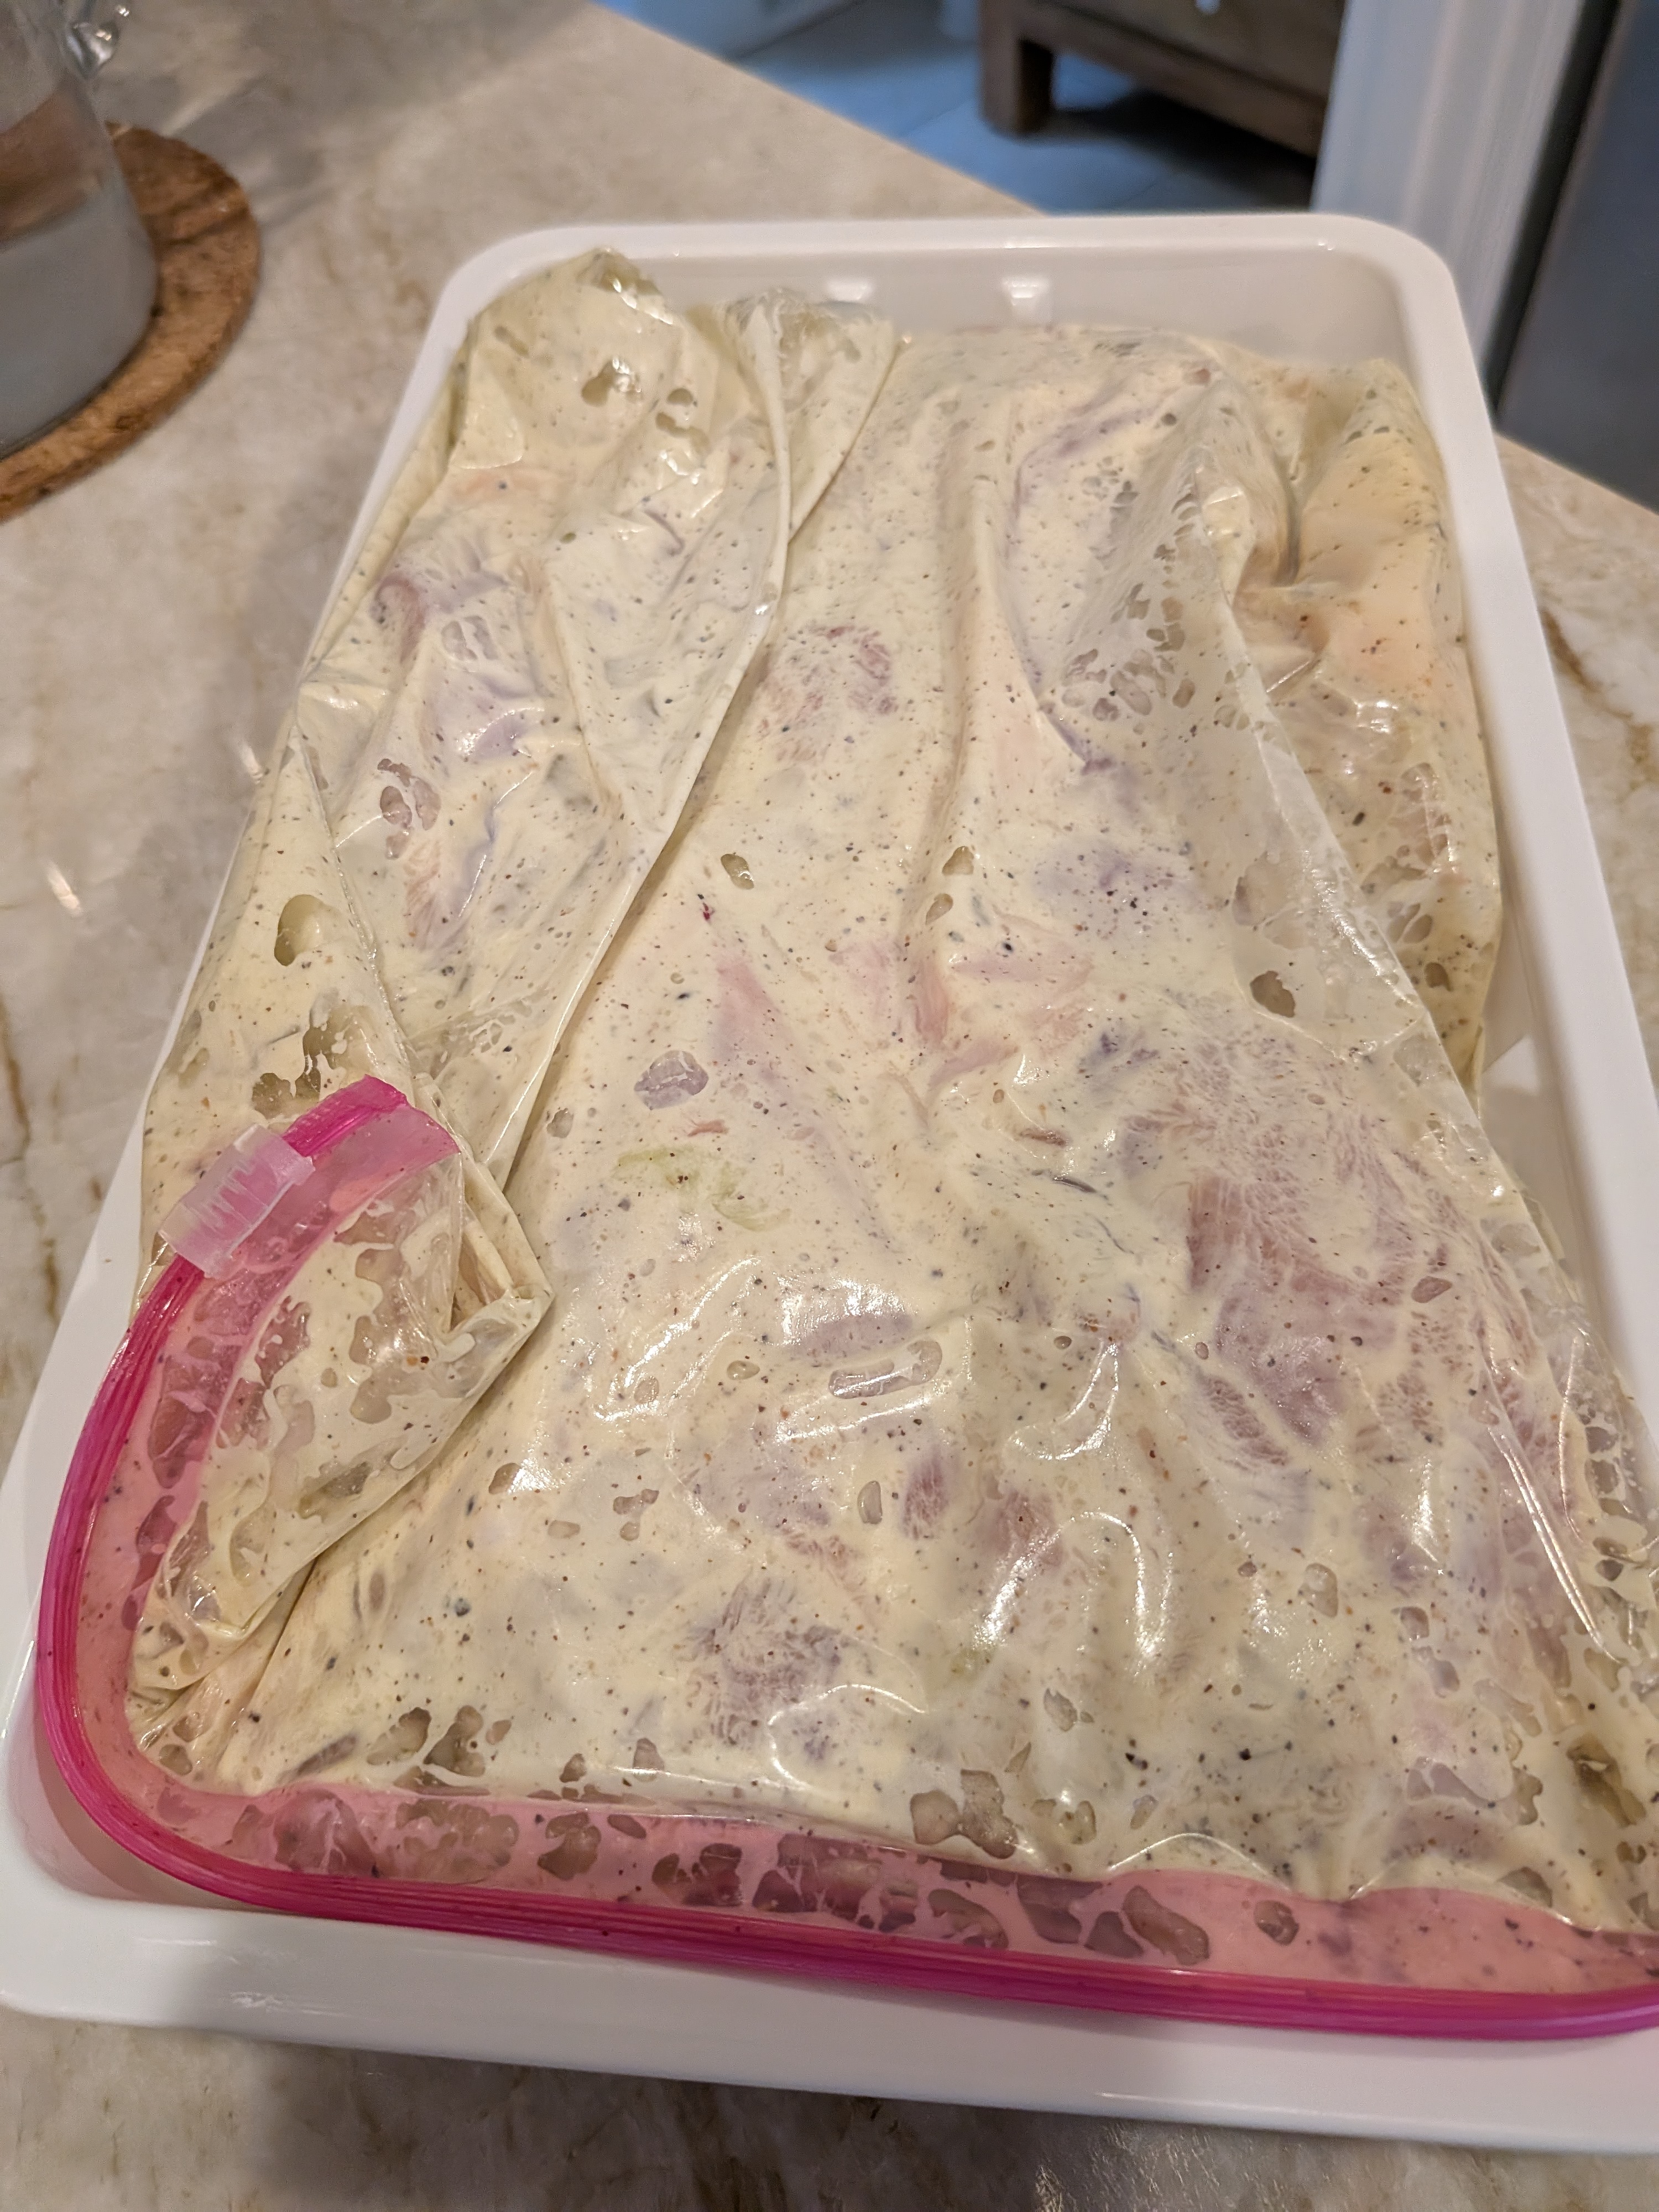
In a bowl add the chicken, olive oil, honey Dijon mustard, garlic, salt, lemon zest, and oregano. Mix well. You can marinate for a minimum of one hour (even overnight for best results).
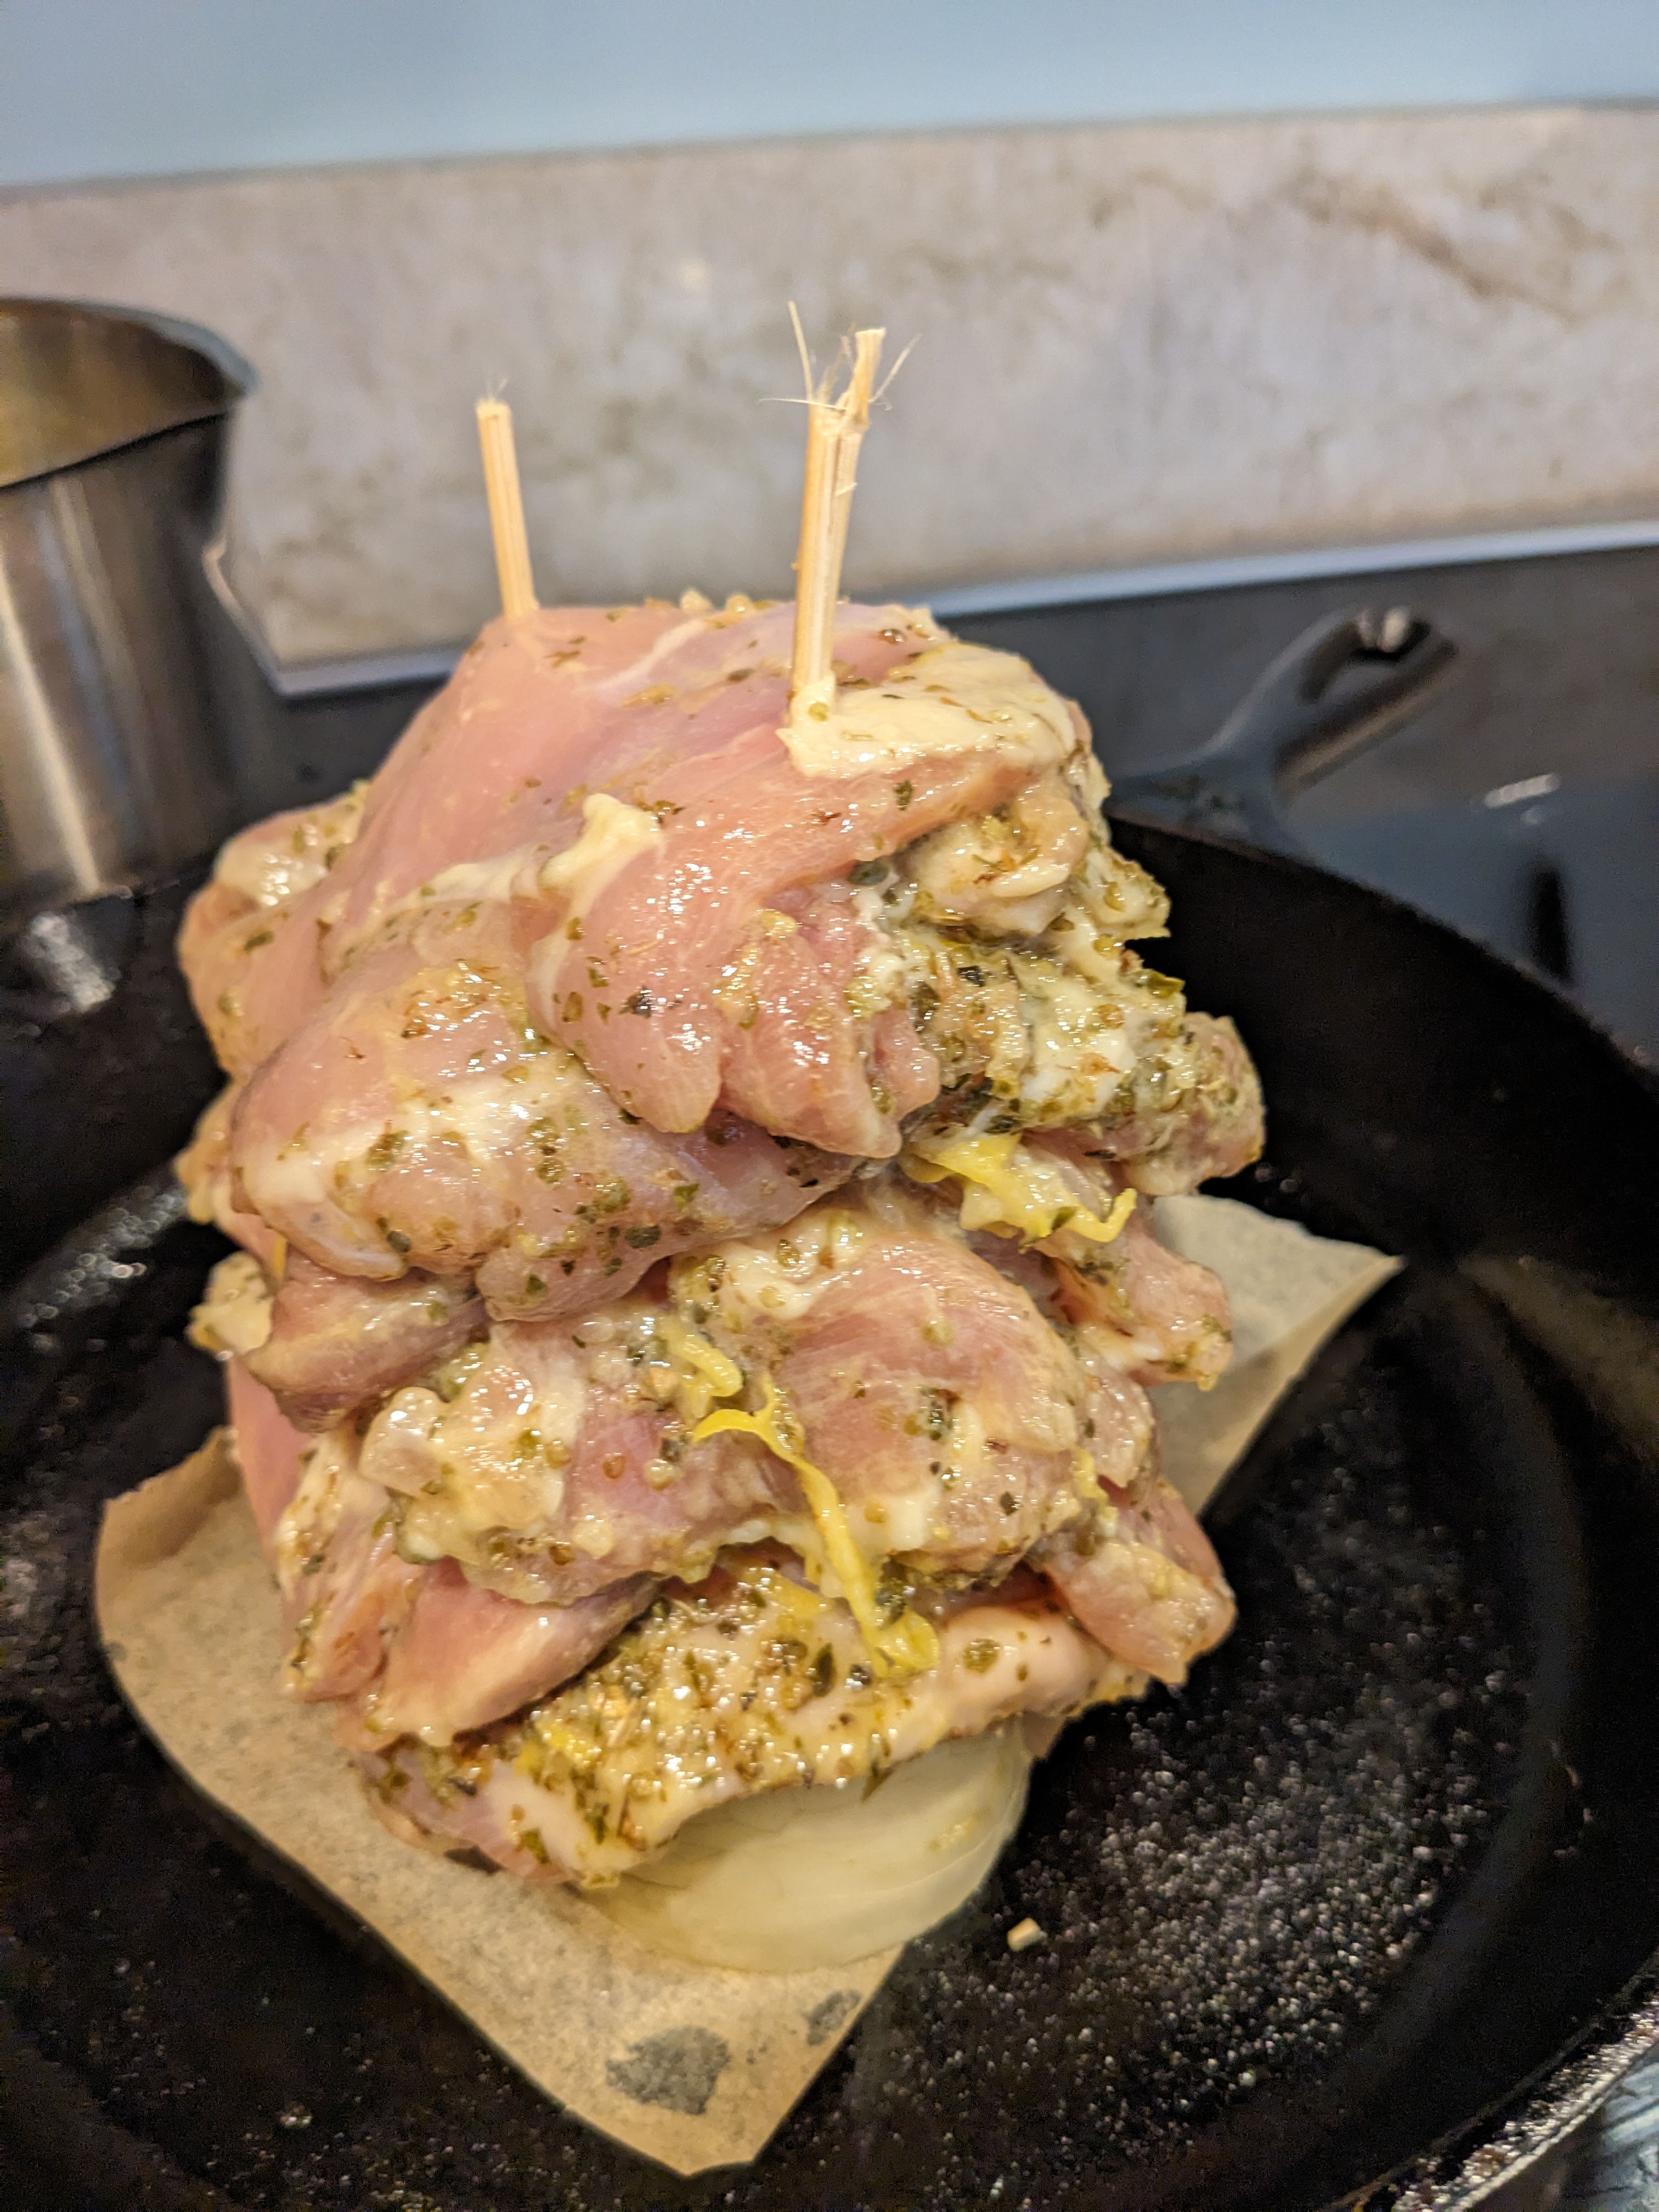
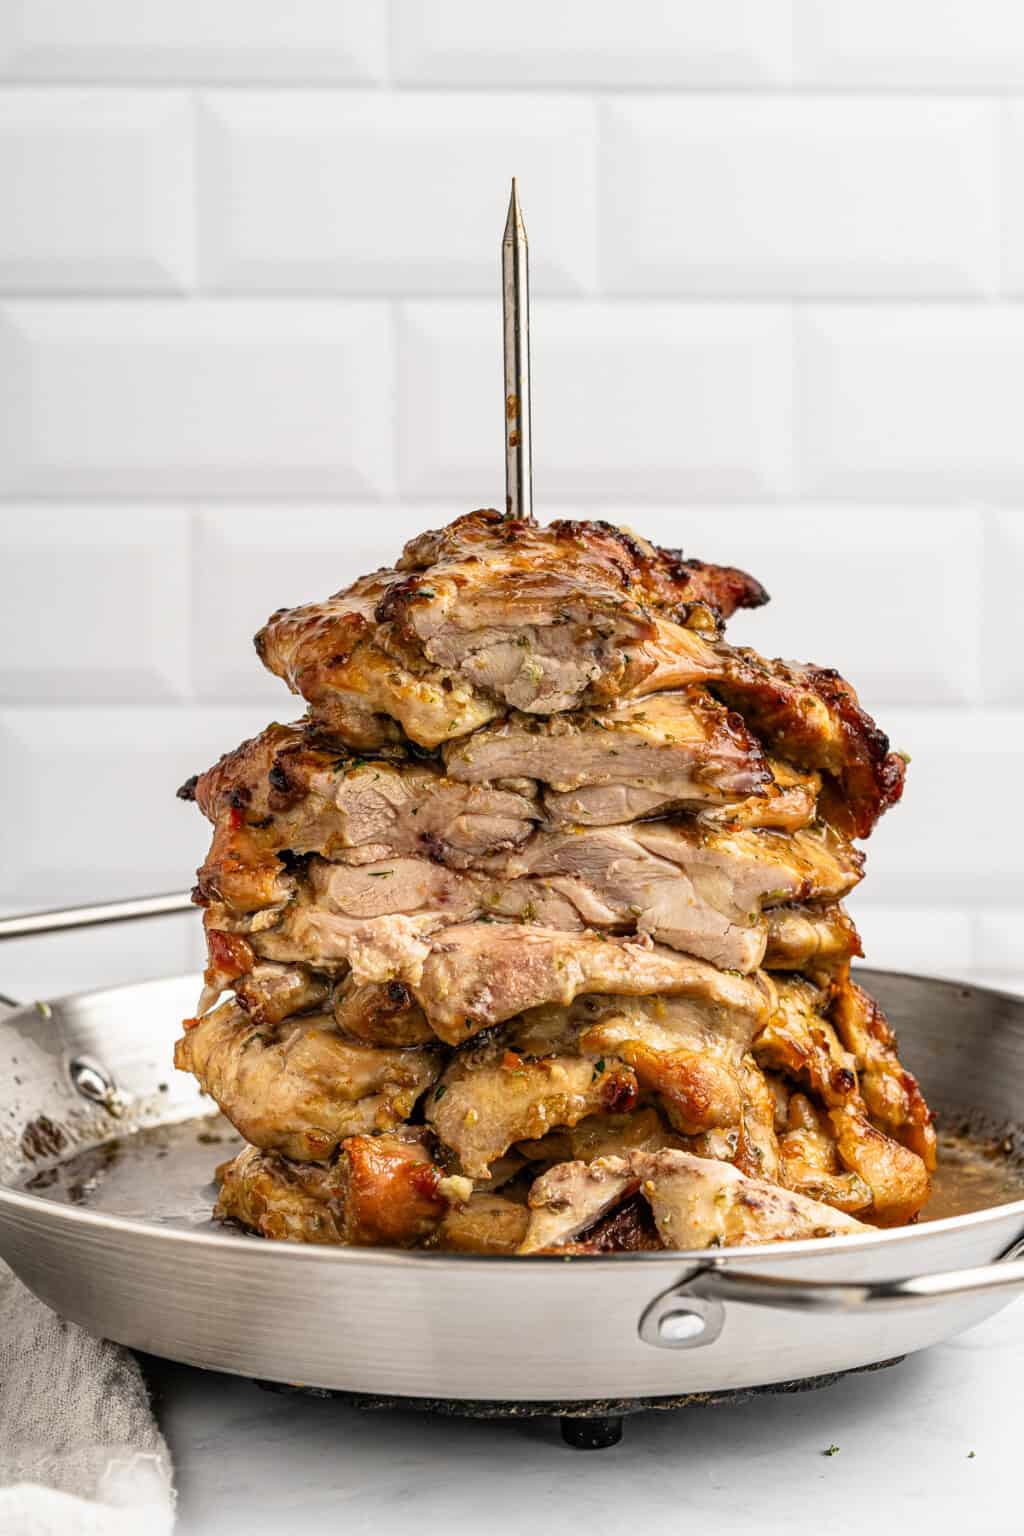
Once marinated, take the Vertical Gyro Spit Plate and thread the chicken thighs making sure to rotate each one opposite from the last.
Note: if you don’t have a Vertical Gyro Oven Plate, cut an onion in half, place it on a baking sheet lined with parchment (or foil) and position two wooden skewers vertically into the onion and voila, you made your own spit and don’t need to buy one!
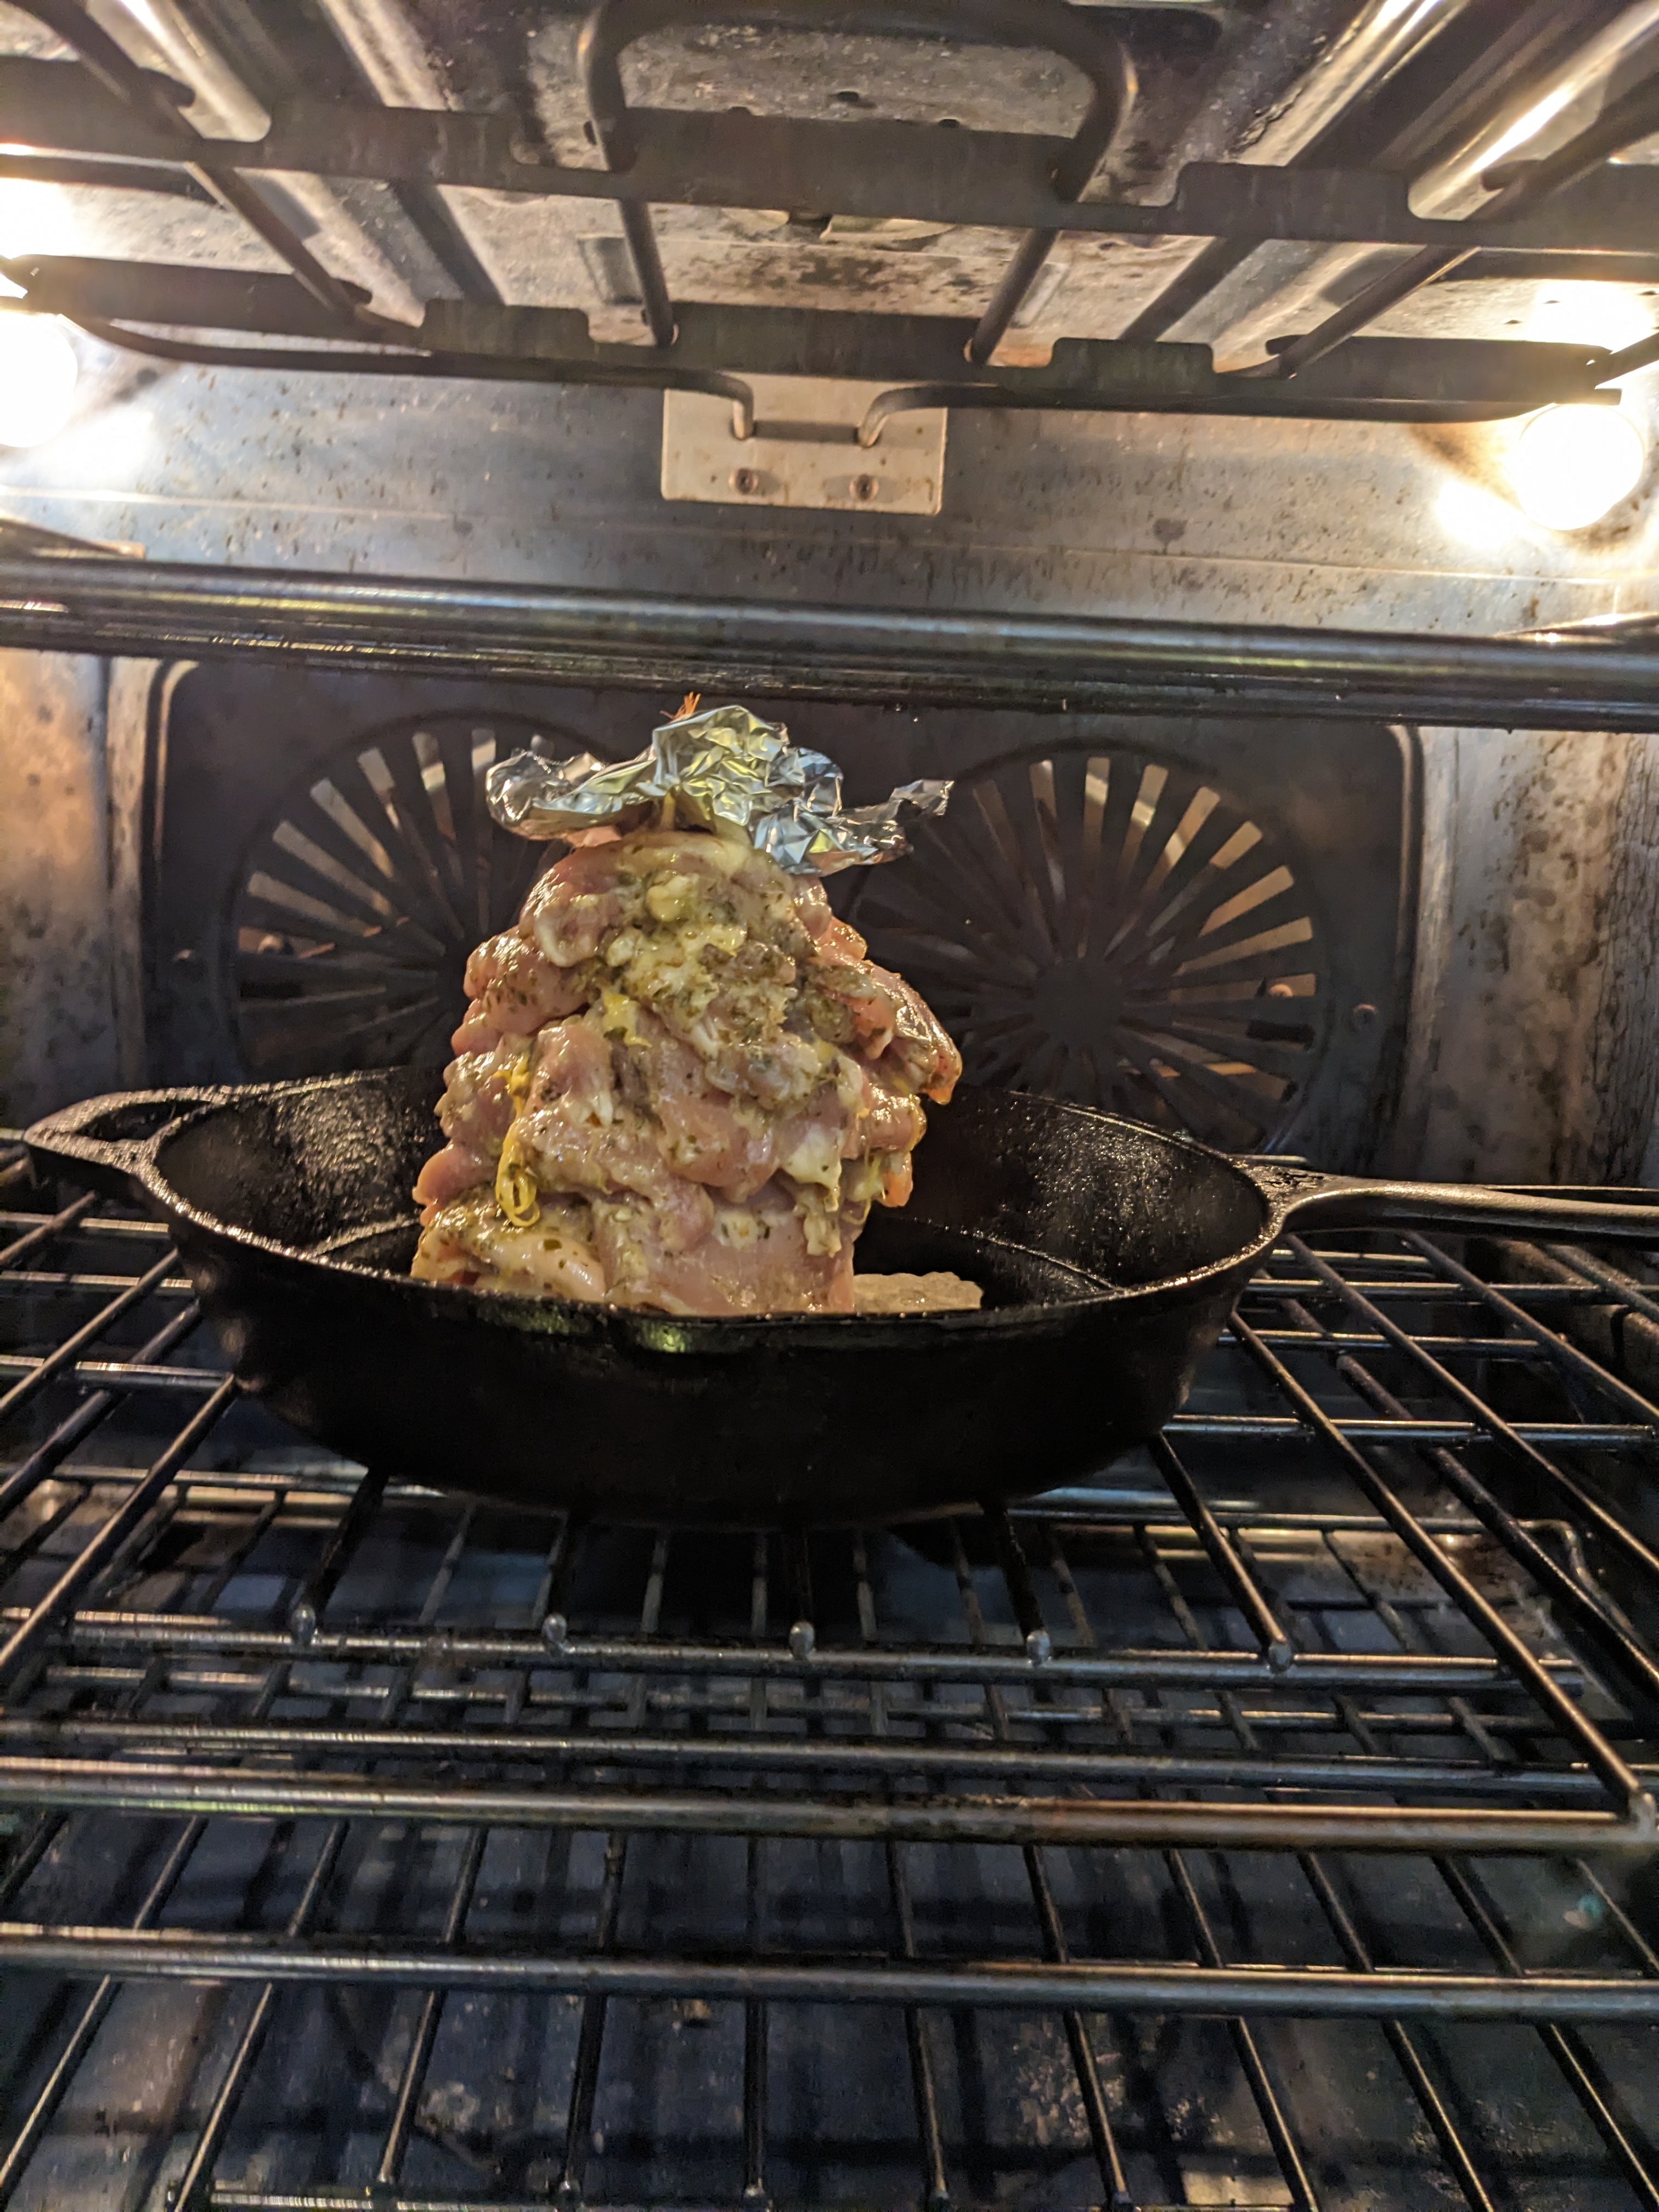
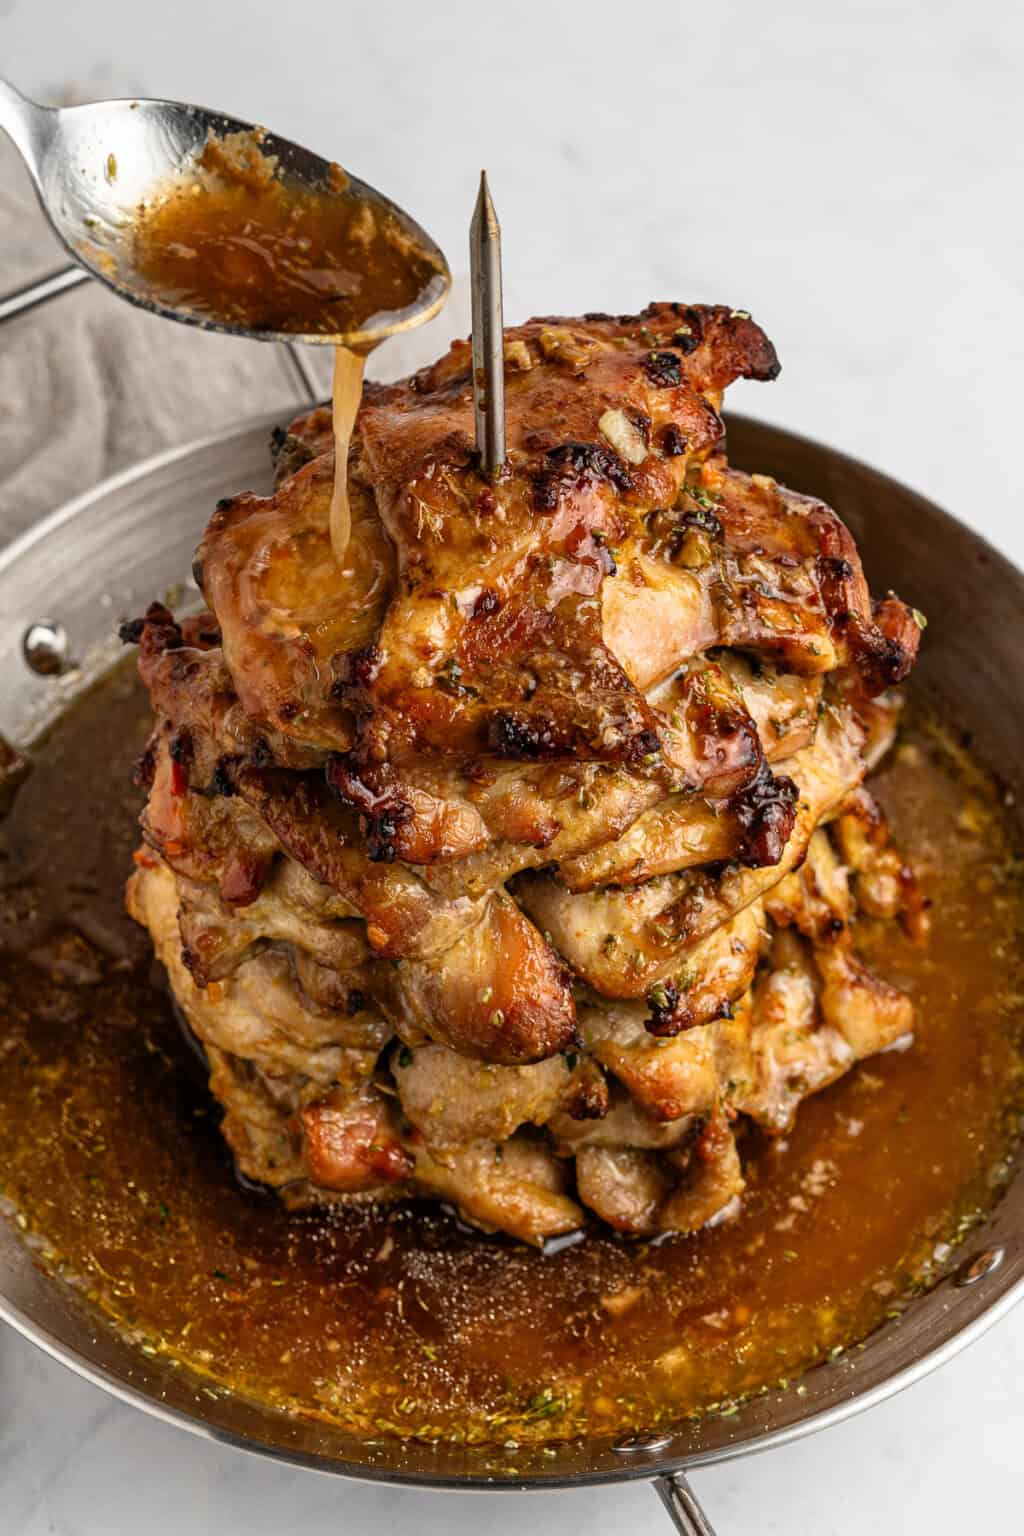
Now, place the gyro in the oven and add 1 cup of water or stock to the base (which will create our sauce).
Tip: you can pierce a small piece of foil making sure to cover the top chicken thigh as it will start to burn first on the top as it bakes.
Bake for 75-90 minutes or until fully cooked. Mine took exactly 1.5 hours.
Take it out of the oven, let it rest and cut! You can enjoy this chicken gyro with loaded Greek fries, on pita with tzatziki, on a Greek Salad and so much more!
My Note: My mistake was using cast iron pan the water evaporated to quickly
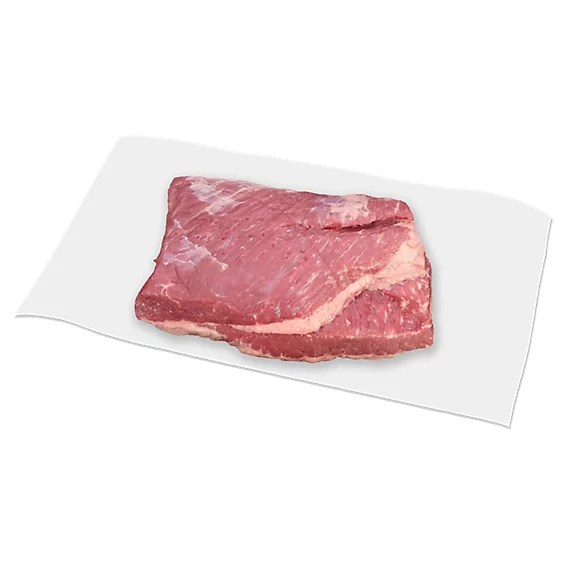
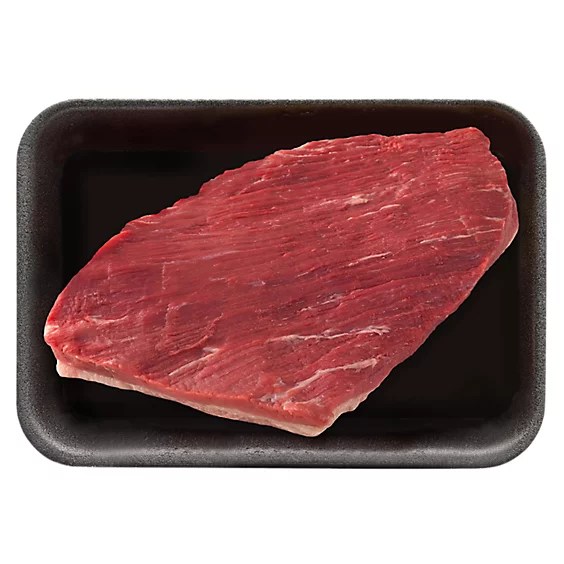
When you’re not buying a whole brisket — those can be around 10 to 16 pounds — there are two distinct cuts of brisket, depending on which end you use.
The flat cut is wider, less thick, and more evenly shaped, with a layer of fat on one side. Flat cuts of brisket are typically used for classic oven-baked brisket. The flat cut, also known as the lean cut, holds its shape much better when sliced.
The point cut is more marbled through and thicker with an irregular shape. It also has a bit more connective tissue. Point cut brisket has a shreddy texture once braised, making it an ideal choice for sandwiches and tacos.
The Whole Brisket is the pectoral muscle of the steer or heifer. This muscle gets a workout because of the pasture-raised lifestyle of our animals, making the cut very tough and extremely flavorful, which is why it’s perfect for slow-cooking methods like smoking.
WHOLE FLAT /Single POINT / Single
T
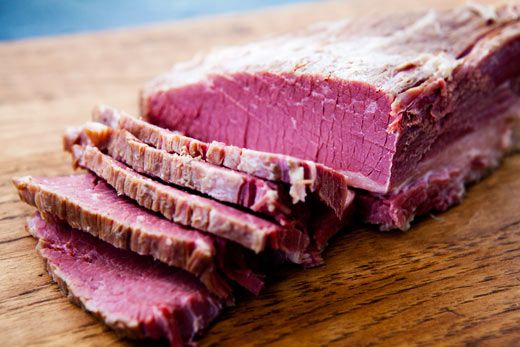
Don’t forget the Corned Beef: A brisket that has been cured in a brine (salt, water, and sometimes spices) for several days, resulting in a salty, tender, and often pinkish-red meat.
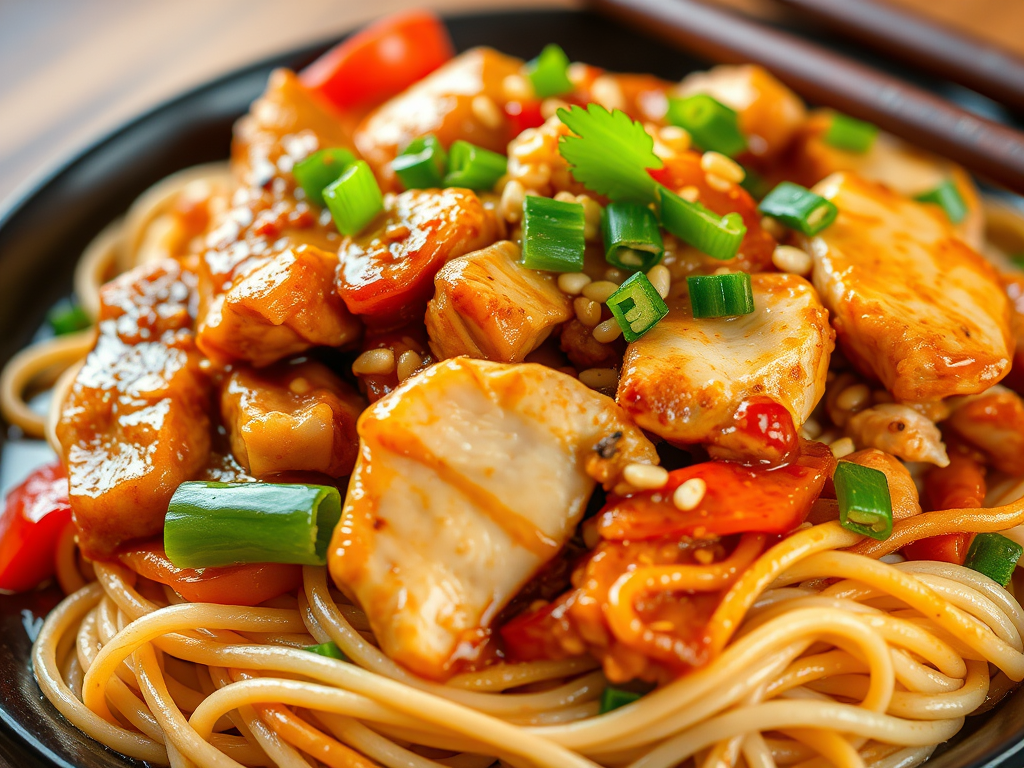
A spicy noodle stir-fry with chicken and a homemade sesame sauce. This dish comes together in just 15 minutes and delivers all the flavors of your favorite takeout. I made this for the two of us. Thanks to allthenoodles.com for the inspiration this was based off their recipe
It was quick easy and pretty tasty and went ell with the scallion pancake as a side
Ingredients
1 pound chicken breast cut into bite-size pieces
½ teaspoon kosher salt
½ teaspoon black pepper freshly ground
1 tablespoon sesame oil
3 ounces fresh ramen noodles or noodle of your choiceall work
Sauce
⅔ cups soy sauce
1 tablespoon sesame paste
1 tablespoon rice vinegar
1 tablespoons chili paste – I went mild on spice
2 tablespoons brown sugar
¼ teaspoon ginger minced
Crushed peanuts
Scallion slice – most people tend to use mostly green but I love them so it all goes in
Optional a little cornstarch and water to thicken I prefer a thicker sauce
How
Heat a large skillet with oil over medium-high heat. Sauté the chicken chunks with salt and pepper for about 4 minutes until browned.
Cook noodles according to directions
Mix all the sauce ingredients in a small bowl. I like to do before so the flavors combine, not sure if this is true or not but it does make cooking easier.
Add the noodles to the skillet with the chicken, then pour the sauce over the top. Stir everything together and stir-fry for 2 minutes.
Add cornstarch to thicken
Remove from heat, garnish with crushed peanuts and green onions, and serve immediately.
This is quick and easy you could use bone in and skin on but I had the thighs without.
Ingredients
1 lb chicken (thighs boneless and skinless)
Kosher salt
Freshly ground black pepper
Olive oil
For the sauce (optional):
4 cloves garlic, minced
2 tablespoons olive oil
1 tablespoon Dijon mustard
1 tablespoon balsamic vinegar
1 teaspoon packed brown sugar
1 pinch red pepper flakes
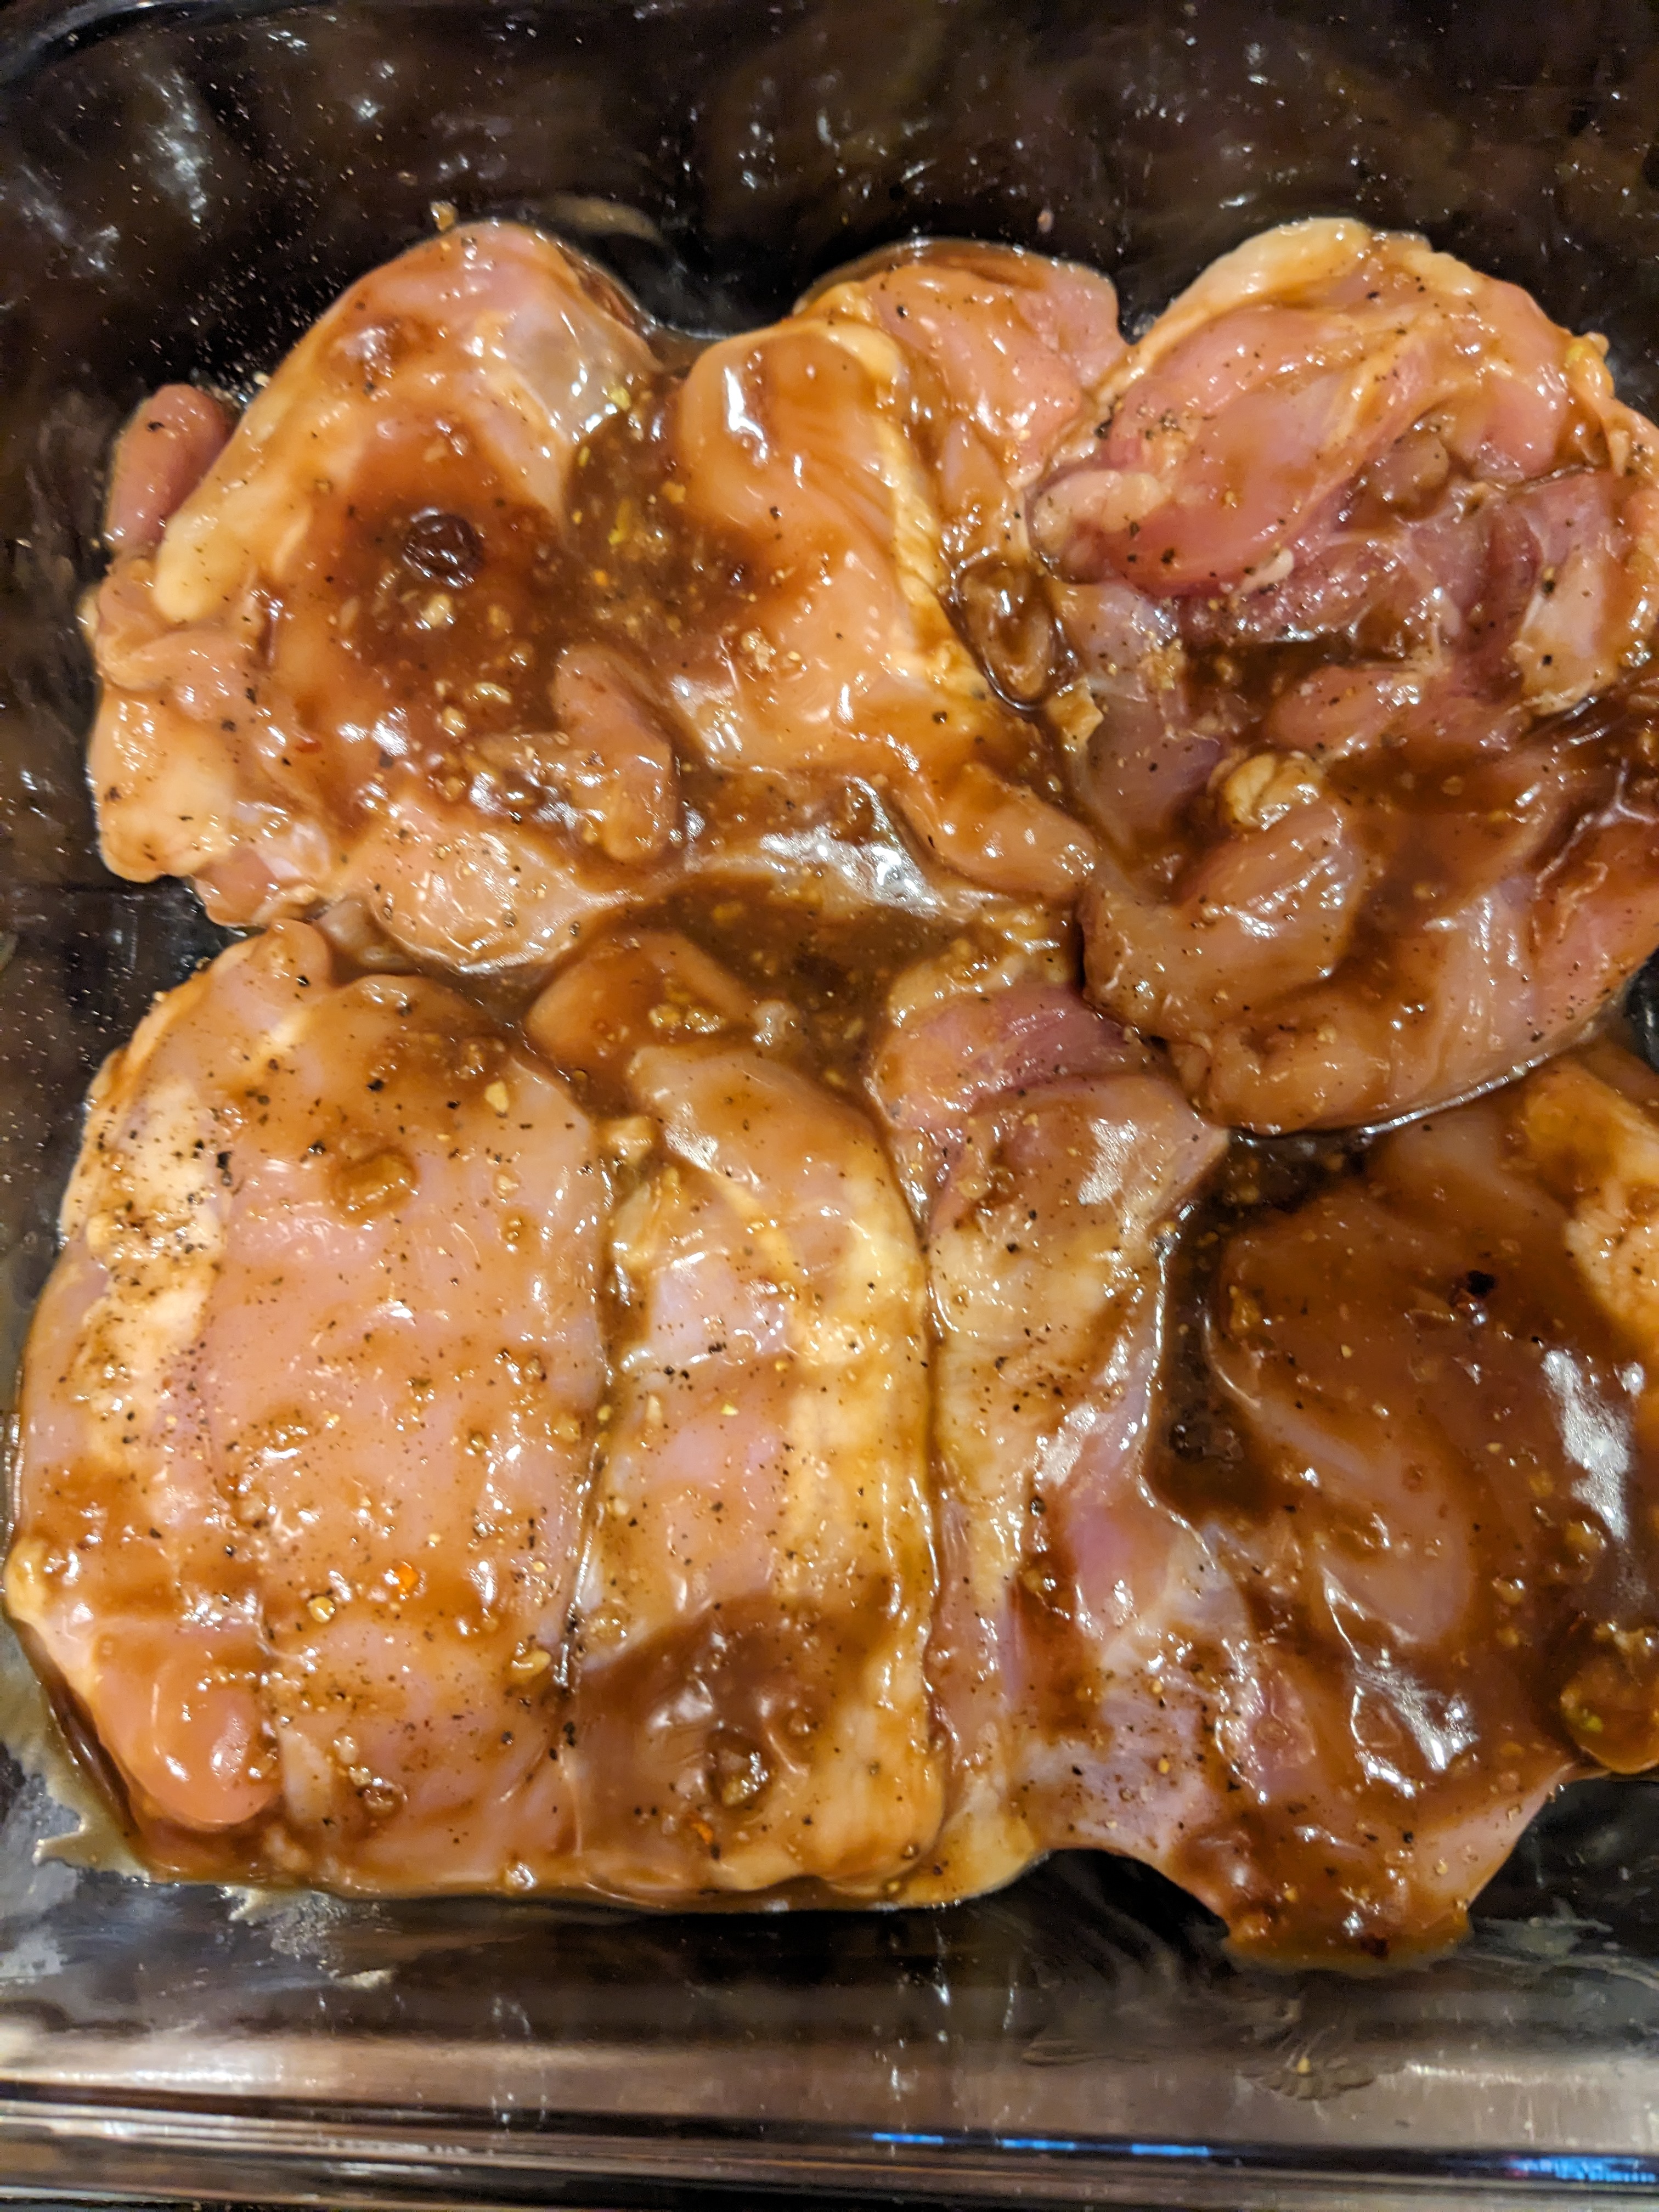
Arrange a rack in the middle of the oven and heat the oven to 425°F. Place 1 pound boneless, skinless chicken thighs in a bowl and season with salt and pepper. The most basic seasoning that this meat really needs is salt and pepper. At this point, if I’m not adding another sauce, I drizzle a little bit of olive oil over the meat too, to help it brown well in the oven.
If using the sauce, place 4 minced garlic cloves, 2 tablespoons olive oil, 1 tablespoon Dijon mustard, 1 tablespoon balsamic vinegar, and 1 teaspoon packed brown sugar in a medium bowl. Whisk until combined. Pour the sauce over the chicken and toss to combine.
Place the chicken in a single layer in an 8- or 9-inch baking dish. No need to grease the dish, just lay the chicken inside.
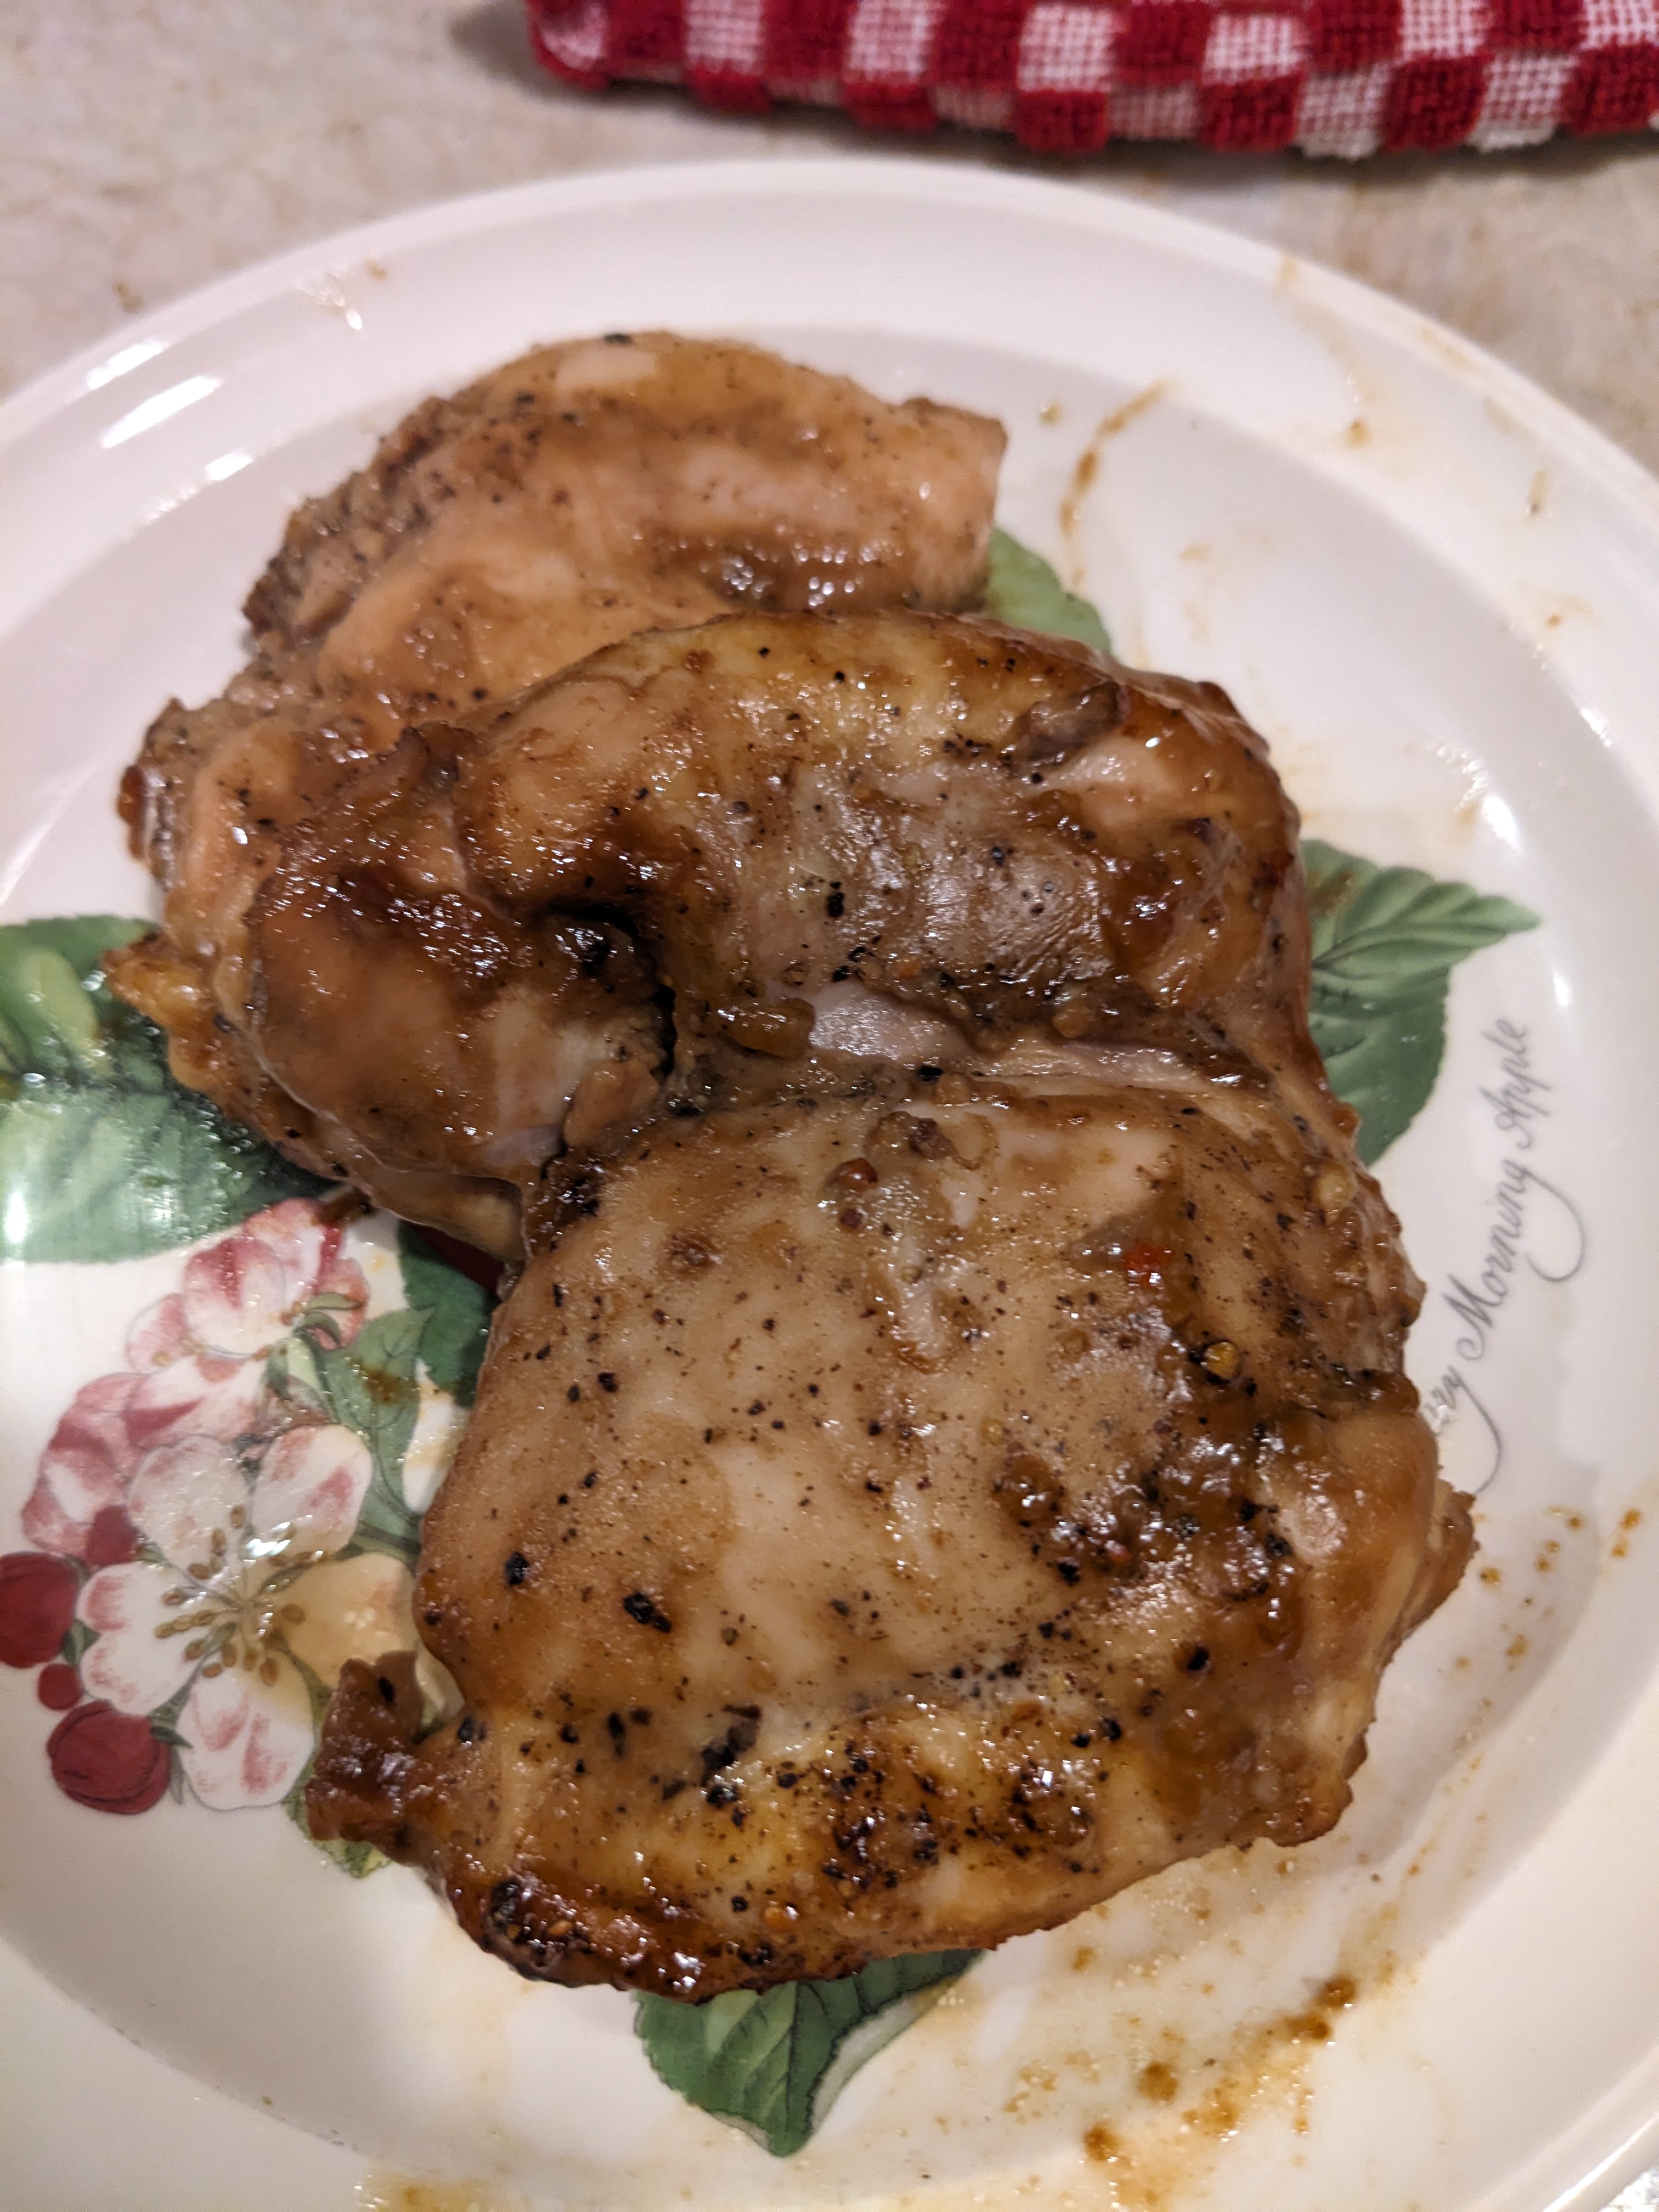
Boneless, skinless thighs cook quickly. Roast until the chicken has an internal temperature of 165°F, about 20 minutes. If they are not ready, continue roasting and checking the temperature every 5 minutes.
Remove the baking dish from the oven, cover with aluminum foil, and let the chicken rest for 10 minutes. This will help it be more tender. Eat and enjoy!


")